SHED MATTERS 2

Locked
User avatar
Stanley
Global Moderator
Global Moderator
Posts: 90300
Joined: 23 Jan 2012, 12:01
Location: Barnoldswick. Nearer to Heaven than Gloria.

Re: SHED MATTERS 2

Post by Stanley »

Image

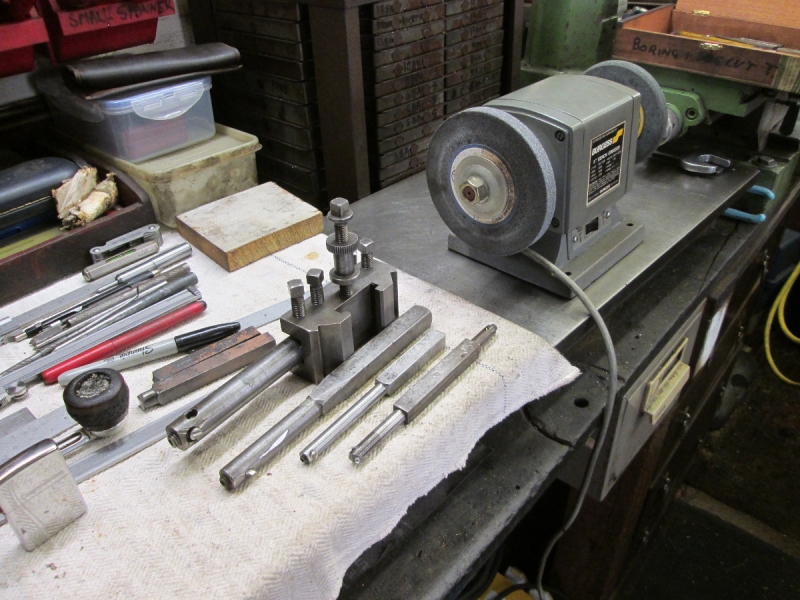
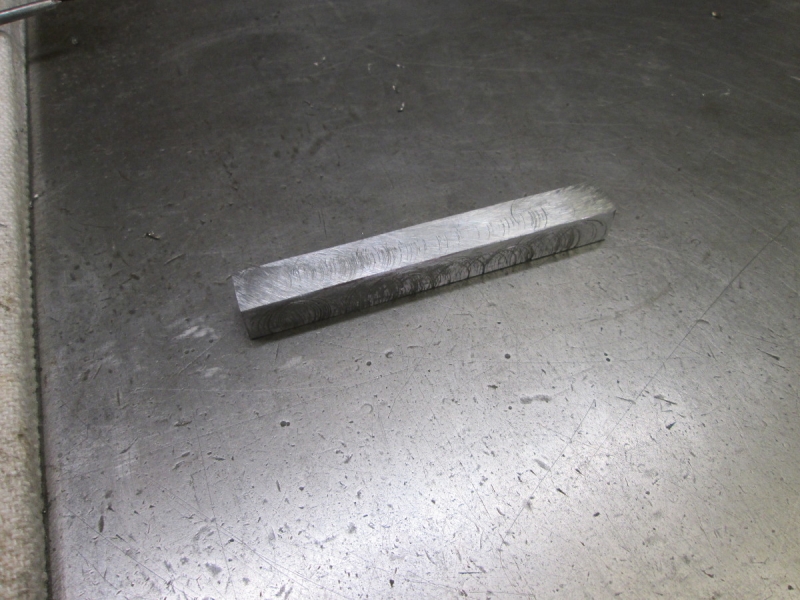
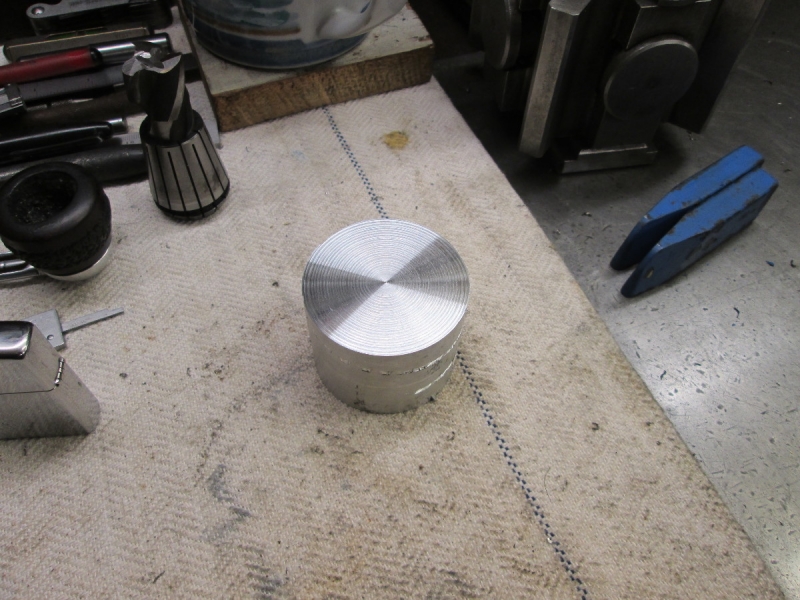
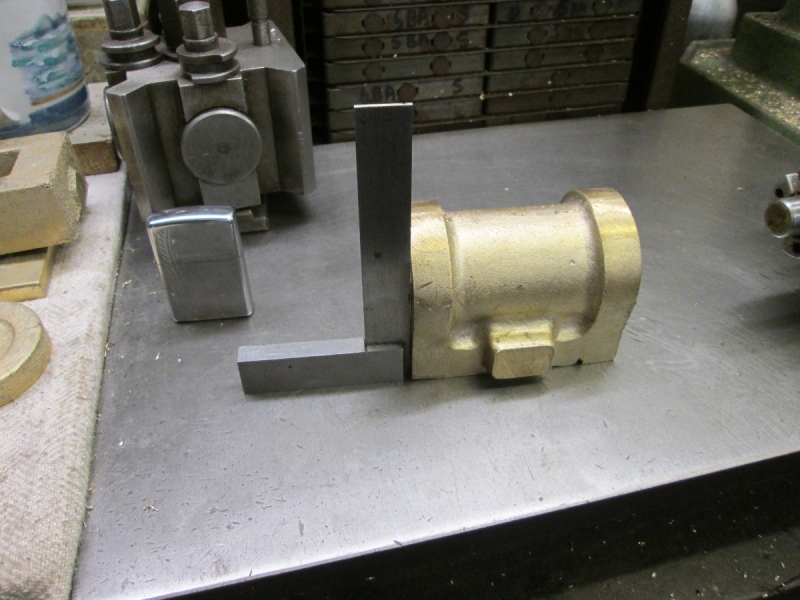
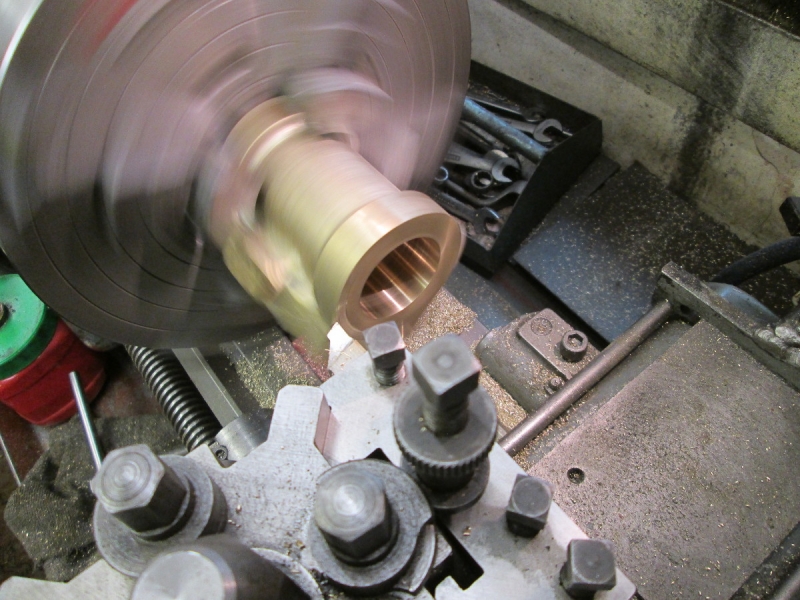
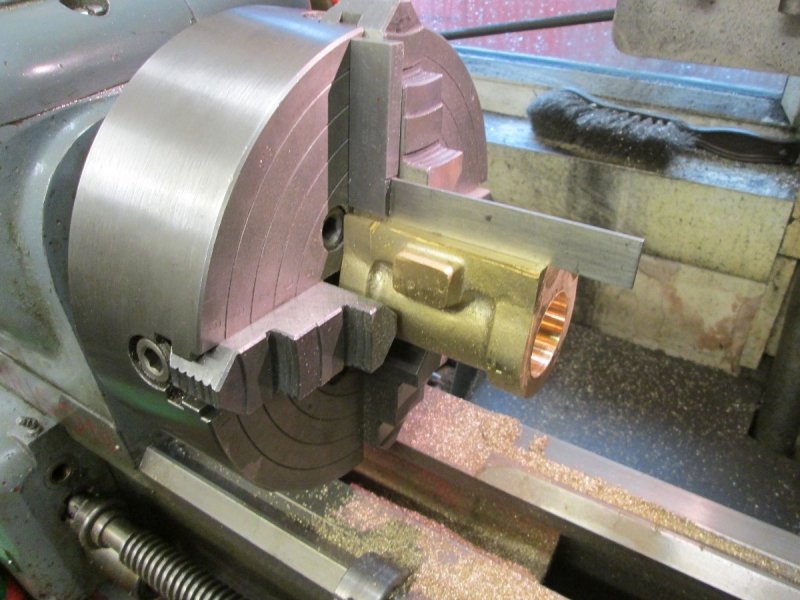
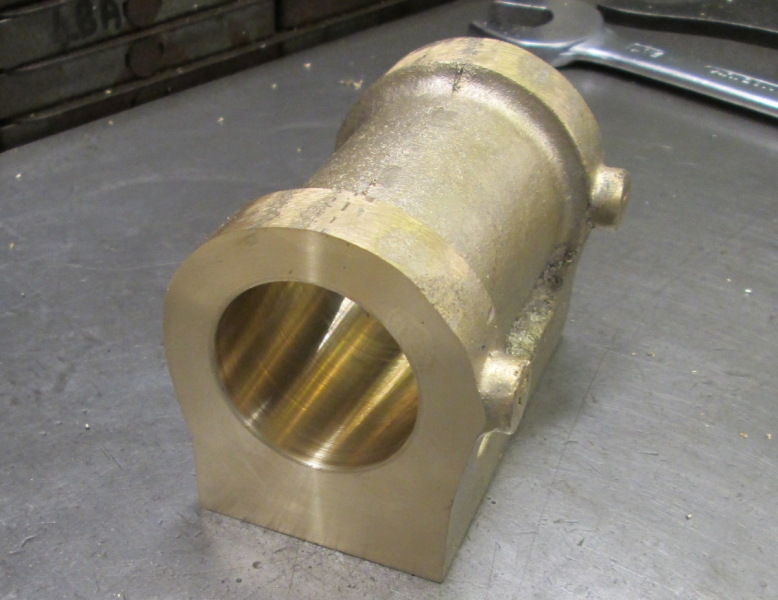
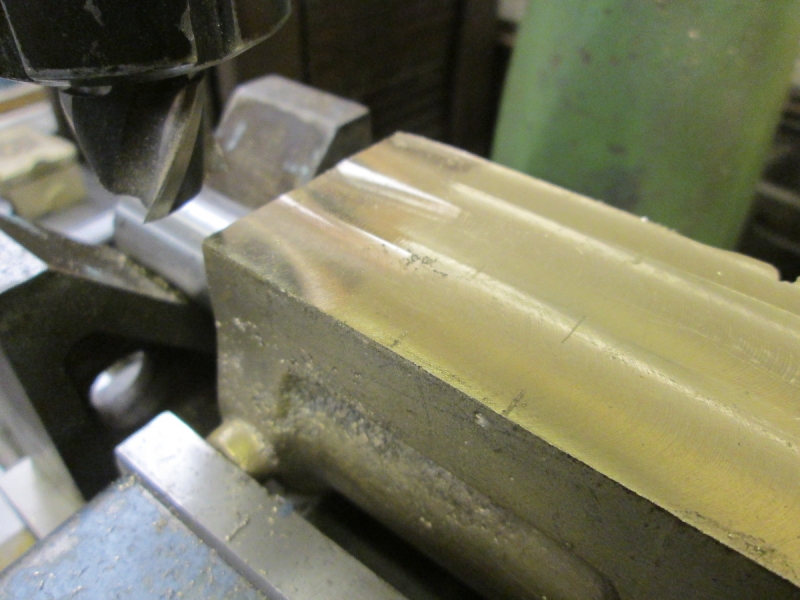
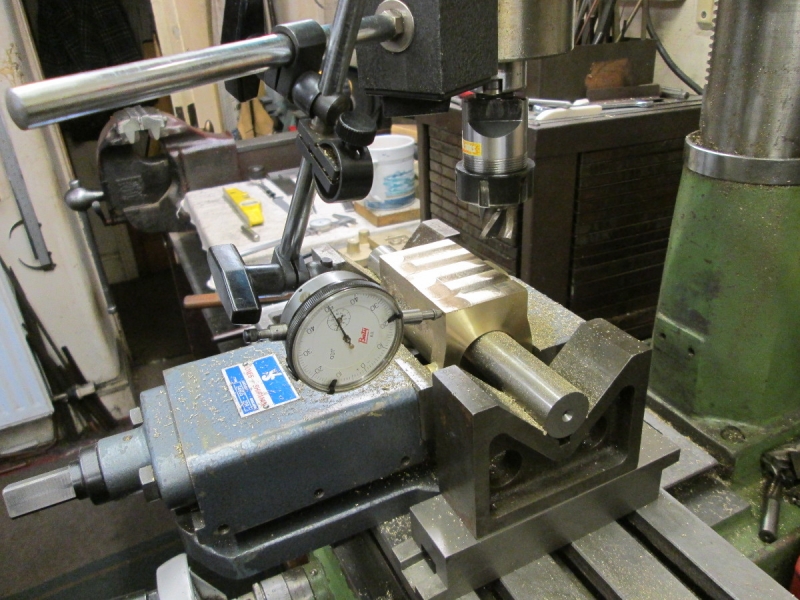
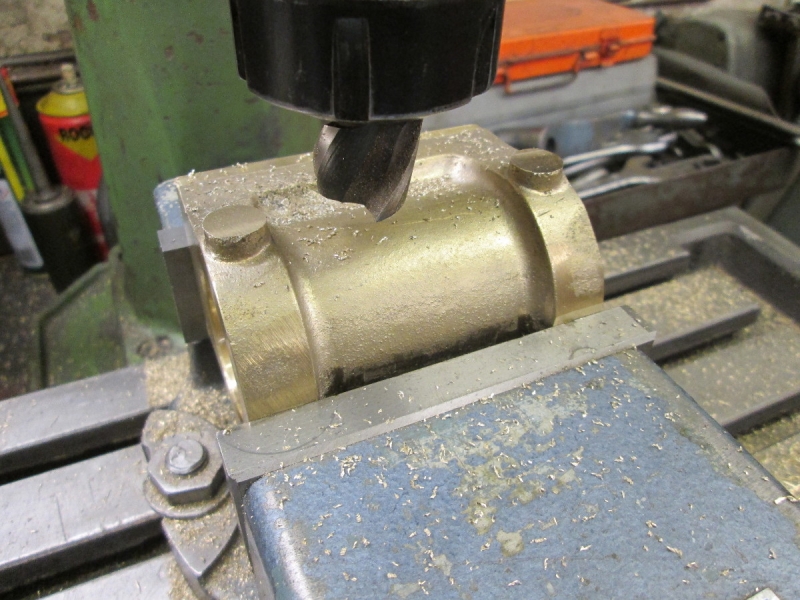
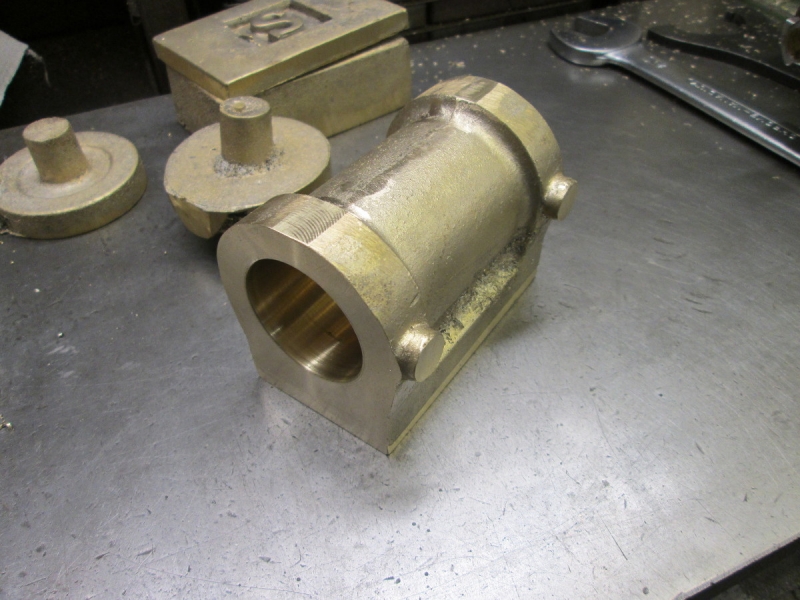
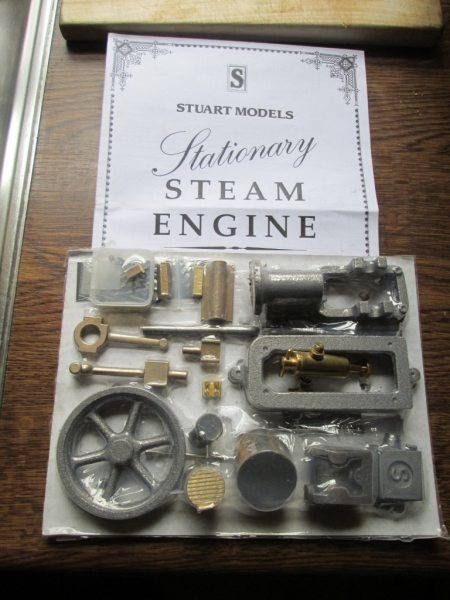
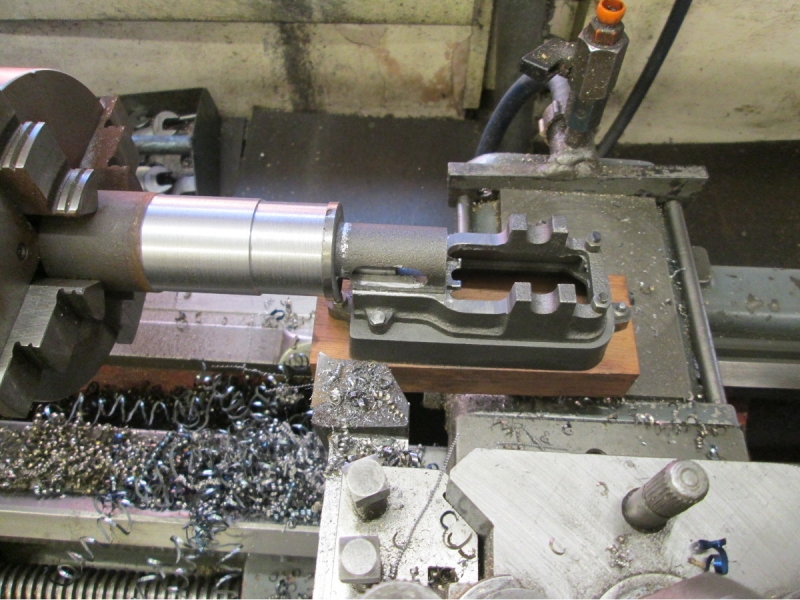
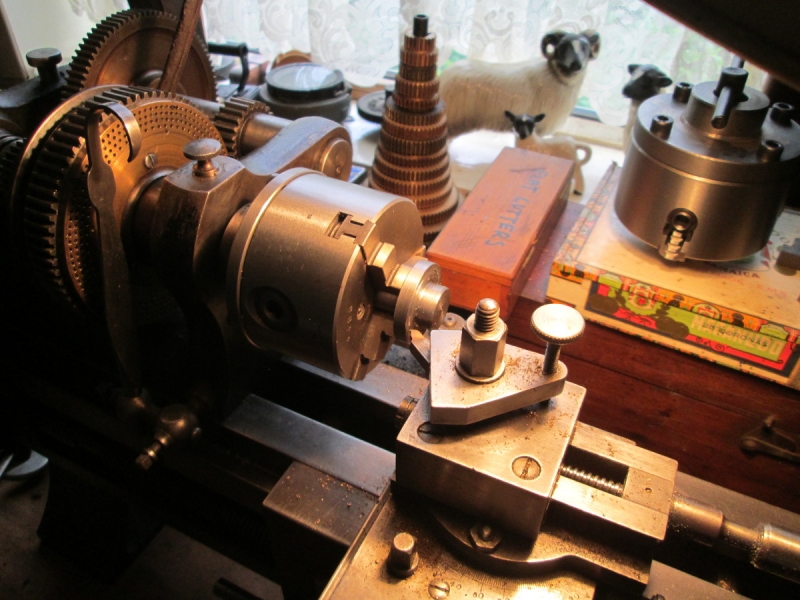
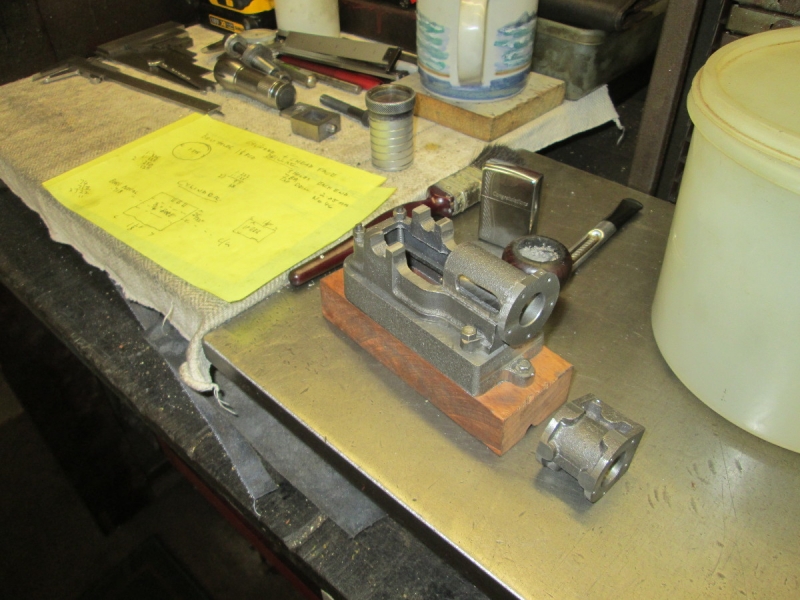
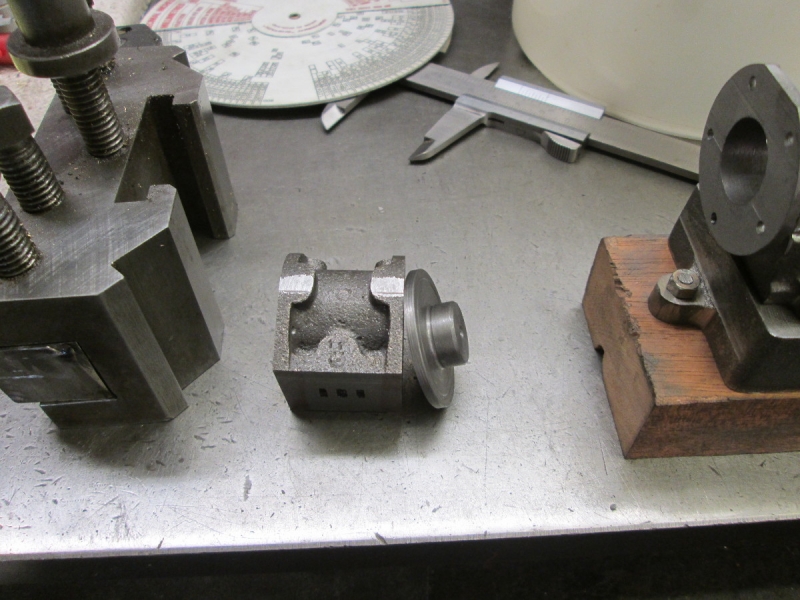
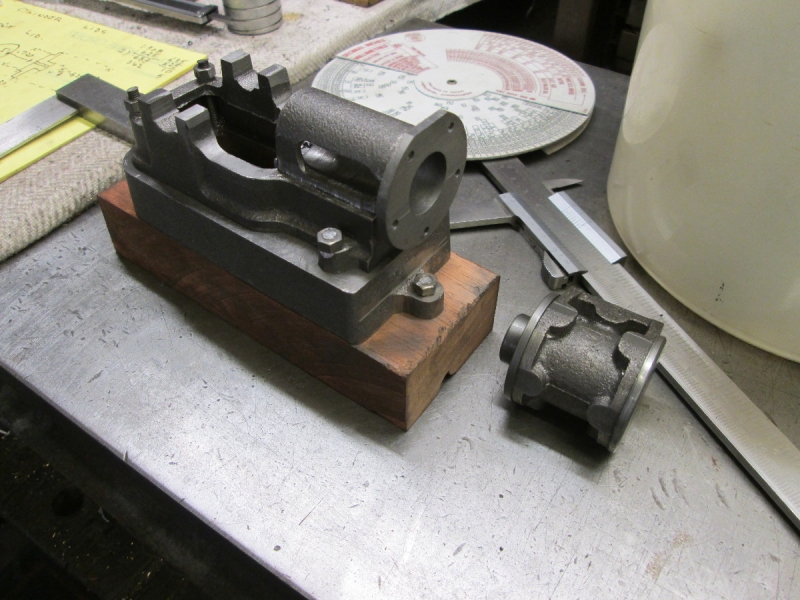
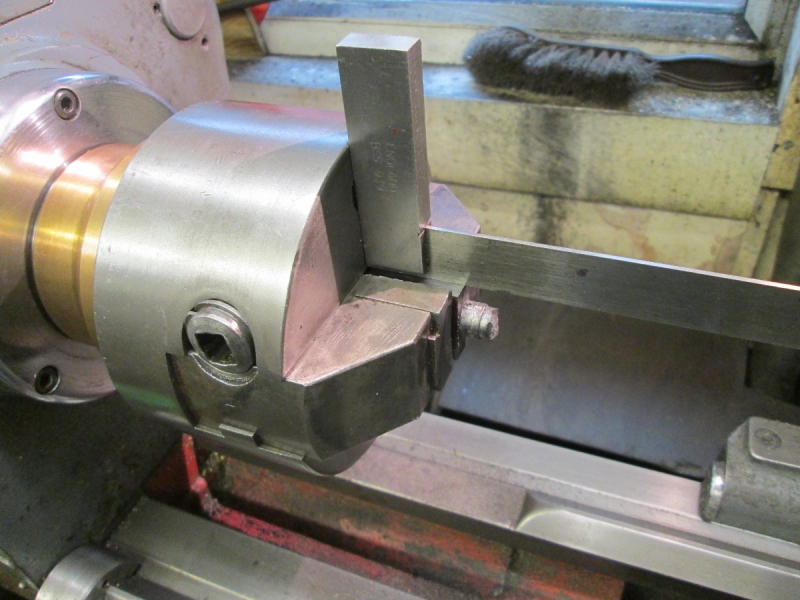
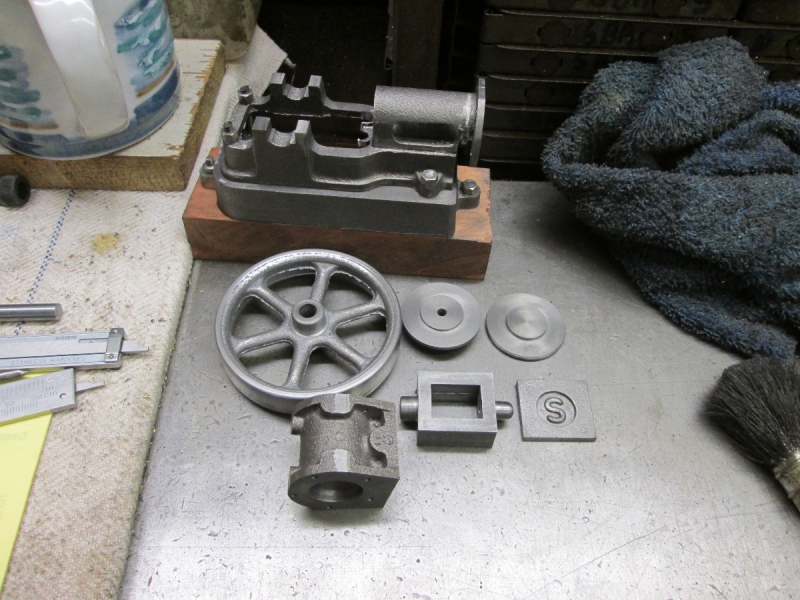
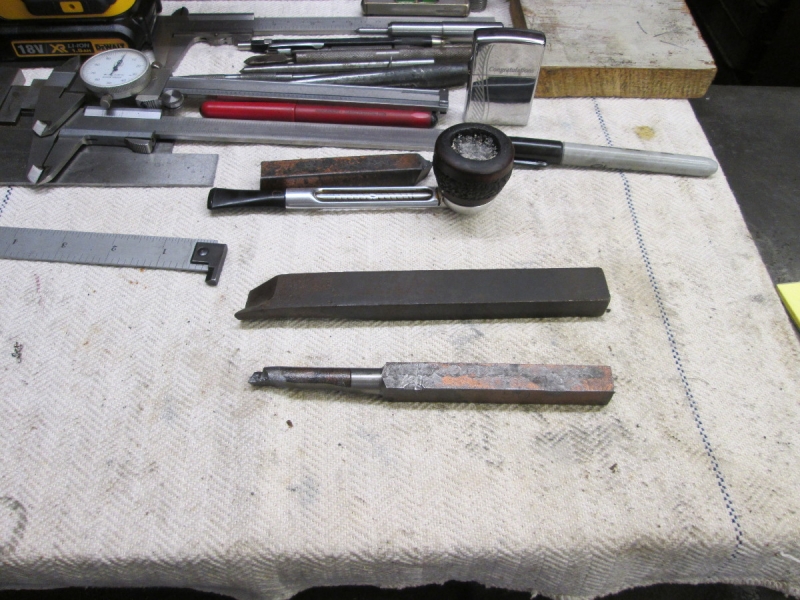
I went in the shed with a clear object in view. My trusty Stag tipped small boring bar has reached the end of its li9fe and I wanted to make another. The more rigid a bar is the better it cuts and it just so happens I have a lot of old-fashioned high carbon steel tools, still good for some low speed jobs but not so precious I can't sacrifice one as raw material. Johnny bought good steel stock so it will be just the job.

Image

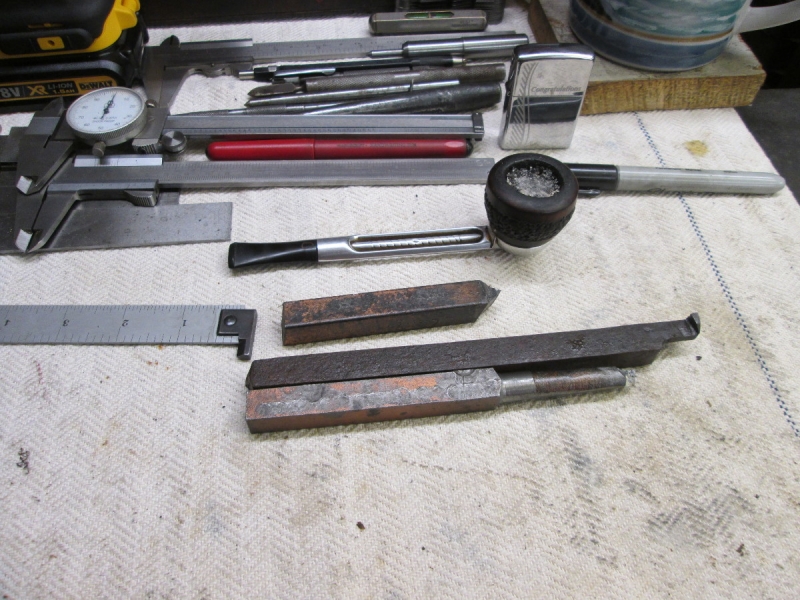
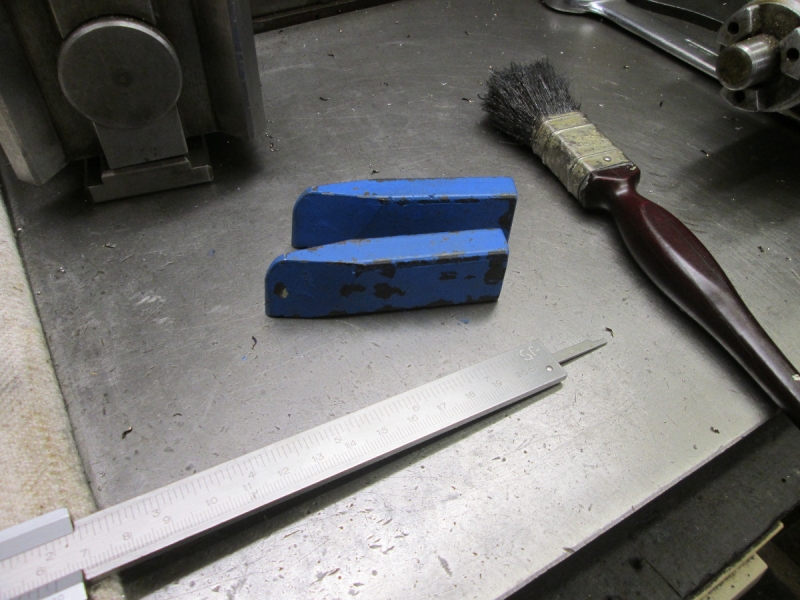
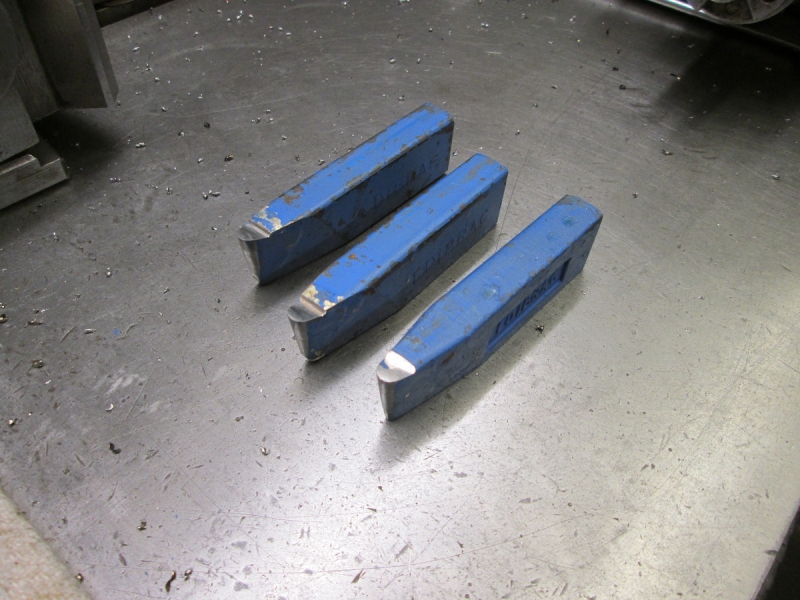
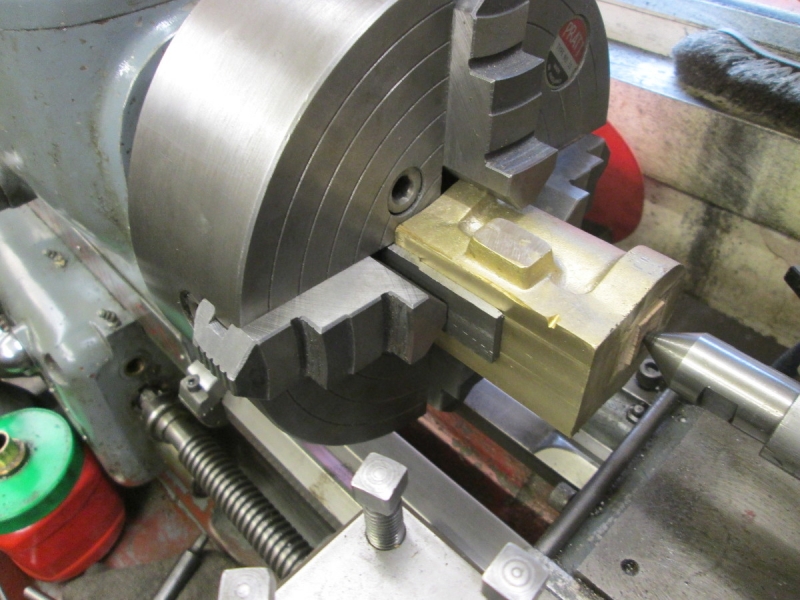
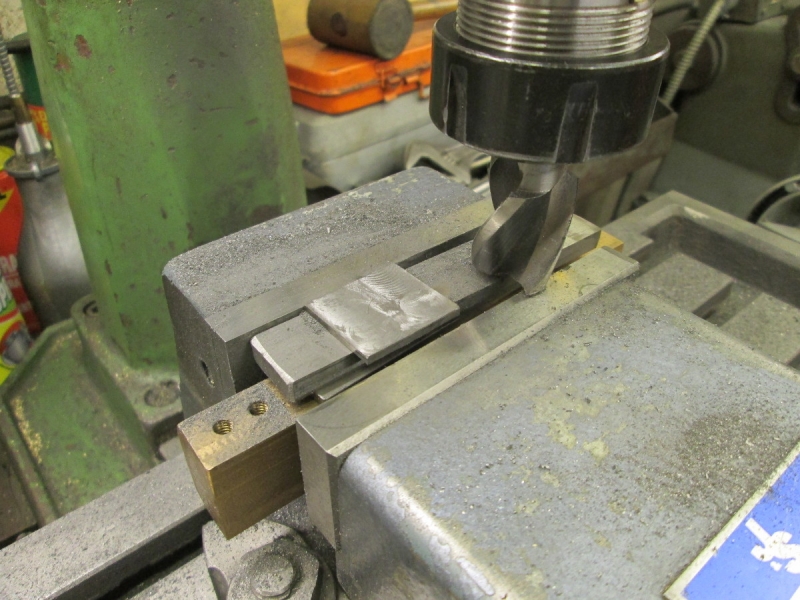
Then I realised I'd get on a lot better with square stock! So a quick swap for another tool.

Image

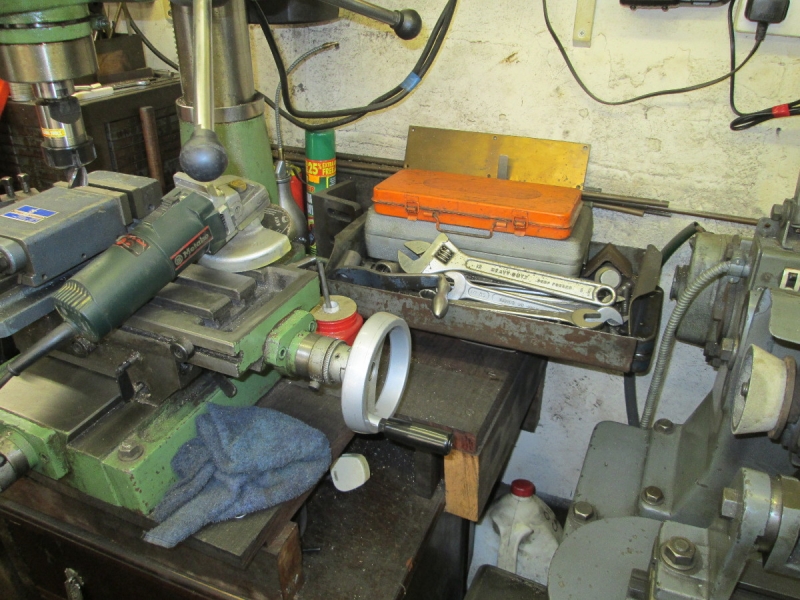
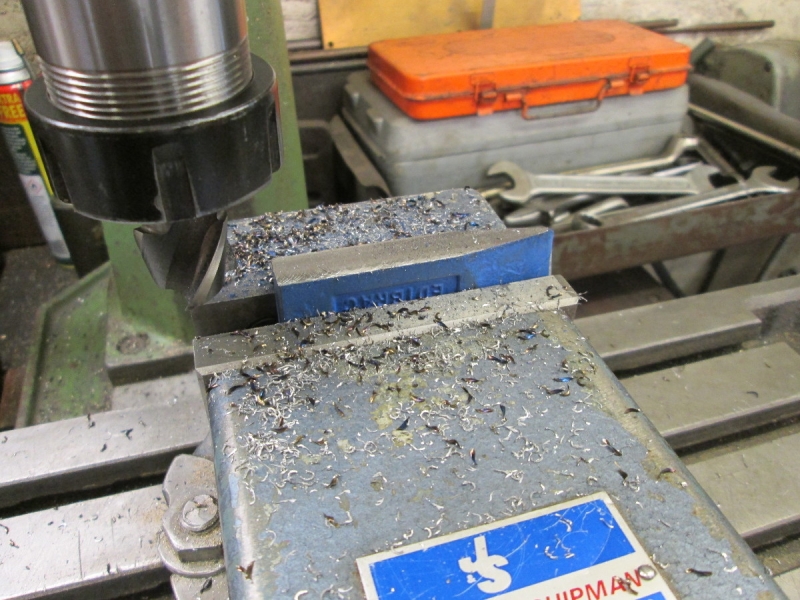
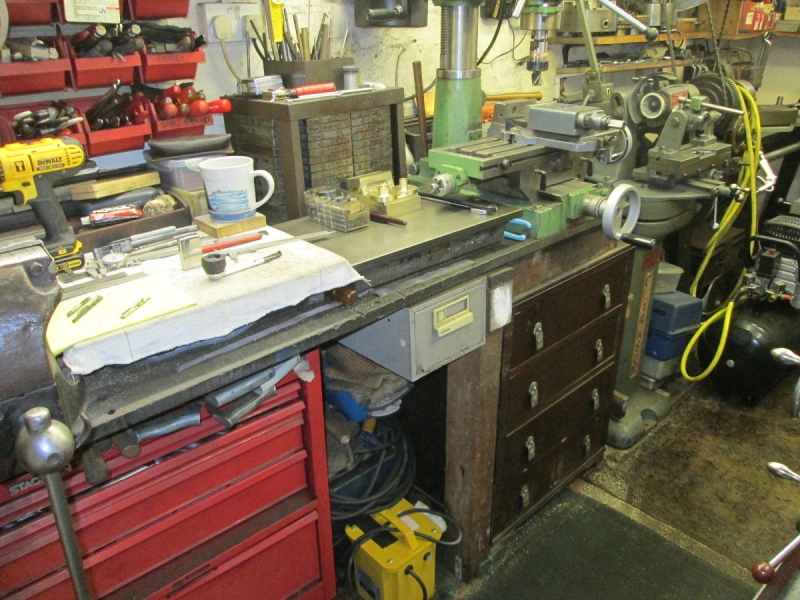
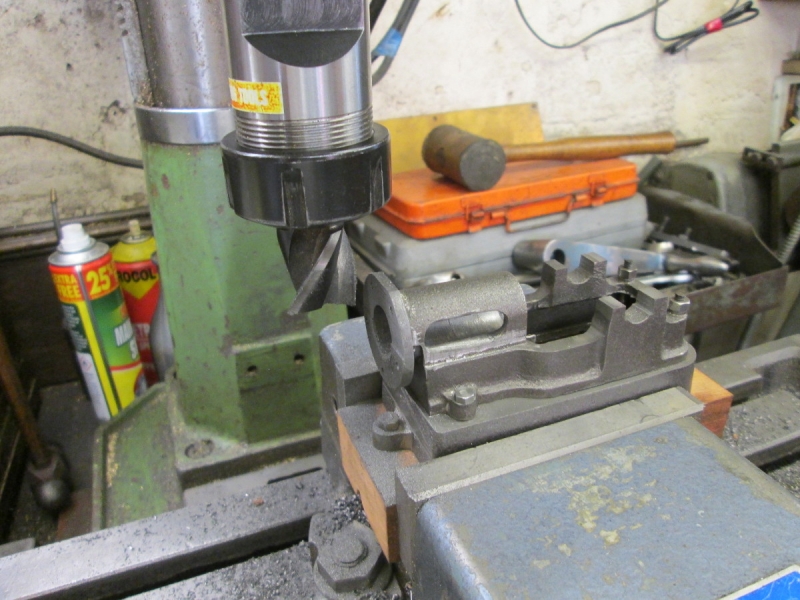
Rather than cutting the tool with a hacksaw and blunting it I decided to get the angle grinder out and thereby hangs a tale. Amazing how you can get side tracked! Getting the grinder out is a pain because it's under a stack of boxes that live under Johnny's big lathe. I decided it was time for a rethink so I redistributed the boxes under the lathe. The socket sets now live here and are not in the way!

Image

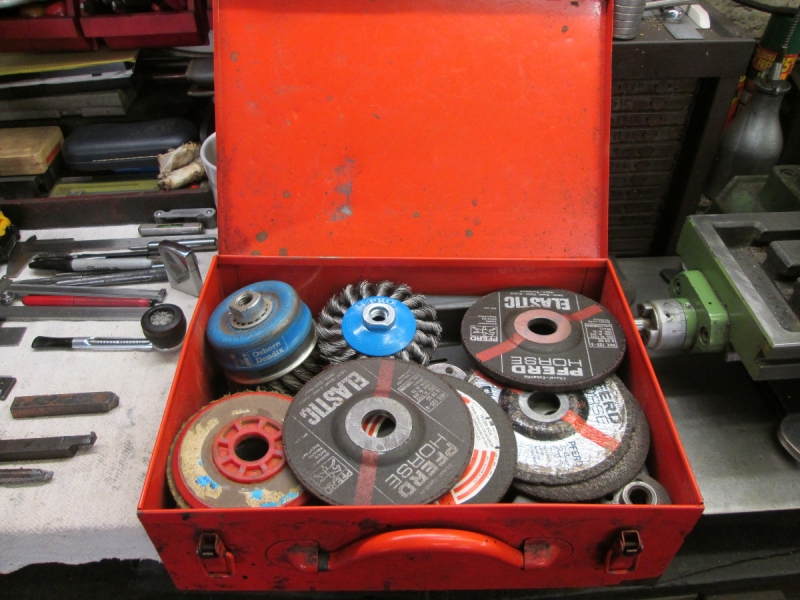
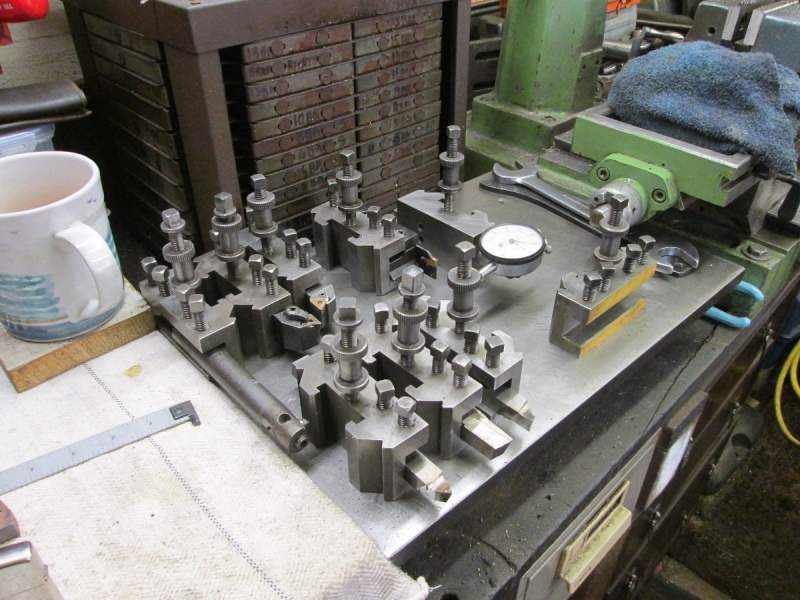
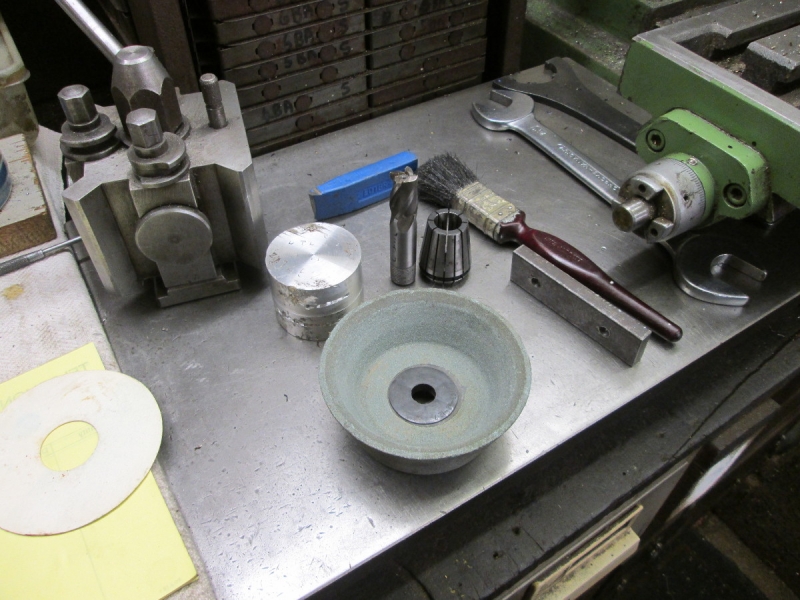
Taking the grinder out of its box meant that it could be used to hold a selection of discs, polishing tackle and wire brushes. They never get used because it's such a faff getting them out.

Image

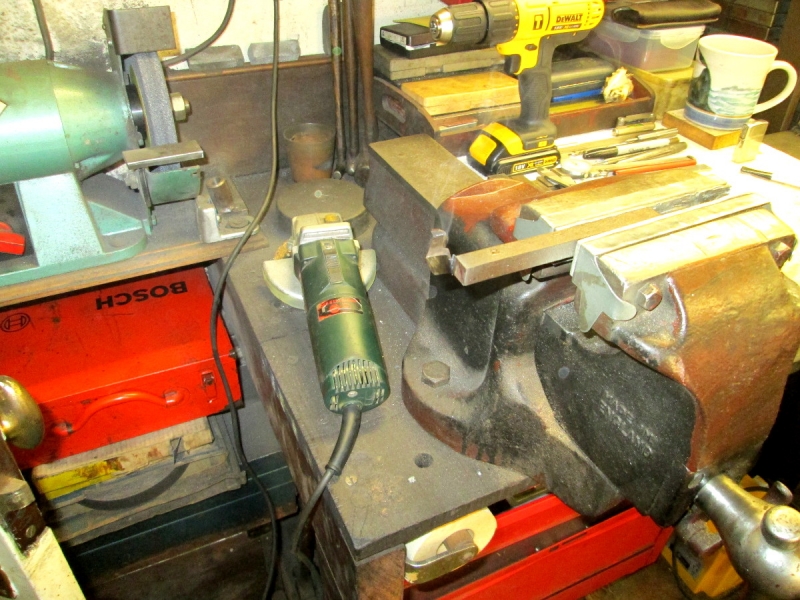
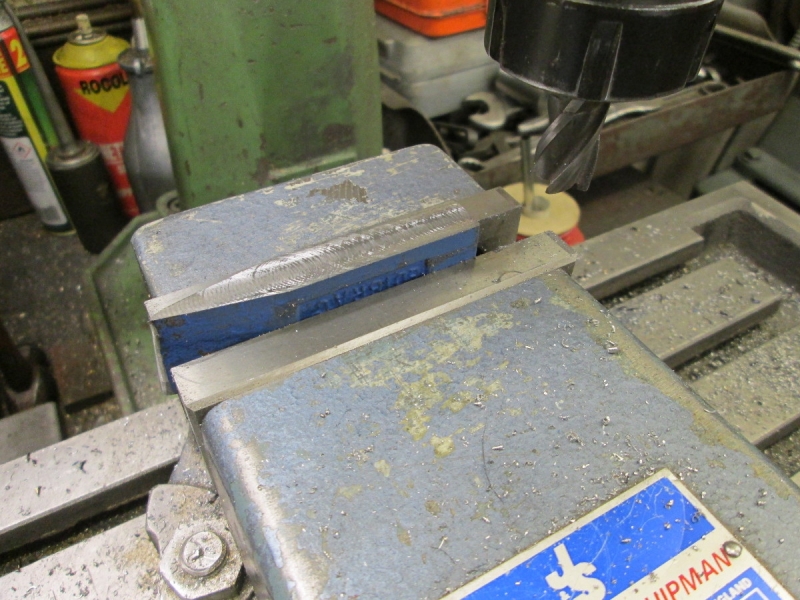
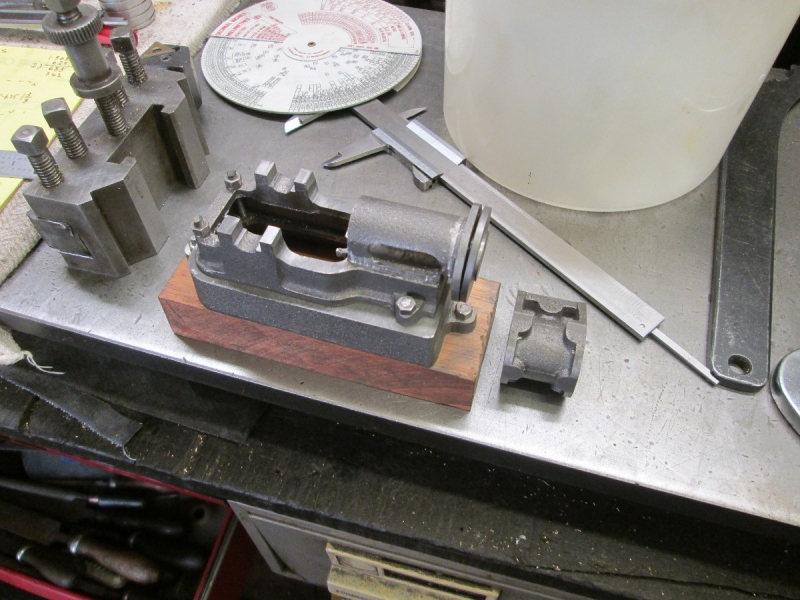
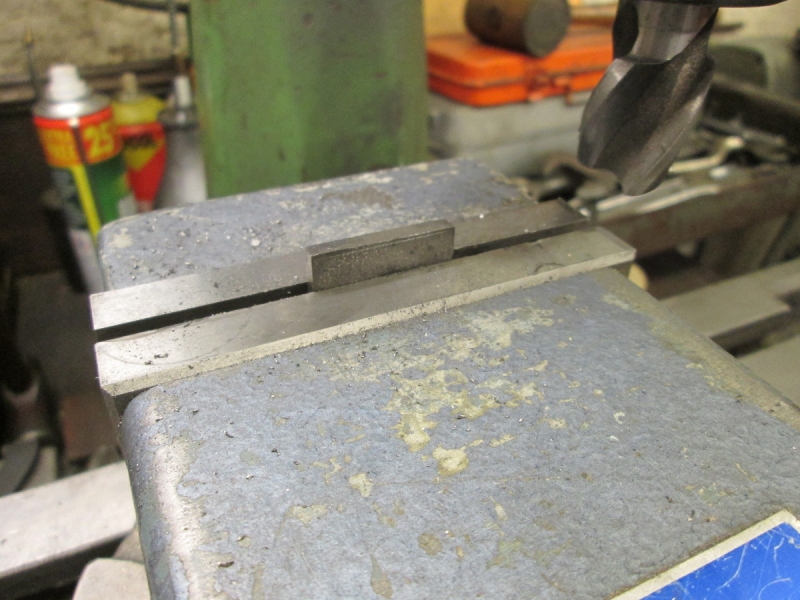
The box now lives out of the way under the grinder. I cut the end of the tool off with a slitting disc and I can tell you it's tough stuff! Good choice....

Image

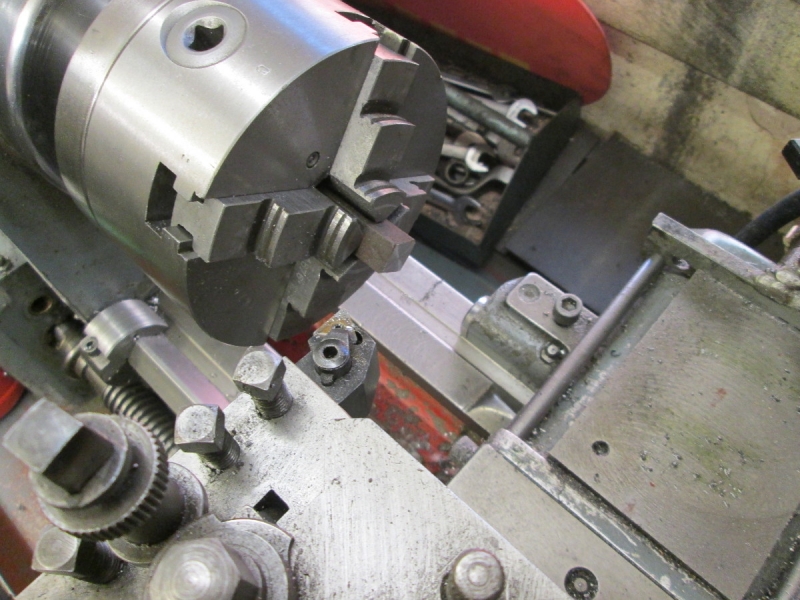
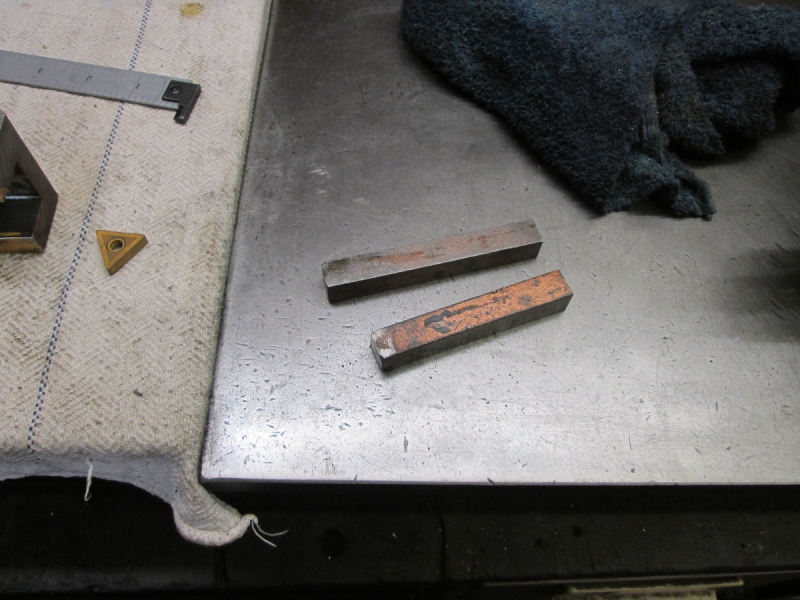
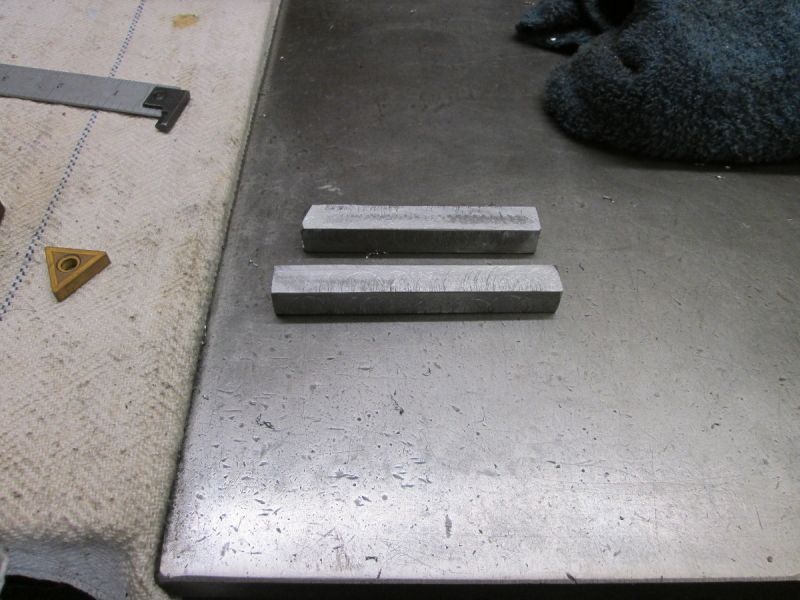
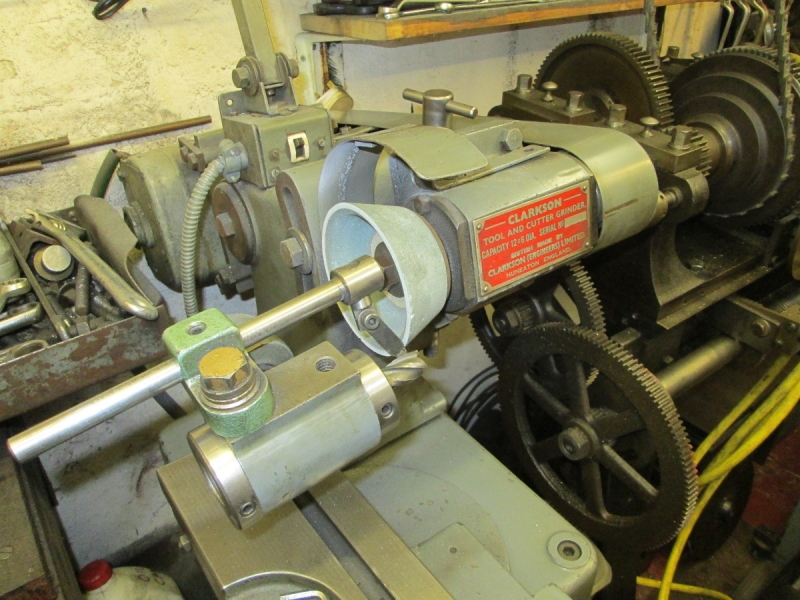
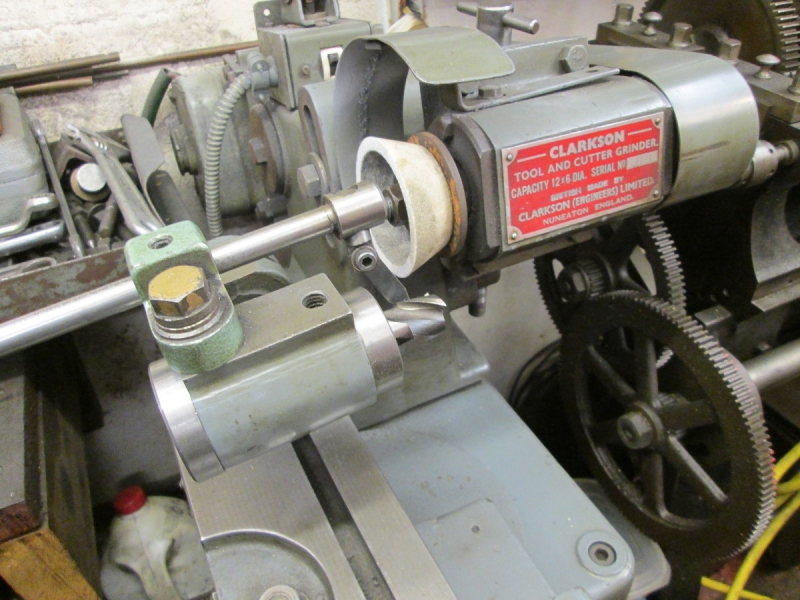
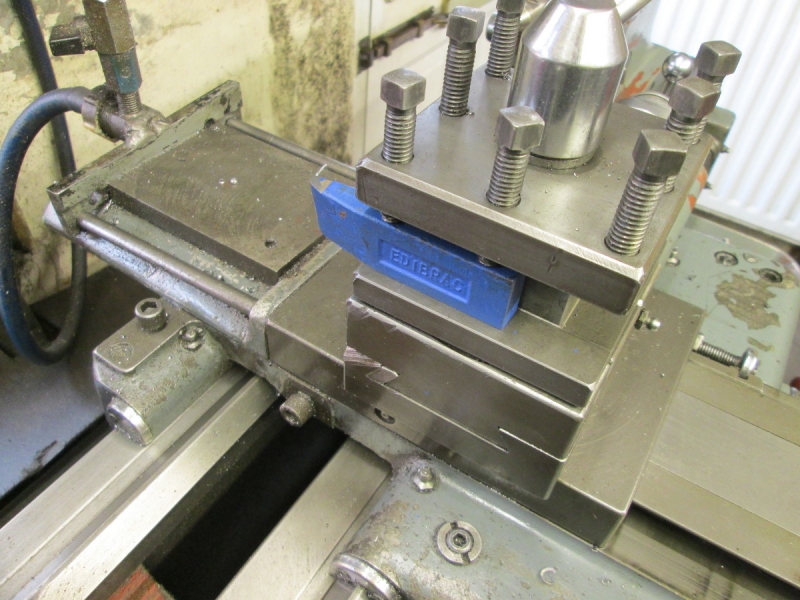
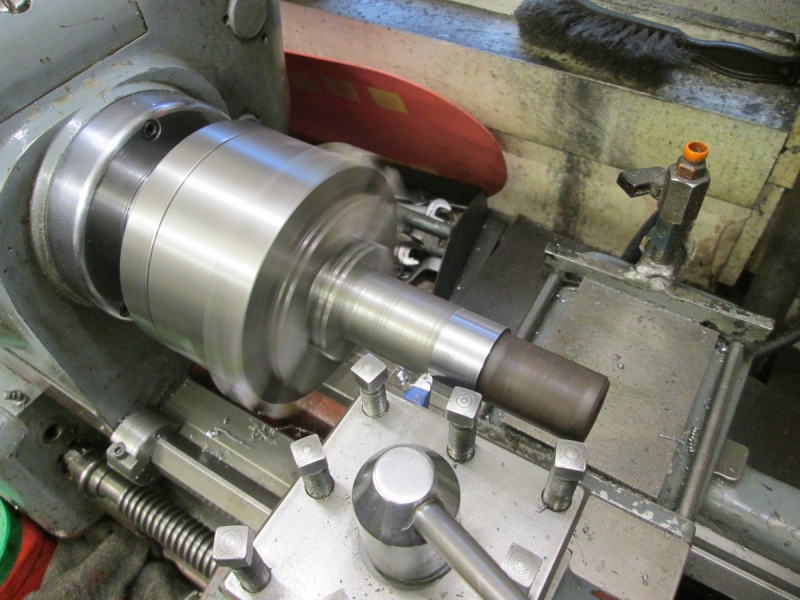
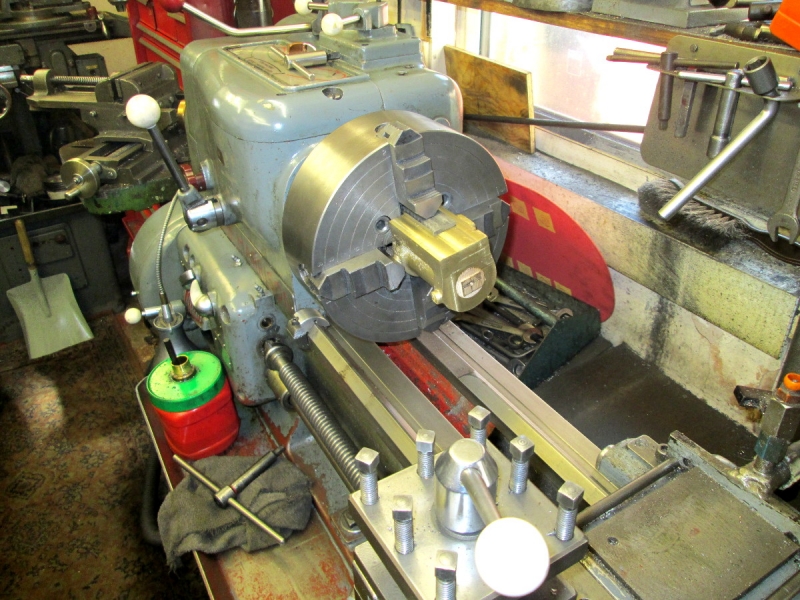
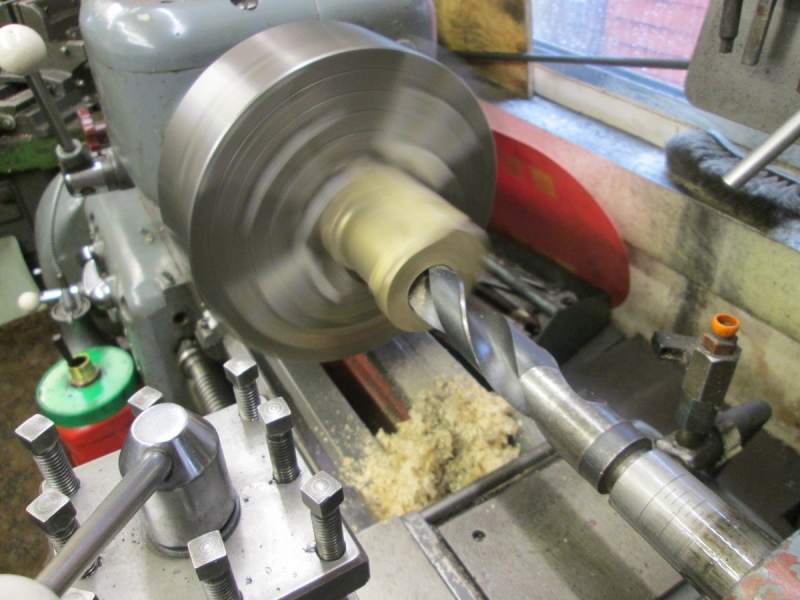
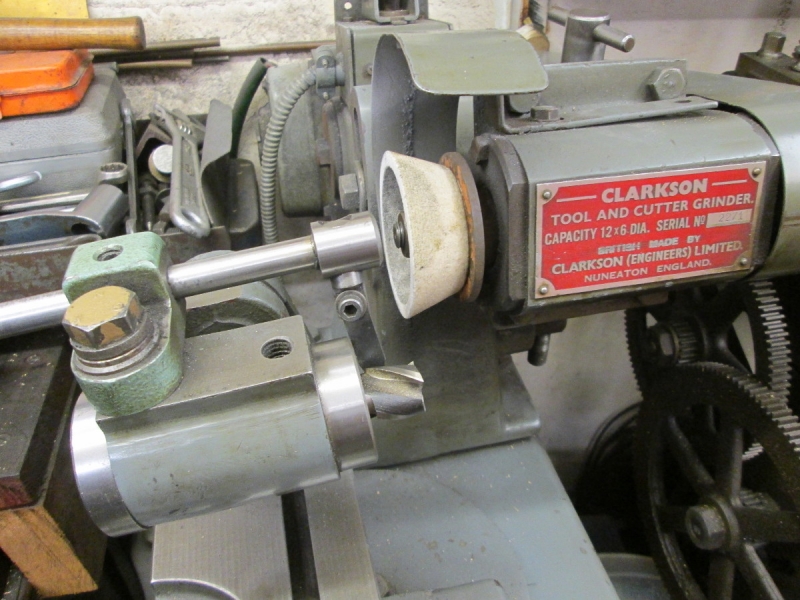
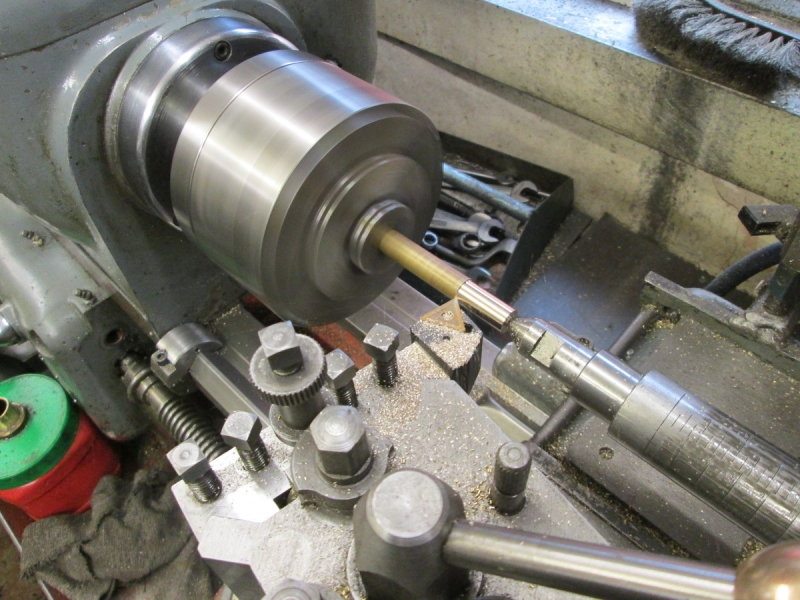
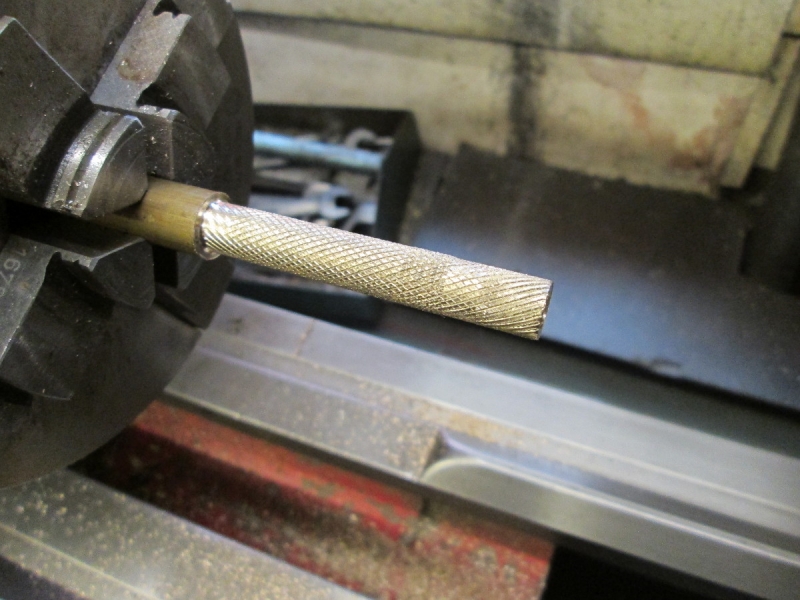
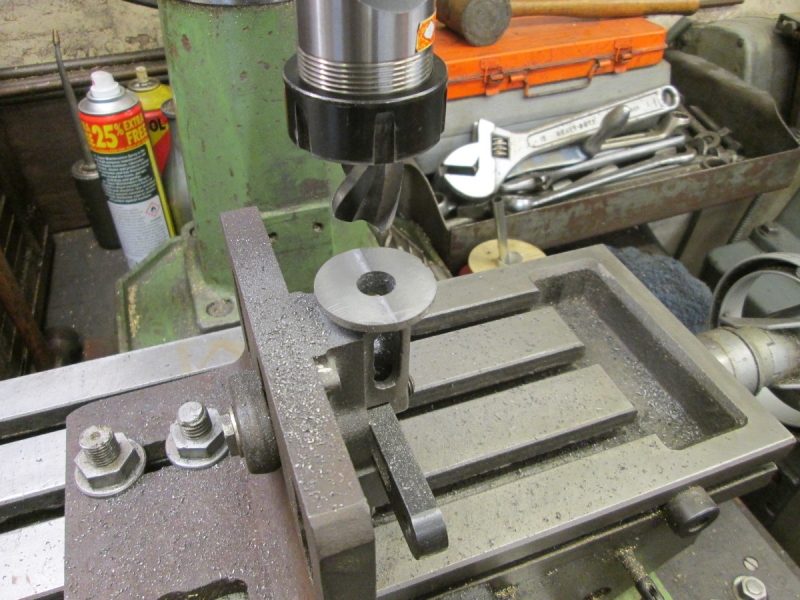
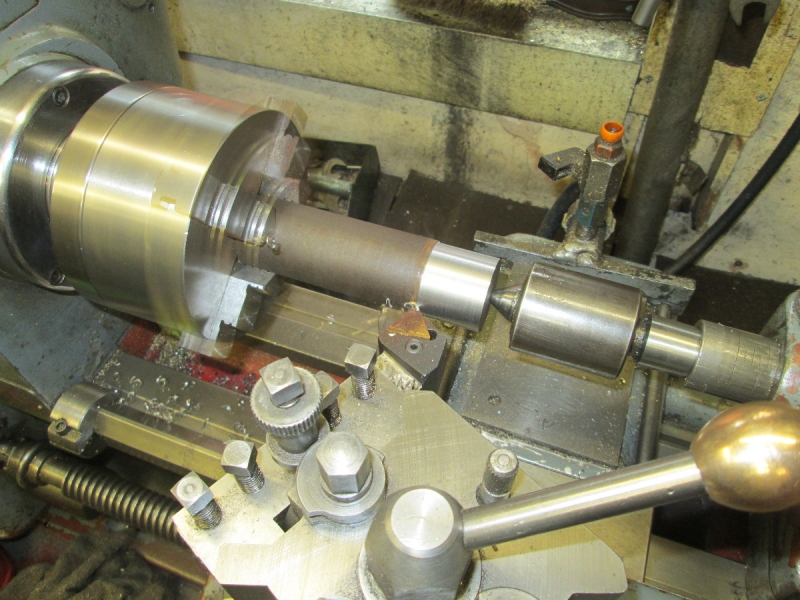
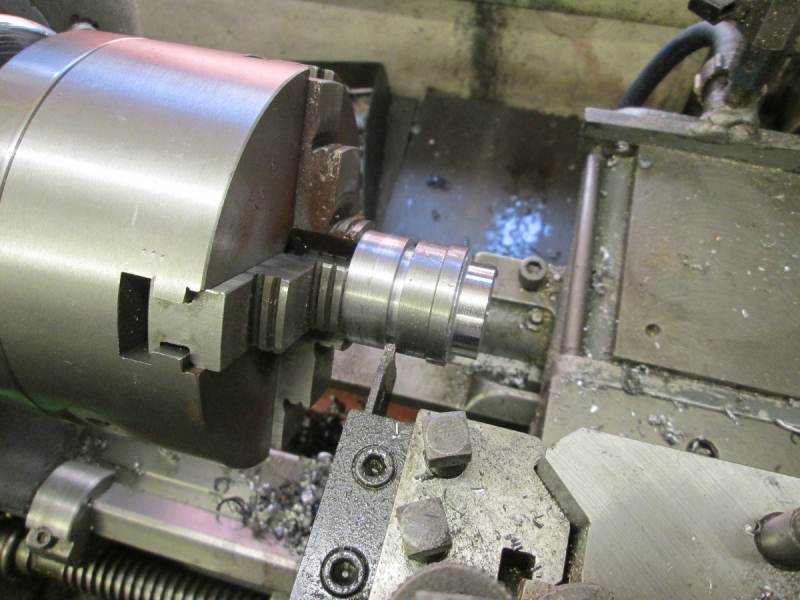
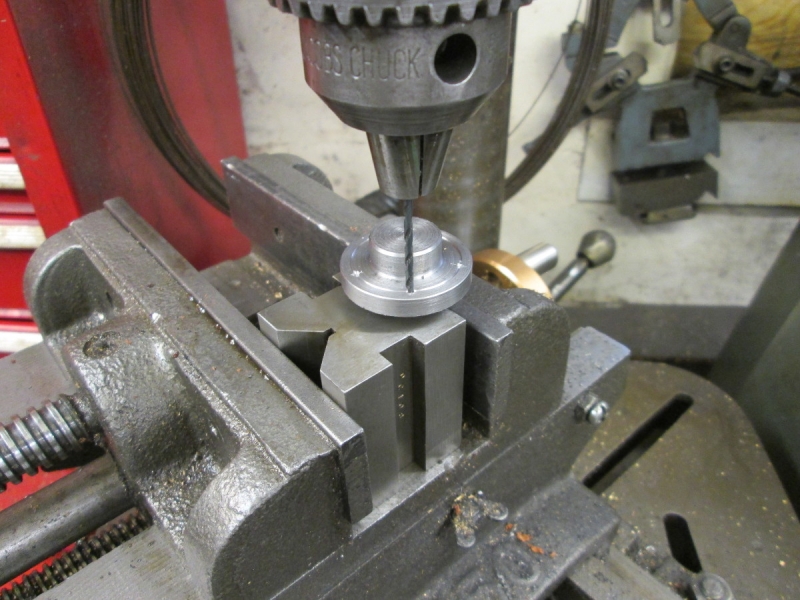
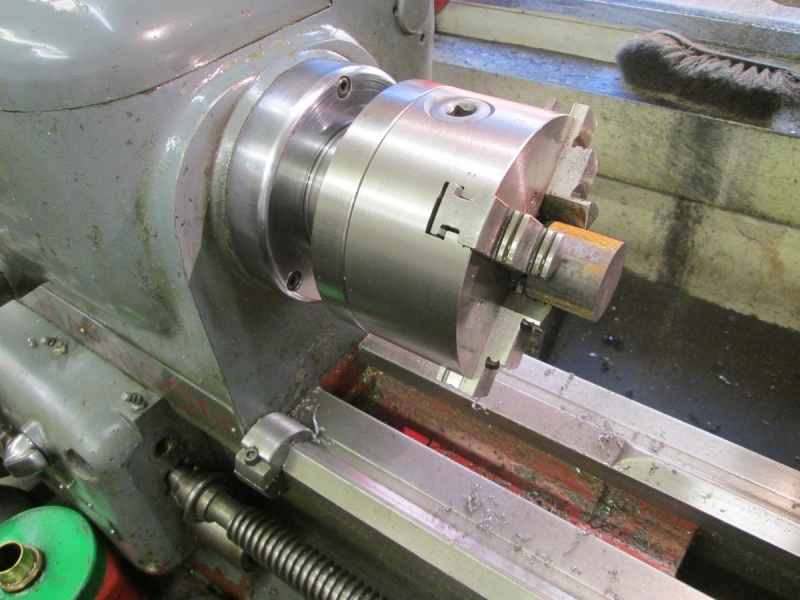
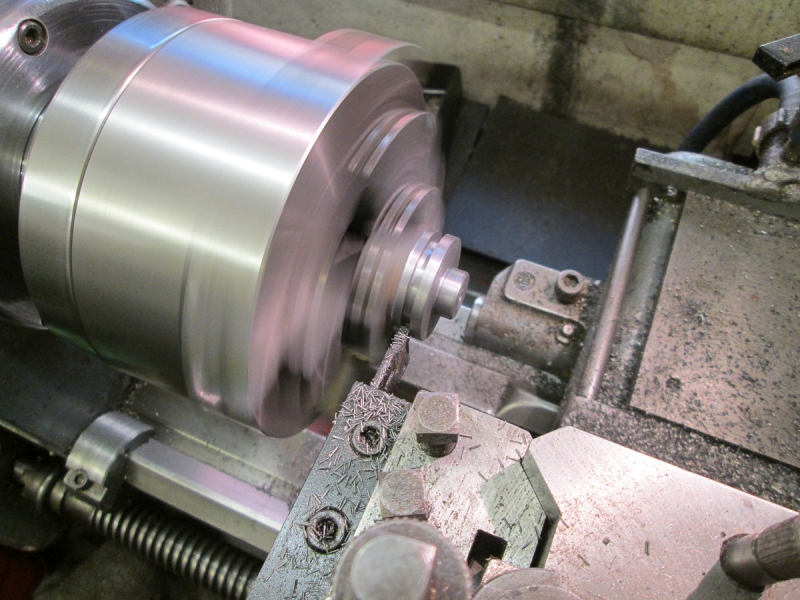
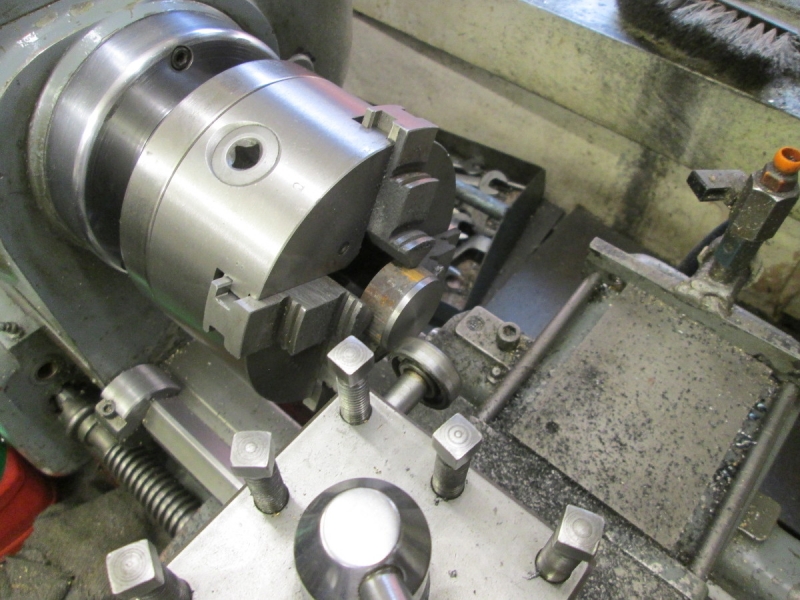
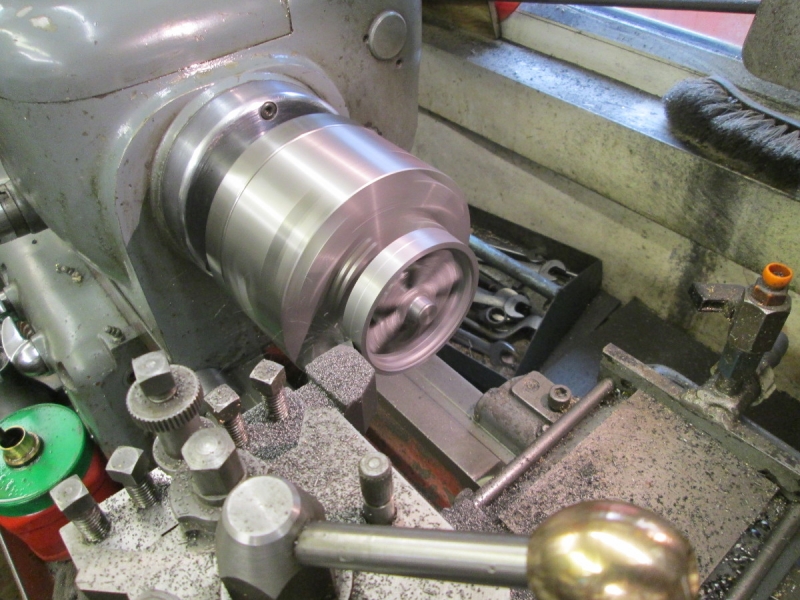
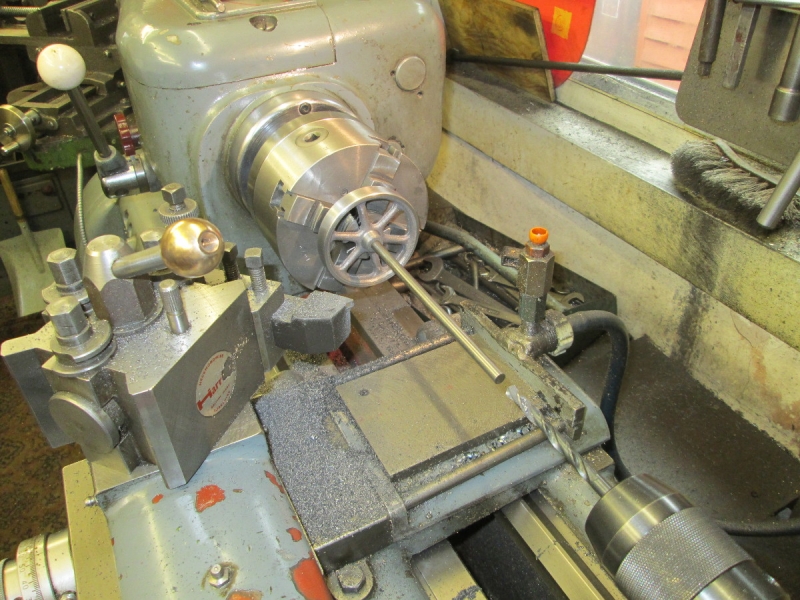
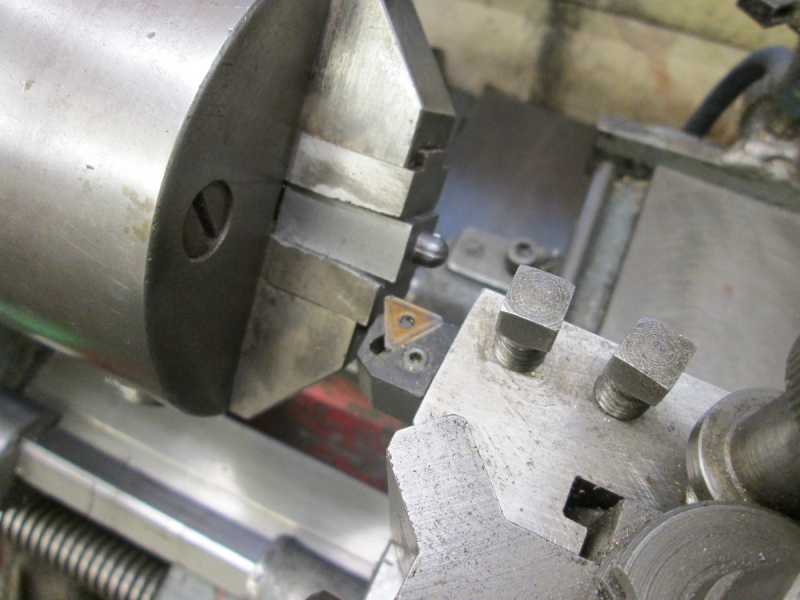
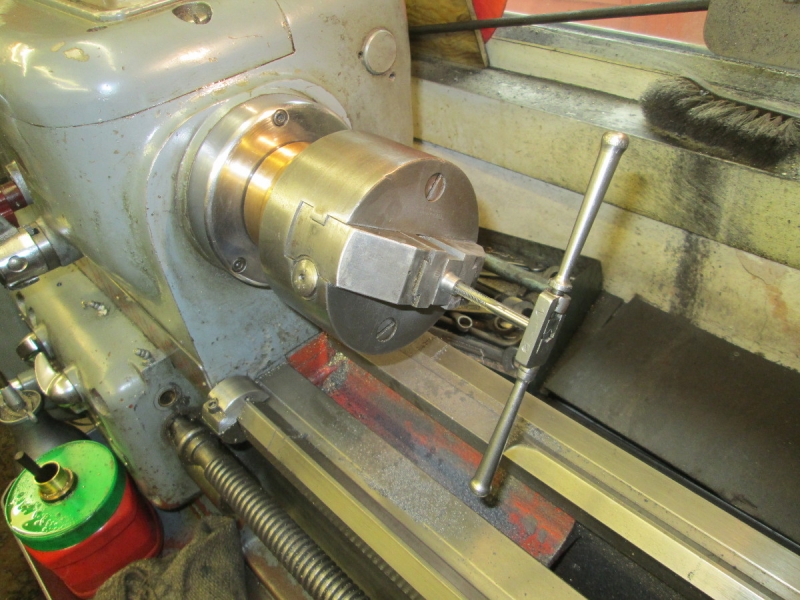
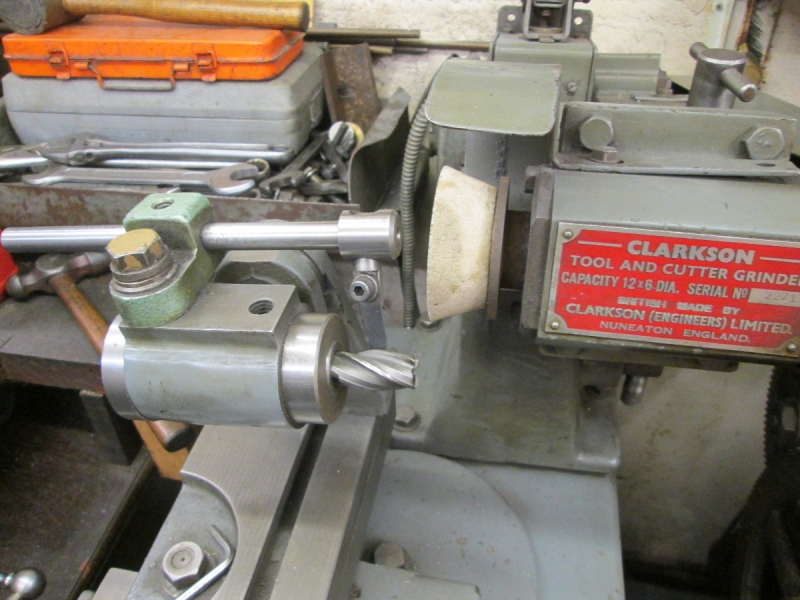
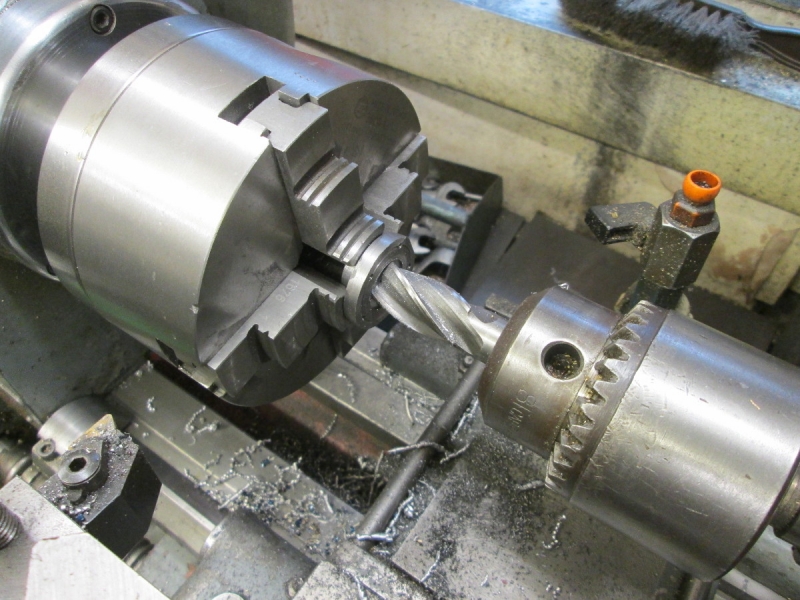
Then into the lathe to make it the right shape. Note that I am forcing myself to use the carbide tips. I looked through my stock of cutters and realised I have some new TNMG inserts that are too big for the two tool-holders I have and knowing how much they cost I went on the web and invested in a new left hand toolholder that will accept them. The cutters handled the high carbon steel OK but not the best finish in the world, plenty good enough for a boring bar though.

Image

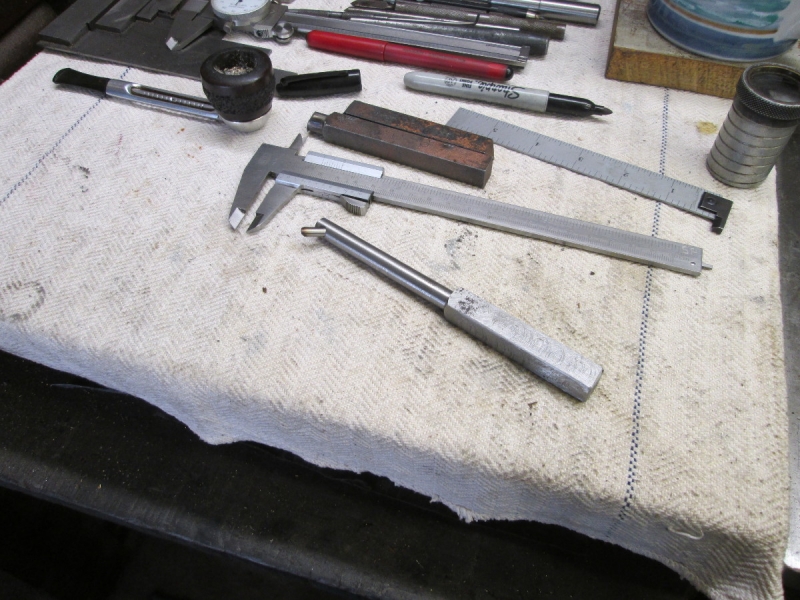
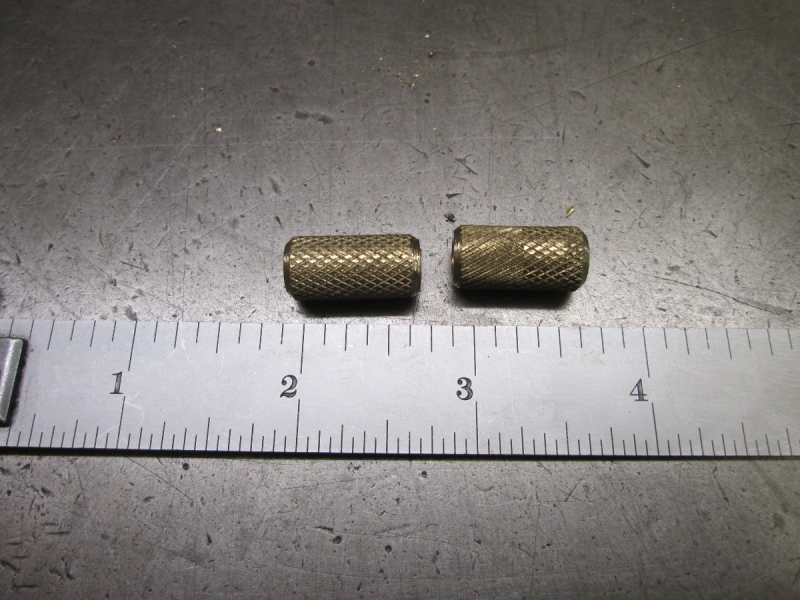
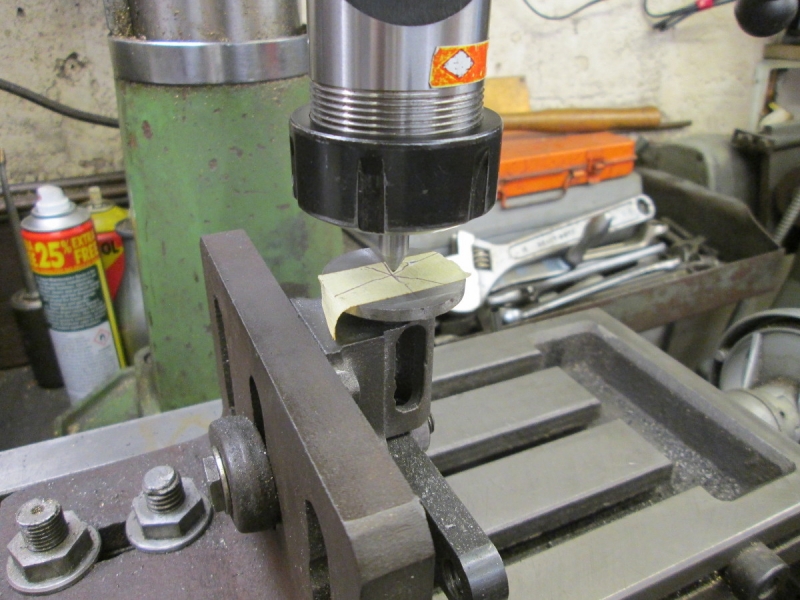
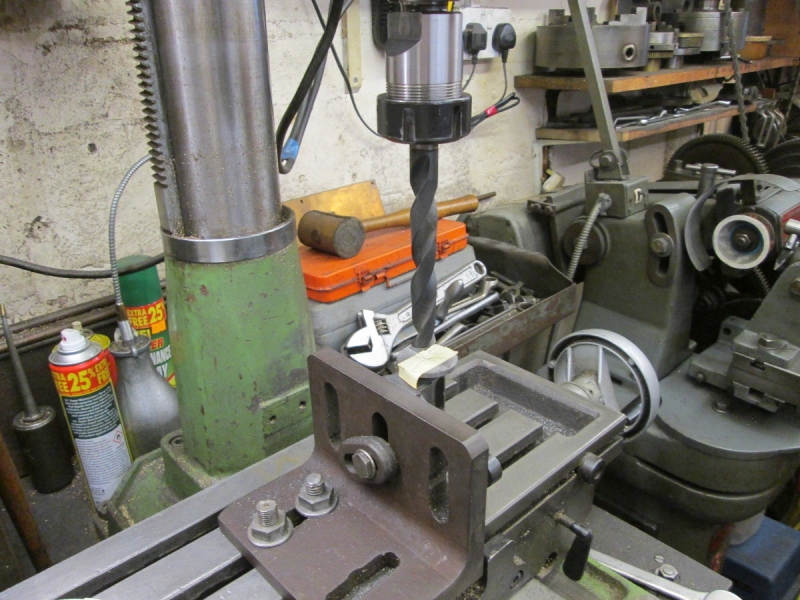
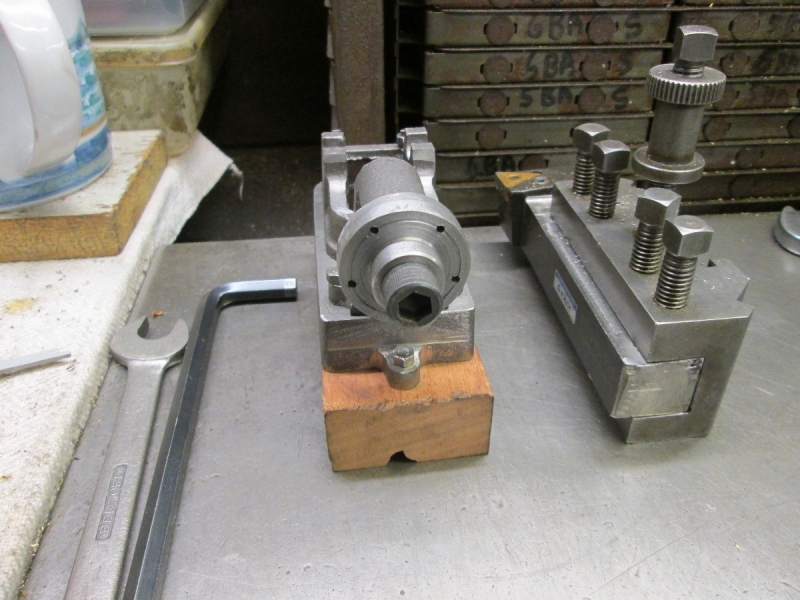
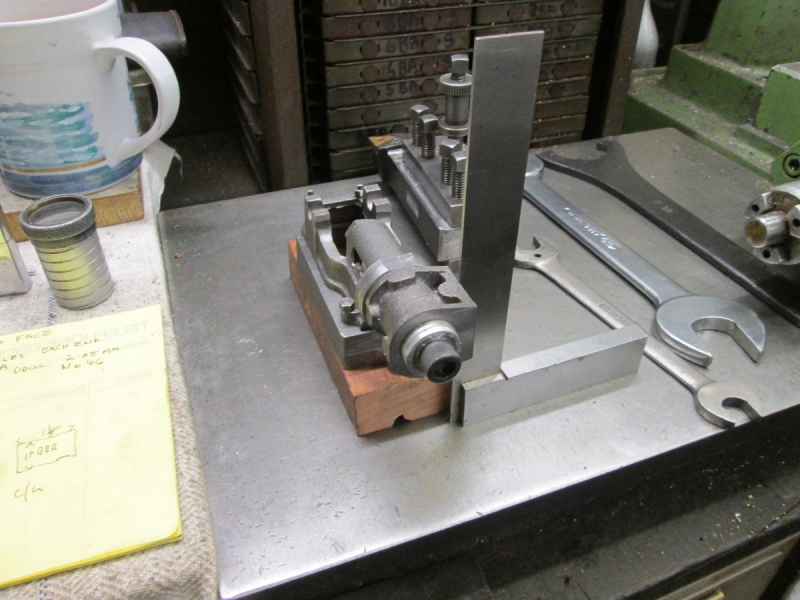
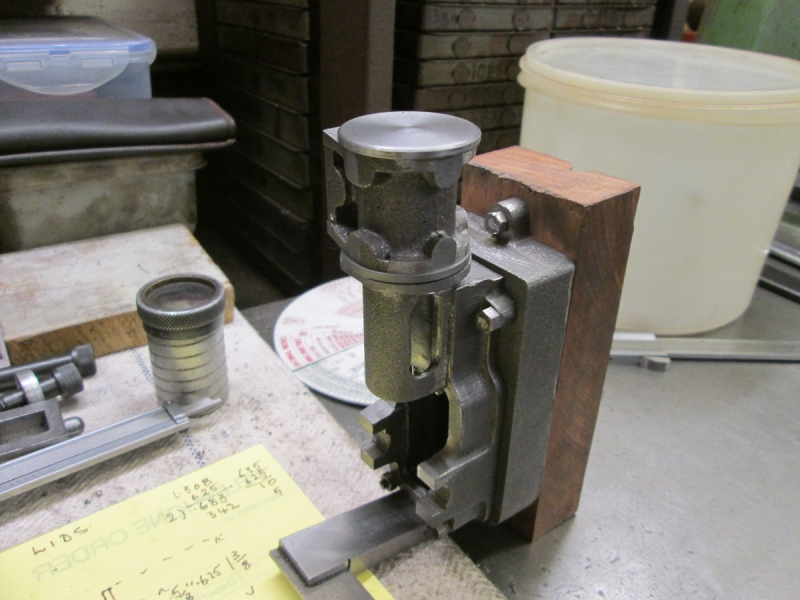
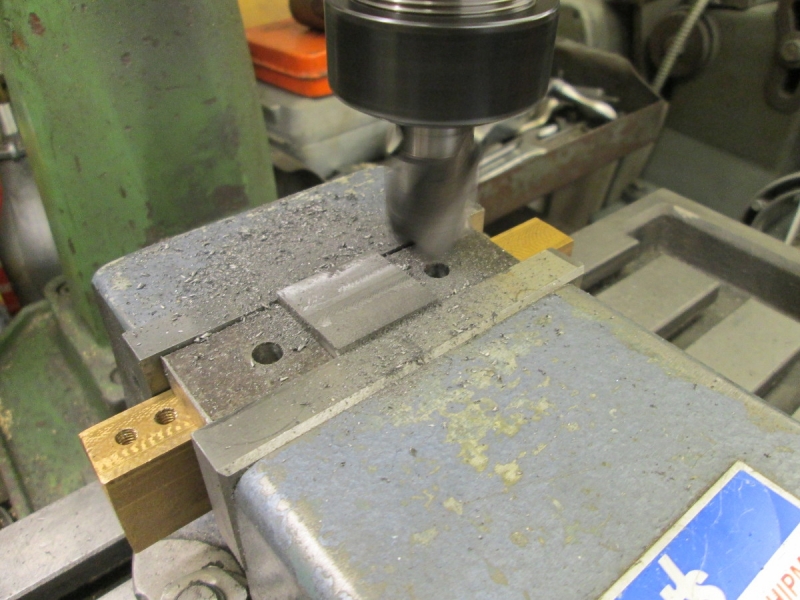
Here we are at closing time. I have fitted the bar with 3/16" HS steel and there is a socket head grub screw in the end to hold it. The tip needs sharpening but I'll do that tomorrow..... I haven't been wasting my time!
Stanley Challenger Graham
Stanley's View
scg1936 at talktalk.net

"Beware of certitude" (Jimmy Reid)
The floggings will continue until morale improves!
User avatar
Stanley
Global Moderator
Global Moderator
Posts: 90300
Joined: 23 Jan 2012, 12:01
Location: Barnoldswick. Nearer to Heaven than Gloria.

Re: SHED MATTERS 2

Post by Stanley »

My left hand toolholder arrives today from Heckmondwyke, same town as Mrs Harrison's birthplace. I wonder if there is a connection?
I got an attack of shed fever yesterday and couldn't get to sleep in the afternoon so I got up and applied my mind to tool holders for my quick change toolpost. The toolpost itself is a bit confusing, labelled Harrison it's actually a Dickson post and you have to do a lot of digging to ascertain which one. I've satisfied myself that it was originally the S2 but now is described as T2 in the catalogues of companies who make the same design post today. I looked at Bison who are one of them and found that I am a wealthy man, the toolpost is about £700 and the holders £80 each! (Once more I realise that I am a wealthy man!) I've had a good look at how I am using my nine toolholders and I don't need any more, I just need to rationalise how I am using them so that's going to be today's play out once I have sharpened the new boring bar and brought my others up to scratch. The most frequently used tools will be in the quick change holders and everything else can be used in the original 4-way post adjusted with packing strips.
This is so obviously logical it makes you wonder why I haven't addressed this before. I suppose I get so carried away with the current chip making job that other matters are a distraction. It's good having a project gap, it means I can address these little itches! By the way, I am going to persevere with the carbide tips.....
Stanley Challenger Graham
Stanley's View
scg1936 at talktalk.net

"Beware of certitude" (Jimmy Reid)
The floggings will continue until morale improves!
User avatar
Stanley
Global Moderator
Global Moderator
Posts: 90300
Joined: 23 Jan 2012, 12:01
Location: Barnoldswick. Nearer to Heaven than Gloria.

Re: SHED MATTERS 2

Post by Stanley »

Image

First job was to get my most used boring bars together and when I had sharpened the new one I went through the others and made sure they were all sharp and ready for work.

Image

Then I got all my toolholders together, nine of them, I told you I was a wealthy man! I made some decisions about them and here you see the results. The ones at the back are dedicated to tipped tools and the indicator. The front ones are my favourite LH HS cutter, a newly ground 60 degree tool for chamfering and a newly ground RH cutter for facing or general work. The empty one is waiting for the new tool which will be delivered inside the next hour. There is over £800 on the bench, almost as much as Mrs Harrison cost almost 40 years ago.....

Image

Another job that needed attending to was to relieve the lower jaw on my home made knurling tool. It's always been fine as it is but when I was knurling the flyshaft on the Fieldhouse to make it a heavier fit in the flywheel and doing the same for the crankpin I found that I could only just manage the 1/4" diameter so I knocked the pin out and relieved the back end. That cured it! Another job done.

Image

I had these two tool shanks left from the Stag tipped tools. As they are they are scrap but I decided I could alter that. I turned the ends down square ....

Image

..... and milled them square and clean. They are handy packing pieces now..... That was it, I had a general clean-up and got on with lunch and walking Jack. As soon as the carrier comes I will fit the new cutter into the spare tool holder.
Stanley Challenger Graham
Stanley's View
scg1936 at talktalk.net

"Beware of certitude" (Jimmy Reid)
The floggings will continue until morale improves!
User avatar
Stanley
Global Moderator
Global Moderator
Posts: 90300
Joined: 23 Jan 2012, 12:01
Location: Barnoldswick. Nearer to Heaven than Gloria.

Re: SHED MATTERS 2

Post by Stanley »

The new toolholder came accompanied by a massive catalogue of tools of such complexity and expense that it is totally mind-boggling. I'd describe it as shed porn!!
But, the toolholder. I got it completely wrong..... I found out that what I have been describing as a left hand tool all my life is actually right hand and vice versa! So I have the wrong hand. Not only that but I got the insert wrong so it won't take the inserts I got it for. However, it's a good addition to the armoury so I am keeping it.
I then went and spent about an hour and a half educating myself and have ordered the right tool for the inserts..... It means I have two of each hand for the different styles of inserts I have and can use the TNMG22 inserts I have. Nothing lost but it just goes to show how ignorant you can be and still function!
In case you're wondering..... A cutting tool with the edge on the left is used for cutting from RIGHT to left and is a right handed tool and vice versa. You live and learn......
Stanley Challenger Graham
Stanley's View
scg1936 at talktalk.net

"Beware of certitude" (Jimmy Reid)
The floggings will continue until morale improves!
User avatar
Stanley
Global Moderator
Global Moderator
Posts: 90300
Joined: 23 Jan 2012, 12:01
Location: Barnoldswick. Nearer to Heaven than Gloria.

Re: SHED MATTERS 2

Post by Stanley »

Image

When I squared the Stag shanks off yesterday I dulled the 3/4" cutter so the first thing I did was touch it up and take a light cut, much better. Then I remembered another job that I have been meaning to do for a while.

Image

When John and Mick came for the engines they brought gifts. Included were some tidy little brand new carbide tipped cutters. There are three of them. I popped the first one in the 4 way toolpost to get a look at the rabbit. The problem is that the shank is too deep and I can't get centre height so I need to skim about an 1/8" off the bottom. No problem! Until I got it in the mill and you can see from the colour of the chips what happened. The shank is so tough it immediately blunted the HS cutter. Time for a rethink.

Image

When John gave me the milling cutters I found there was one made of carbide. Just the job but it's dull. It just so happens that I had a green grit cup grinder in my treasure chest, I checked the Norton number and it's exactly the right one for carbide. One problem, it's a 1 1/4" hole when my spindle is 1/2" so I looked for a piece of alloy to make a reducing bush. Then I realised that I had another wheel that already had a plastic bush in it so that solved that problem.

Image

I needed two cardboard packings to allow the cup to seat properly and soon had them made. I've put this pic in to remind you that a lead block is ideal for backing up material if you are using hole punches. When it gets too scarred you simply remelt it.

Image

Set up, cup dressed and ready to go. When I installed the cup and started it for the first time I made sure I wasn't in the line of fire. The spindle does 2,500rpm and this cup is unused but old. All was well and it worked perfectly. I soon had a sharp carbide cutter.

Image

While I had my T&C hat on I put the ordinary cup back on and sharpened the 3/4" cutter. Then I set to in the mill.

Image

I've never used a carbide cutter before and it's magic. It cut nicely and I had white chips.....

Image

I checked the cutter in the tool post and had no problem with the centre height.

Image

I marked the other two cutters for the same depth. I'm ready to knock them off tomorrow. Nice morning, useful stuff done and I've been thinking..... I know what I want to make next.
Stanley Challenger Graham
Stanley's View
scg1936 at talktalk.net

"Beware of certitude" (Jimmy Reid)
The floggings will continue until morale improves!
User avatar
Stanley
Global Moderator
Global Moderator
Posts: 90300
Joined: 23 Jan 2012, 12:01
Location: Barnoldswick. Nearer to Heaven than Gloria.

Re: SHED MATTERS 2

Post by Stanley »

Image

Forget everything you have read about setting tools on centre, the best way to check is to face something and see whether it is clean. I checked the tool I did yesterday and once I was satisfied it was OK I set too on the others.

Image

I did one more check on the tool, I have this piece of tough metal. It's a piece of normalised cast steel, it used to be a big tap. I took a cut across it and there was no problem at all. The carbide tip was up to it!

Image

Not long afterwards I had three useful tools ready for work.

Image

Here's another itch I scratched. I have had this 4 Morse taper centre hanging around for a while and it is just the thing for checking a centre hole, especially in the 4 jaw. It's sat on the shelf above the lathe now instead of being hidden under the lathe.

Image

I'm scraping the bottom of the barrel here.... The plywood shield at the back of the lathe to stop swarf falling down into the steel stock has been loose and drooping for a long time. Out with the DeWalt drill, open the hole up, a new plug and a big screw. It's not drooping now. It was at this point when I vacuumed the floor in the shed and the kitchen and then mopped the kitchen with boiling water and Dettol that I realised I had to get a grip!

Image

So this won't surprise you.... Until I get sorted out with the next project I shall do what I know best. Use John's castings and make a steam engine cylinder. Never wasted!

Image

Usual drill. Get it set up as near as square as possible and mill a face on as a reference for everything that comes afterwards.

Image

Nice to be making a mess again.

Image

At closing time I have one good face and my checks show that it's about right. I can crash on tomorrow!
Stanley Challenger Graham
Stanley's View
scg1936 at talktalk.net

"Beware of certitude" (Jimmy Reid)
The floggings will continue until morale improves!
User avatar
Stanley
Global Moderator
Global Moderator
Posts: 90300
Joined: 23 Jan 2012, 12:01
Location: Barnoldswick. Nearer to Heaven than Gloria.

Re: SHED MATTERS 2

Post by Stanley »

Image

I have a good valve face so today I want to get the ends square. First I had to attend to article writing and getting ready for a housework binge from 9AM onwards with the free leccy. I was in the shed shortly after 7AM and my first job was to get the centres of the bore marked up and checked for parallel. John made a good job of casting the core, as far as I can see it's as near spot on as makes no difference.

Image

Some very careful setting up and marking brought me to here, ready to skim the ends as square as I can get them. They won't be perfect but I'm leaving a bit of wriggle room on the length so there's a chance of squaring up later in the lathe.

Image

It's good metal and cuts very freely, it didn't take long to get a good finish on each end, helped of course by the fact that I had sharpened the cutter.... You can't touch them up too often!

Image

I checked everything and measured it up. I have a slight discrepancy as suspected so I identified which end was the squarest and I'll bed that on the chuck face when I set up for boring.

Image

I put my friend the 4 jaw on and set the cylinder up as best I could. Note the protecting slip for the valve face.

Image

9AM was knocking off time as I have to cook. The cylinder is set up ready for boring and the end skimming to a perfect face. I've remembered to put the squarest end up to the chuck so I think I stand a chance of having it as near centred and parallel as possible. Good work and I enjoyed it. It makes it a lot easier when the casting is good metal.....
Stanley Challenger Graham
Stanley's View
scg1936 at talktalk.net

"Beware of certitude" (Jimmy Reid)
The floggings will continue until morale improves!
User avatar
Stanley
Global Moderator
Global Moderator
Posts: 90300
Joined: 23 Jan 2012, 12:01
Location: Barnoldswick. Nearer to Heaven than Gloria.

Re: SHED MATTERS 2

Post by Stanley »

Image

No mucking about this morning. I poked a 1/2" drill though the centre and then followed it with a 1 1/4" drill which took the plugs and a bit of the bore. I vacuumed the wood waste up and then I set too with the boring bar, I enjoyed it so much that I forgot to do a snap....

Image

The bore cleaned up (almost) at exactly 1.5" apart from a bit of a rough shop round a small blowhole in the centre. I didn't chase it to try to bore it out, there's just as much chance of it getting bigger as smaller and it won't affect the running. Then I put a good face on it and chamfered the edge of the bore. I was right about this end being the worst, I had to take quite a bit off it before it was square.

Image

I reversed the cylinder and made sure it was bedded on the face of the chuck. The square is for a check, too late if it is out of square. It was OK. I lost the centre of course but that doesn't matter for facing....

Image

This end only needed a light cut. We have a cylinder with a good valve face and a parallel bore dead on size. Not a bad start!
Stanley Challenger Graham
Stanley's View
scg1936 at talktalk.net

"Beware of certitude" (Jimmy Reid)
The floggings will continue until morale improves!
User avatar
Stanley
Global Moderator
Global Moderator
Posts: 90300
Joined: 23 Jan 2012, 12:01
Location: Barnoldswick. Nearer to Heaven than Gloria.

Re: SHED MATTERS 2

Post by Stanley »

Image

I started the day by doing some very careful measuring. What I found was that the bore is OK, I can only find about a thou difference in the bore size from one end to the other. However I found about 5 thou discrepancy between the distance to the valve face at each end, in other words the bore is not quite parallel with the face. It's not enough to make any difference to the cylinder but on a matter of principle I decided to improve it. Question was how? This is what I came up with, Two adjustable parallels, two 'V' blocks and a bar of silver steel ground stock. I spent a lot of time making sure that the steel bar was exactly parallel with the table.

Image

This was the first cut and as you can see is only connecting at the high end and it looked about right so I took the whole face down flat on this setting.

Image

I then clocked both the face and the side of the casting because my next two cuts were to give me a straight face on each side square to the ends as this is the size of the steam chest and the lid. It was OK so I did the cut and included the face of the boss for the exhaust outlet as well.

Image

I used the flat base to locate the casting in the vice and cut a register on the side of the cylinder opposite to the valve face. Once I had that I set up again and milled the faces of the bosses for the drain cocks.

Image

Then a lot of edge breaking with a diamond hone and cleaning the few snots off the casting. I checked the measurement that had offended me in the first place and found I was within less than 2 thou. That'll do me!

Image

Then something entirely different. I put the big three jaw on, grabbed the first lid the best I could and brought a bit of order to it, no size but all the faces true and square so I can hold it properly when I finish it.

Image

At closing time I had the first one sorted. The crooked core will be cut off, I don't need it for holding. I have the second lid in the chuck and have started on that one but I have left that for morning.....
Stanley Challenger Graham
Stanley's View
scg1936 at talktalk.net

"Beware of certitude" (Jimmy Reid)
The floggings will continue until morale improves!
User avatar
Stanley
Global Moderator
Global Moderator
Posts: 90300
Joined: 23 Jan 2012, 12:01
Location: Barnoldswick. Nearer to Heaven than Gloria.

Re: SHED MATTERS 2

Post by Stanley »

I seem to have lost yesterday's post, probably my fault because I was interrupted by Susan coming. No matter, you can guess what I was doing, straightening the cylinder lids and starting on the valve chest lid.....

Image

Today I was going to do more but before I started I did some checking and maintenance. First I trammed the vice in, it was almost dead accurate but an adjustment check is never wasted!

Image

Then I sharpened my end mills and touched up the cutter in one of my fly cutters because I want to use it this morning.

Image

I started by trimming the edges of the lid to very near the finished size and squared the ends up at the same time. I cut the lower side of the lid back to the finished thickness with this same cutter as it's plenty good enough for a seal.

Image

Then I cleaned the face with one pass of the fly cutter.

Image

Not bad for a home made cutter and an old bloke! It will polish nicely.

Image

Then the same treatment for the valve face. Two fine cuts and once again a good finish which will not take a lot of bedding in for the valve.

Image

I finished off by cleaning the faces of the valve chest as it is a slightly rougher casting then the others but nothing to worry about. This is still well oversize but that's for another day. Just as I was knocking off the courier delivered my left hand toolholder for the size 20 tips. First job tomorrow will be to cut the shank down to size as it is too big at the moment. I made a couple of cuts with the carbide cutter because it's tough stuff but I'll finish fitting it tomorrow. It's going to be OK, I have the right holder this time!
Stanley Challenger Graham
Stanley's View
scg1936 at talktalk.net

"Beware of certitude" (Jimmy Reid)
The floggings will continue until morale improves!
User avatar
Stanley
Global Moderator
Global Moderator
Posts: 90300
Joined: 23 Jan 2012, 12:01
Location: Barnoldswick. Nearer to Heaven than Gloria.

Re: SHED MATTERS 2

Post by Stanley »

Image

I started the day by getting my new toolholder sorted out. I decided the shank, though tough, could be reduced with a high speed cutter with care and I was right, better than blunt carbide! I soon had all the cutters in the correct holders and set to centre height. I resharpened the HS cutter I had used because it had worked hard and then had a good chip chase and clean up before starting on Ian's adaptors.

Image

I found some brass bar. Swapped to the 4 jaw SC chuck and just for a laugh reduced the stock to 3/8" with the biggest carbide cutter I have! No problems at all.

Image

Then I knurled it before I did any cutting.

Image

Awhile later I have his adaptors made. Bring the gun and the tip round Ian just in case we need to make any adjustments. I've made two in case you need another one.

Image

During the morning the postie called. We have the castings for Alex's engine! Slightly disappointed by the fact there isn't a forged crankshaft blank. I'll take a view on that later but will most likely chop one out of the solid..... Nice morning, everything accomplished. Not sure about the adaptors, Ian and I will play out tomorrow.....
Stanley Challenger Graham
Stanley's View
scg1936 at talktalk.net

"Beware of certitude" (Jimmy Reid)
The floggings will continue until morale improves!
User avatar
PanBiker
Site Administrator
Site Administrator
Posts: 16447
Joined: 23 Jan 2012, 13:07
Location: Barnoldswick - In the West Riding of Yorkshire, always was, always will be.

Re: SHED MATTERS 2

Post by PanBiker »

Looking good Stanley and my job just nipped in before your new toys. :extrawink: I'll call in the morning, just got in from exams and having a brew. I have to nip over to Silsden to get the grandchildren who are doing an overnighter with us tonight, so no chance of me getting to play with the adaptors tonight. :smile:
Ian
User avatar
Stanley
Global Moderator
Global Moderator
Posts: 90300
Joined: 23 Jan 2012, 12:01
Location: Barnoldswick. Nearer to Heaven than Gloria.

Re: SHED MATTERS 2

Post by Stanley »

Image

Not a lot to report this morning Kids! I have written three articles and have another to do. In case you're wondering what's going on here, I saw this heavy walled alloy tube in a rubbish bin this morning so I did a bit of bin-diving. It's very good quality and will come in for something.....

Image

I'm ready for Ian coming. The extremely old and thick manganese oxide jointing compound could be just the thing for sealing the thread on the tip. It will stand the heat and act as a high temperature jointing compound..... That's it Kids! I shall sign off and write another article.
Stanley Challenger Graham
Stanley's View
scg1936 at talktalk.net

"Beware of certitude" (Jimmy Reid)
The floggings will continue until morale improves!
User avatar
Stanley
Global Moderator
Global Moderator
Posts: 90300
Joined: 23 Jan 2012, 12:01
Location: Barnoldswick. Nearer to Heaven than Gloria.

Re: SHED MATTERS 2

Post by Stanley »

Ian collected his loot. On adaptor was a bum when we tried it but the other looked OK. I haven't had word on whether it worked or not.....
Stanley Challenger Graham
Stanley's View
scg1936 at talktalk.net

"Beware of certitude" (Jimmy Reid)
The floggings will continue until morale improves!
User avatar
Stanley
Global Moderator
Global Moderator
Posts: 90300
Joined: 23 Jan 2012, 12:01
Location: Barnoldswick. Nearer to Heaven than Gloria.

Re: SHED MATTERS 2

Post by Stanley »

Image

I started the morning by putting the John Castings away safely and then unpacking the Stuart set. The first job was to clean the castings up on the grinding wheel, gates and flash ground off and the bottom surface of both the bed and the top casting, I think they will be flat enough..... We shall see. Here is the bed fastened directly to the bed of the VM. I took a light cut over the top and got a clean finish first time so I must have got the base somewhere near..

Image

Then I checked the position of the spots cast in the bed for the bolts and found they were a bit out of kilter so I revised them and spotted the correct locations with the centre drill.

Image

After drilling all the holes and tapping the ones in the bed 7BA I addressed the small matter of how to face the cylinder bed and bore the crosshead slide. I settled on this set up.

Image

It was knocking off time but I stretched a point and took a cut over the cylinder face to test the set up. It cleaned up after two light passes and is OK. The crosshead slide will be bored on the same setting so it will be perfectly aligned. The castings are superb quality, a joy to work with them!
Stanley Challenger Graham
Stanley's View
scg1936 at talktalk.net

"Beware of certitude" (Jimmy Reid)
The floggings will continue until morale improves!
User avatar
Stanley
Global Moderator
Global Moderator
Posts: 90300
Joined: 23 Jan 2012, 12:01
Location: Barnoldswick. Nearer to Heaven than Gloria.

Re: SHED MATTERS 2

Post by Stanley »

Image

While I have the casting on this setting I want to bore the circular crosshead guide 5/8". So first thing to do was have a stab at finding a centre and locking X and Y. A bit of masking tape gave me something to mark.

Image

I just happen to have a brand new 5/8" drill so I poked it through, it might not be perfect but I can fit the crosshead to it.....

Image

I wasn't satisfied by the quality of my job when I tapped the holes in the bed. 7BA is a fiddly little size and it doesn't look right so I altered the bolts to 4BA and got them fitted. Then I had a good tidy up, put some tools away and I'll decide tomorrow what to do next.
Stanley Challenger Graham
Stanley's View
scg1936 at talktalk.net

"Beware of certitude" (Jimmy Reid)
The floggings will continue until morale improves!
User avatar
Stanley
Global Moderator
Global Moderator
Posts: 90300
Joined: 23 Jan 2012, 12:01
Location: Barnoldswick. Nearer to Heaven than Gloria.

Re: SHED MATTERS 2

Post by Stanley »

Image

One of the problems with small castings is that you have to be very careful how you hold them, they distort and crack so easily. So first thing this morning was to get my chop saw out on the bench in the yard and cut a piece of mahogany for a temporary base. Here's the engine bolted down on it. I can hold it now.....

Image

It doesn't look very much different but I have spent an hour cleaning the casting up where necessary. Not to the point where it stops looking like a casting but all the flash and rough edges filed off.

Image

Next job was to make a template for the crosshead face and the cylinder. 5/8" spigot for the slide and 3/4" for the cylinder.

Image

Here's the trial of the crosshead slide spigot. Note the blue chips. I am getting used to these tips.....

Image

Here's an improvement. Parting off took me 40 years to learn!! But I'm OK now I think....

Image

Knocking off time. I have the template made. Now it wants drilling with the hole pattern for the cylinder and it will be the template for both the slide and the cylinder. It will also be a good template for filing the target end of the casting to size,far too hard to set it up in the lathe. So I know what I am doing tomorrow.....
Stanley Challenger Graham
Stanley's View
scg1936 at talktalk.net

"Beware of certitude" (Jimmy Reid)
The floggings will continue until morale improves!
User avatar
Stanley
Global Moderator
Global Moderator
Posts: 90300
Joined: 23 Jan 2012, 12:01
Location: Barnoldswick. Nearer to Heaven than Gloria.

Re: SHED MATTERS 2

Post by Stanley »

Image

The aim this morning was to get into the cylinder but before I could do that I need to get the hole pattern for the covers sorted out. The studs are 7BA so my first job was to sort out some sizes of drills, there is no such thing as a 2.05mm drill but there's a number 46! Getting there involves some old tables and tackle....

Image

I started by scribing the PCD on the template and then went to Johnny's lathe in the front room to divide a circle into 5 parts. I usually mark the positions with a Slocombe drill driven by the overhead gear but this morning did it a different way by scribing a line with a small threading tool on its side.....

Image

That worked fine so I punched the intersections and set the template up in the drill press like this, it ensures it's perpendicular. I drilled the five holes No 46, tapping size for 7BA.

Image

I set the template up on the end of the casting, clamped it down and then used the five holes as a guide while I drilled the flange on the casting freehand with the new DeWalt drill. The template is thick enough to be a good guide.

Image

Then I milled two flats on the opposite side of the cylinder casting to the valve face. This meant I could turn the cylinder over and mill the valve face flat and the correct thickness.

Image

Then I found the centre of the casting using masking tape as before, I bored it with a cutter that gave me a hole 25 thou under the specified .75". That's no problem, I shall make the piston to suit.....

Image

Here's where we knocked off. We have a bore and a valve face. What we need now is the correct length of the casting, square ends and the stud holes in the cylinder.
Stanley Challenger Graham
Stanley's View
scg1936 at talktalk.net

"Beware of certitude" (Jimmy Reid)
The floggings will continue until morale improves!
User avatar
Stanley
Global Moderator
Global Moderator
Posts: 90300
Joined: 23 Jan 2012, 12:01
Location: Barnoldswick. Nearer to Heaven than Gloria.

Re: SHED MATTERS 2

Post by Stanley »

Image

You can't beat starting the day by sharpening a cutter! Takes two minutes and makes such a difference.

Image

I milled a flat on the end of the cylinder template and the trunk slide and marked it with a small sharp chisel. We need a witness mark.

Image

I marked the cylinder ends for reducing to the finished size and knocked them off with the freshly sharpened cutter.

Image

Once I had a square ended cylinder the correct size I clamped it to the trunk slide (Having the bank of different length 3/8" cap screws is essential!) and after making sure the cylinder was mounted in such a way that the valve face is exactly perpendicular. Nothing looks worse then a misaligned cylinder. Then I transferred the witness mark on the Trunk slide to the cylinder. At the same time I identified the trunk slide end of the cylinder with a small zero stamped on the cylinder and the slide.

Image

I think you can see that I ran the cutter across the top of the cylinder to give me a clear face to put the witness mark. It was a good idea mounting the engine on this wooden block. Makes it much easier to hold. While I had it set up I milled the tops of the horns where the crankshaft bearings will sit to the right height. Then I sorted out a 7/16" cutter to mill out the horns ready for the bearings. The brass casting for the bearings is sat in the horns, I'll file out the bottom when I come to fit them.

Image

Using the witness mark I lined up the template on the end of the cylinder and drilled them tapping size using a pin vice to extend the drill.....

Image

That's the trunk slide end ready for tapping 7BA. (By the way, my 7BA taps are not good so I'm going to order a set of three this morning as soon as I have posted.)

Image

After a double check to make sure of my sizes I drilled the holes in the trunk slide to clearance size for 7BA.

Image

My last move before knocking off time was to drill the tapping holes for the studs in the back end of the cylinder making sure that the top two studs were template way, in line horizontally. That'll do for today, lots of fiddly work done and no cock-ups!
Stanley Challenger Graham
Stanley's View
scg1936 at talktalk.net

"Beware of certitude" (Jimmy Reid)
The floggings will continue until morale improves!
User avatar
Stanley
Global Moderator
Global Moderator
Posts: 90300
Joined: 23 Jan 2012, 12:01
Location: Barnoldswick. Nearer to Heaven than Gloria.

Re: SHED MATTERS 2

Post by Stanley »

I ordered the three 7BA taps from Kennions and they are in first class post, could be here today! They are Carbon Steel as opposed to HSS but this is no problem in these small sizes. As a matter of interest the taps plus postage cost £10. I keep telling you that that small rack of drawers is worth a small fortune!
Stanley Challenger Graham
Stanley's View
scg1936 at talktalk.net

"Beware of certitude" (Jimmy Reid)
The floggings will continue until morale improves!
User avatar
Stanley
Global Moderator
Global Moderator
Posts: 90300
Joined: 23 Jan 2012, 12:01
Location: Barnoldswick. Nearer to Heaven than Gloria.

Re: SHED MATTERS 2

Post by Stanley »

I was in the shed by 8AM.....

Image

I'm looking at the lids for the cylinders this morning and one thing that struck me yesterday when I was looking at the studs was how short they are. It's apparent that I have to attend to the thicknesses specified on the drawing and not 'what looks right to me' which is my usual mode. So I started by thinning the flange on the head of the trunk slide down to what the drawing asks for.

Image

I cleaned Mrs Harrison up because we are turning cast iron and I like to keep the ways clean. The iron is good quality but dead on 1 3/8" which is the finished size so after a clean up we shall be a thou or two short on the outside diameter but that's no big problem. Rather that than no finish! Here we are ready to start and once more I made myself use my biggest tipped tool! After all it's only the very tip that's working.

Image

50 thou a side cuts work well and make me a lot faster! Here we are ready to part off, no longer a nightmare thanks to John and Mick! I bored the hole for the piston rod first. Later when I had finished I had a thought and went back to look at the drawing as 3/32" seemed a bit small. It was! It should have been 5/32" but no matter, I'll open that up tomorrow before I make the other lid.

Image

Image

Here we are at knocking off time. I have scribed the PCD on the lid even though I won't need it. Lots to do yet, it needs drilling for the studs and a gland making but that's a nice little job for tomorrow.

Later on.... dead on time and good service.....

Image
Stanley Challenger Graham
Stanley's View
scg1936 at talktalk.net

"Beware of certitude" (Jimmy Reid)
The floggings will continue until morale improves!
User avatar
Stanley
Global Moderator
Global Moderator
Posts: 90300
Joined: 23 Jan 2012, 12:01
Location: Barnoldswick. Nearer to Heaven than Gloria.

Re: SHED MATTERS 2

Post by Stanley »

Image

I had a choice, I could work on the front lid or carry on with the CI, make the other lid and get as much muck out of the way as possible. So here's the roller bearing trick to straighten the short piece of material....

Image

It didn't take long to knock the back lid off. It can wait for drilling.

Image

Another look at the state of play....

Image

I remembered yesterdays mistake and poked the 5/32" drill through the front lid.

Image

Then I attacked the flywheel. I checked all the measurements, did a fag packet and got stuck in.

Image

While I had it centred and after polishing the shiny bits I decided to bore it for the shaft. By the way, I'll probably tidy the spokes up with a file later but I am leaving much of the wheel Casting finish. According to the drawing the bore for the shaft was 5/32" but I got the shaft out that they supply and measured it. It was less than 5/32" so I did a bit of reckoning up and drilled it 7.1mm which theoretically is 3 thou smaller than the shaft. All drills bore slightly oversize and the result was a nice fit that will take shaft lock easily. Their way is to use a grub screw.... absolutely the right way to make sure the flywheel isn't concentric!

Image

I moved on to the valve chest and made it square and the right size ready for the two jaw chuck tomorrow. We're getting a nice selection of parts now!
Stanley Challenger Graham
Stanley's View
scg1936 at talktalk.net

"Beware of certitude" (Jimmy Reid)
The floggings will continue until morale improves!
User avatar
Stanley
Global Moderator
Global Moderator
Posts: 90300
Joined: 23 Jan 2012, 12:01
Location: Barnoldswick. Nearer to Heaven than Gloria.

Re: SHED MATTERS 2

Post by Stanley »

I started the morning by draining the air tank on the compressor, checking the oil level, cleaning the outside and dragging it into the shed doorway so the hose would reach the computer. I wanted to clean the fans and heat sinks.
Stanley Challenger Graham
Stanley's View
scg1936 at talktalk.net

"Beware of certitude" (Jimmy Reid)
The floggings will continue until morale improves!
User avatar
Stanley
Global Moderator
Global Moderator
Posts: 90300
Joined: 23 Jan 2012, 12:01
Location: Barnoldswick. Nearer to Heaven than Gloria.

Re: SHED MATTERS 2

Post by Stanley »

Image

On with the steam chest. First job was to get my favourite chuck on for these jobs, the two jaw brass finisher's chuck. The four jaw would have held the casting but the jaws would leave marks. This chuck doesn't grip as hard but light cuts are OK. Biggest job is getting it centred correctly, lots of fiddling about.

Image

Here's an example, when you tap it to get it square you automatically knock it out of centre. Lots of patience......

Image

While it's centred I drilled for the valve rod and drilled and tapped the boss for the gland nut. The drawing calls for 1'4" X 32tpi, god alone knows what thread that is. I didn't bother puzzling about it, mine is 1/4" X 26tpi!

Image

Image

Then I switched to the lid.

Image

Close of play.... I didn't have long in the shed this morning but nice progress, the pile of parts grows nicely.
Stanley Challenger Graham
Stanley's View
scg1936 at talktalk.net

"Beware of certitude" (Jimmy Reid)
The floggings will continue until morale improves!
User avatar
Stanley
Global Moderator
Global Moderator
Posts: 90300
Joined: 23 Jan 2012, 12:01
Location: Barnoldswick. Nearer to Heaven than Gloria.

Re: SHED MATTERS 2

Post by Stanley »

Image

I didn't get in the shed until about 08:30, you wouldn't believe how long it takes to put loose covers back on a sofa! First task was to do a good job of finishing the flywheel casting. I probably spent half an hour on it....Then I tidied the exterior of the cylinder casting a bit but not too much! I like the cast finish.

Image

I can hear you doing a double take here and saying he did that yesterday. Quite right but when I looked at it this morning it was a bit on the thick side and not perfectly uniform in thickness so I very carefully set it up and did a bit of adjusting! It's respectable now.....

Image

I turned my attention to the lids and recognised that in order to use my template for the holes I had to have a recess in the end to take the register on the lid for the bore. This is the cutter I used to bore the cylinder and while it was sharp enough to bore with, it needed touching up for what I needed it for now, making the recess.

Image

I turned the boss off the template and soon had my recess in the end.

Image

I'm spending a lot of time thinking here.... I have been here before and cocked up! It's very easy to get confused with the mirror element of using the same template for the lid as you did for the hole pattern on the cylinder. So I'm making absolutely sure I have my act together! When I start drilling tomorrow I want to be sure I have it exactly right!
Stanley Challenger Graham
Stanley's View
scg1936 at talktalk.net

"Beware of certitude" (Jimmy Reid)
The floggings will continue until morale improves!
Locked

Return to “Crafts”