Shed Matters 3

User avatar
Stanley
Global Moderator
Global Moderator
Posts: 90301
Joined: 23 Jan 2012, 12:01
Location: Barnoldswick. Nearer to Heaven than Gloria.

Re: SHED MATTERS 2

Post by Stanley »

Image

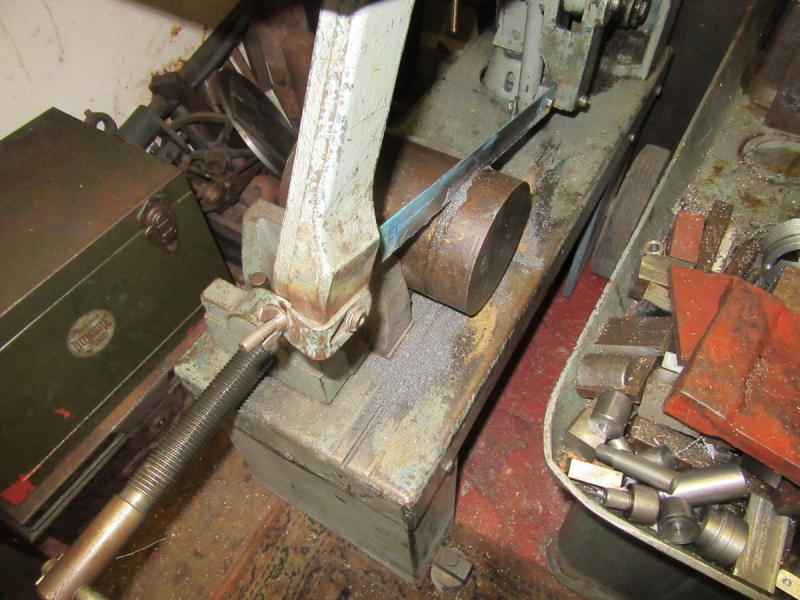
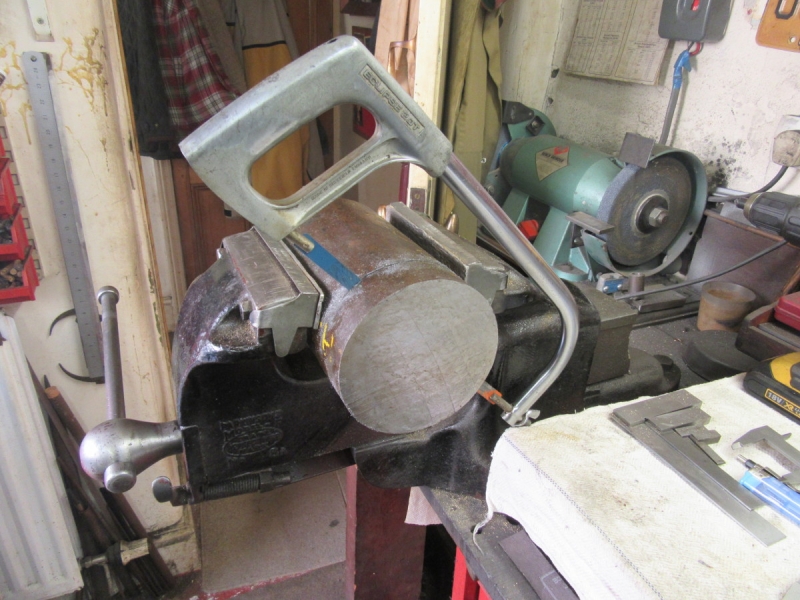
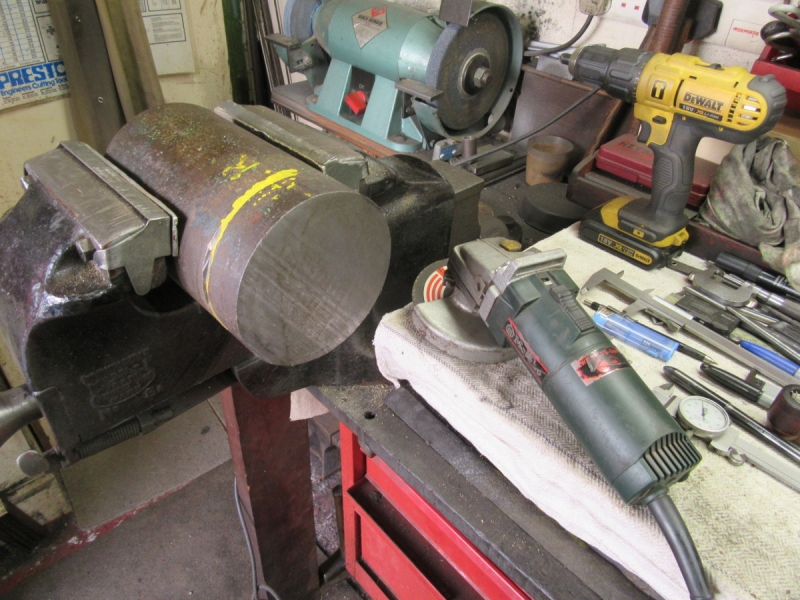
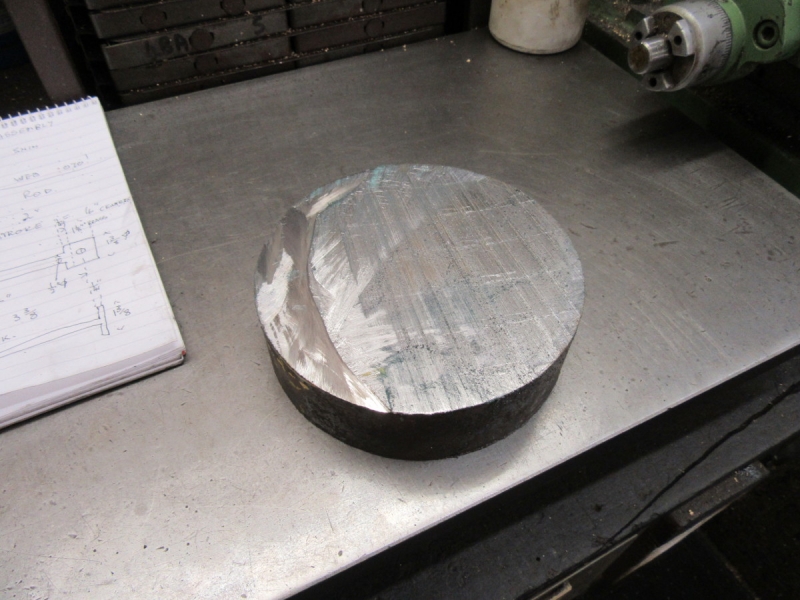
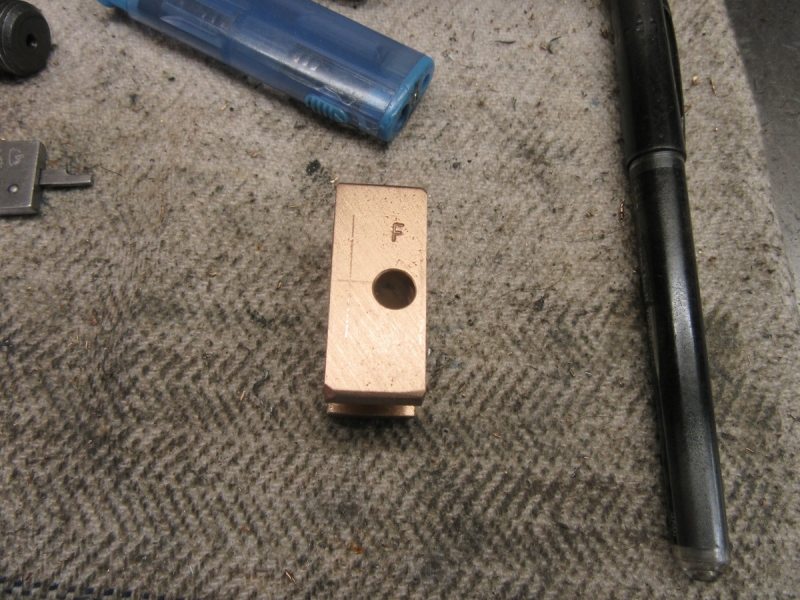
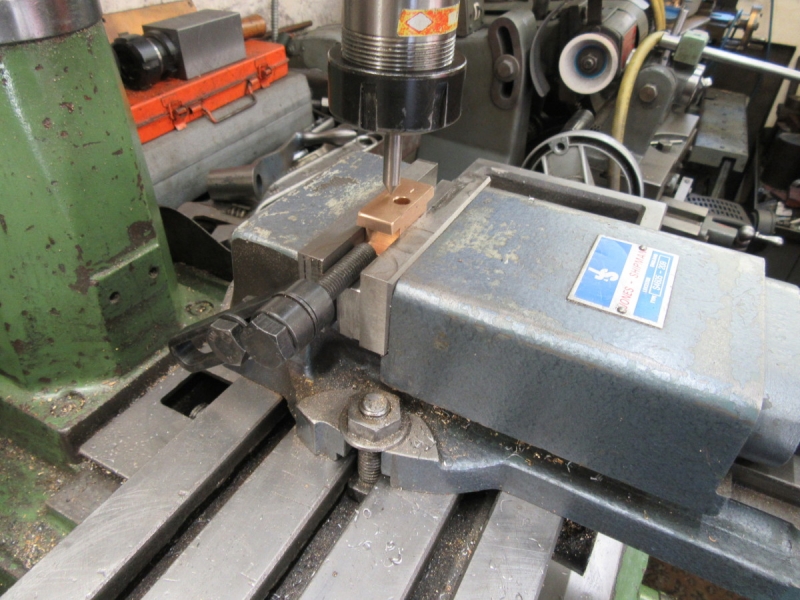
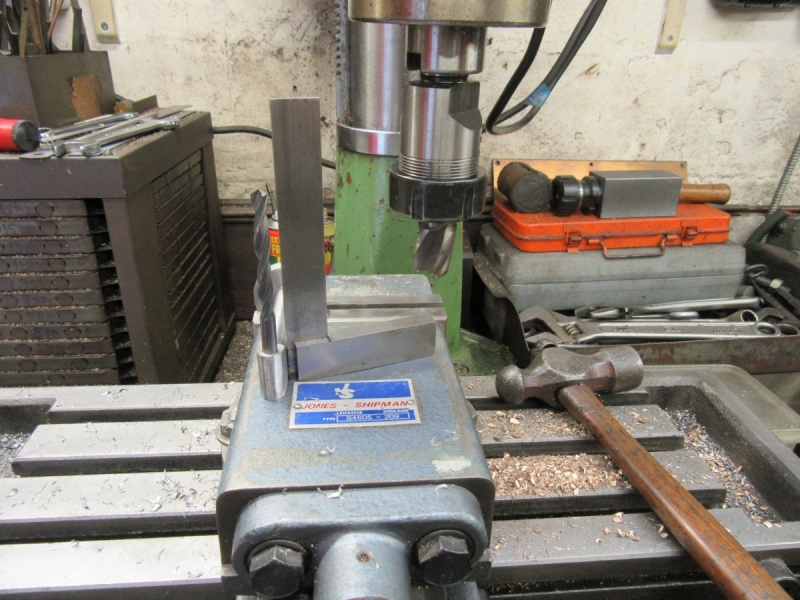
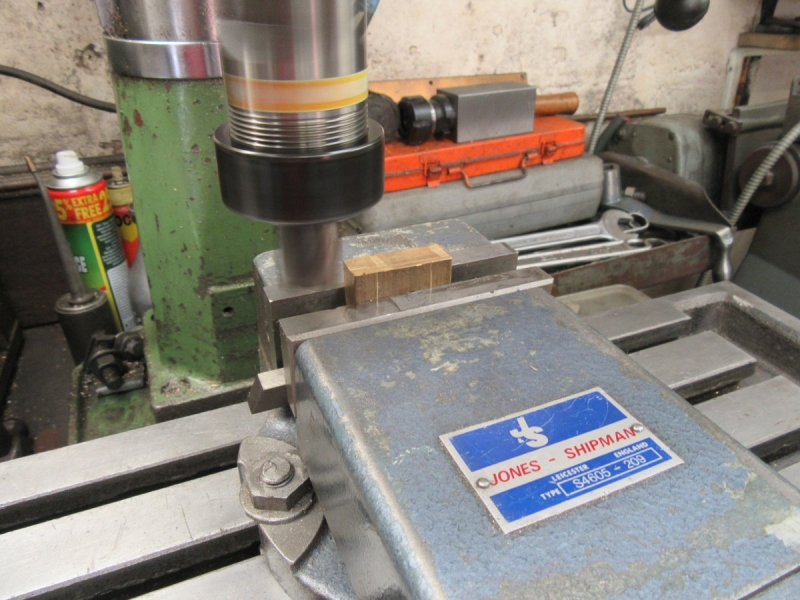
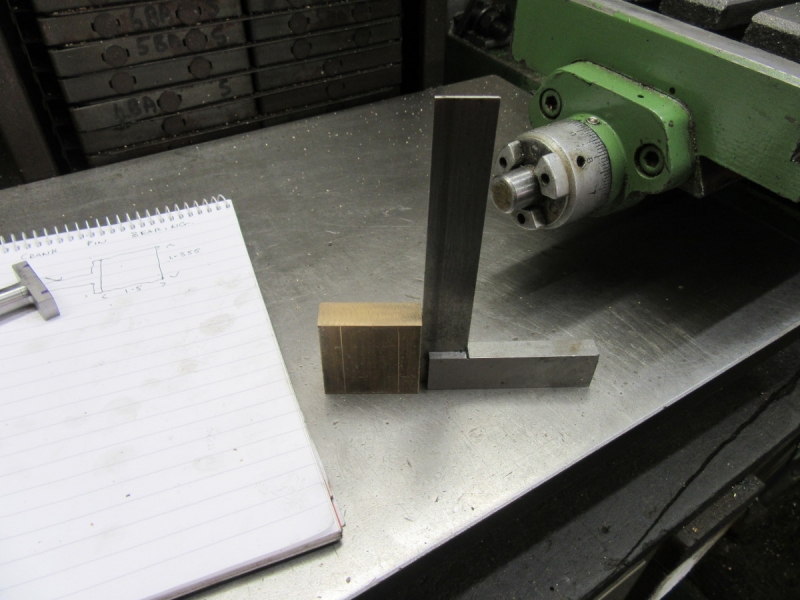
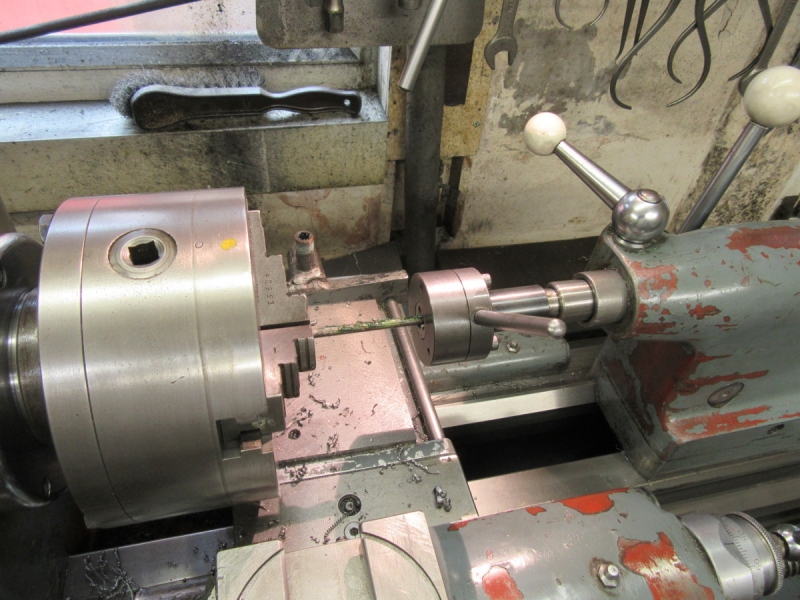
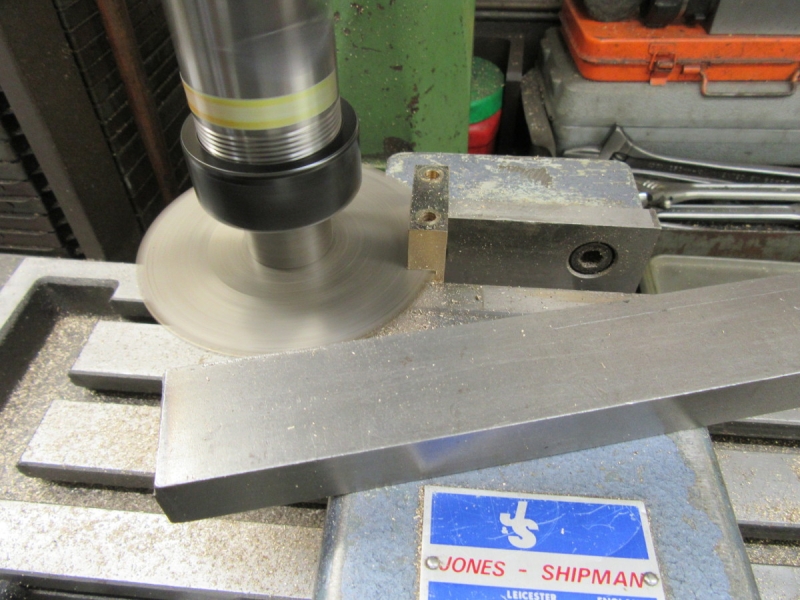
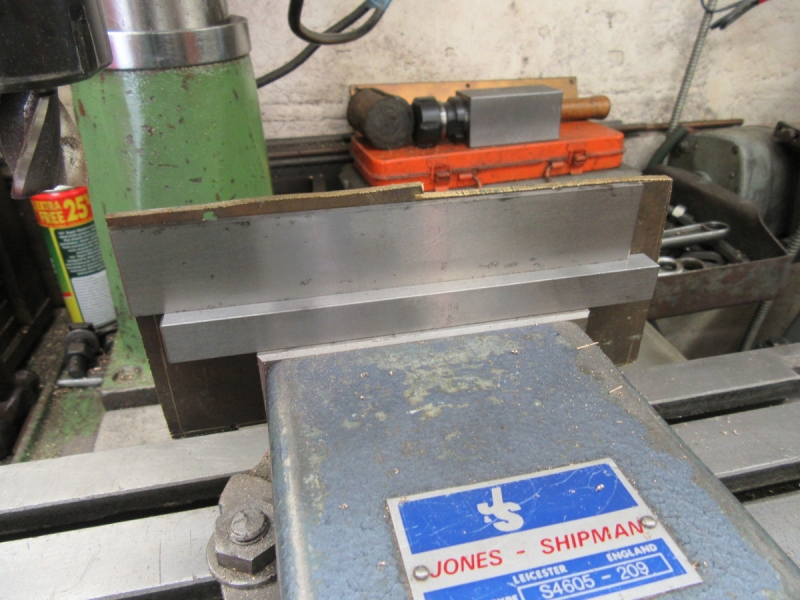
It was after 08:00 when I got in the shed, Friday is a busy day! Today's job is to end up with an accurate base plate and a clean piece of brass angle for the valve guide casting. It's handy if you can trust the top of the vise jaw to be parallel with the bed. Always a good plan to get a high end vise, the cheap Chinese ones will always let you down in the end! Some careful cuts and I soon had two parallel sides.

Image

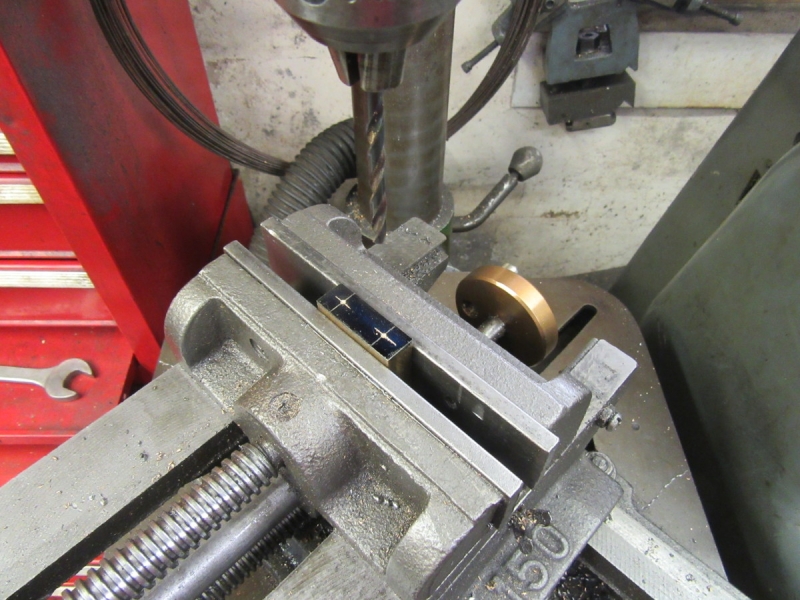
I was lucky with the ends, the vise just opened far enough to get the plate in on two parallels so cutting them square was easy.

Image

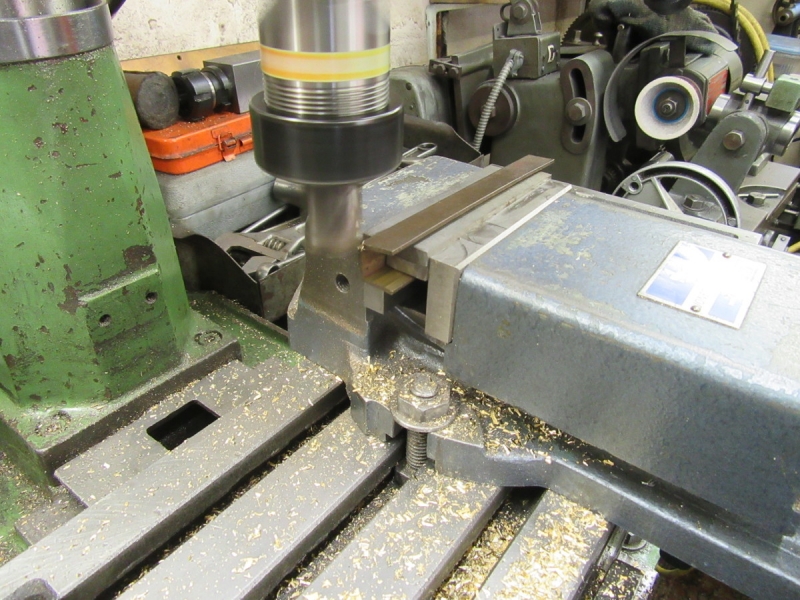
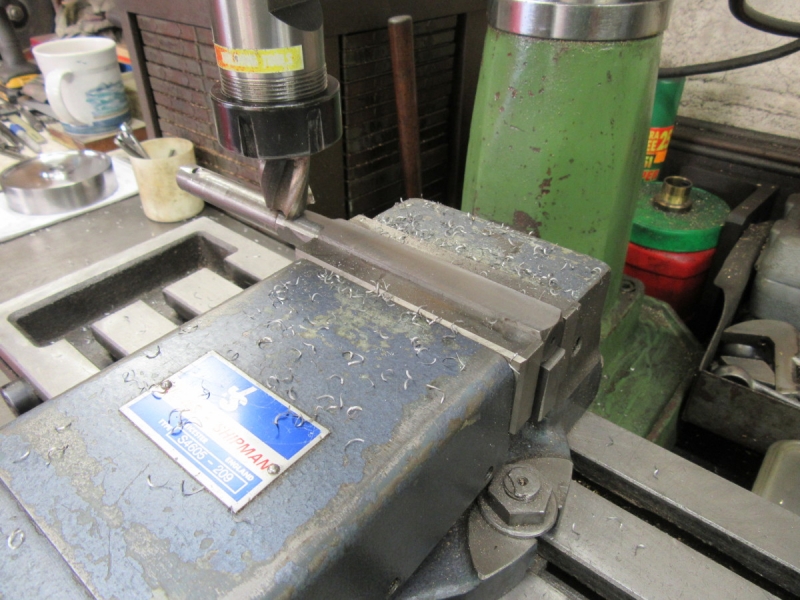
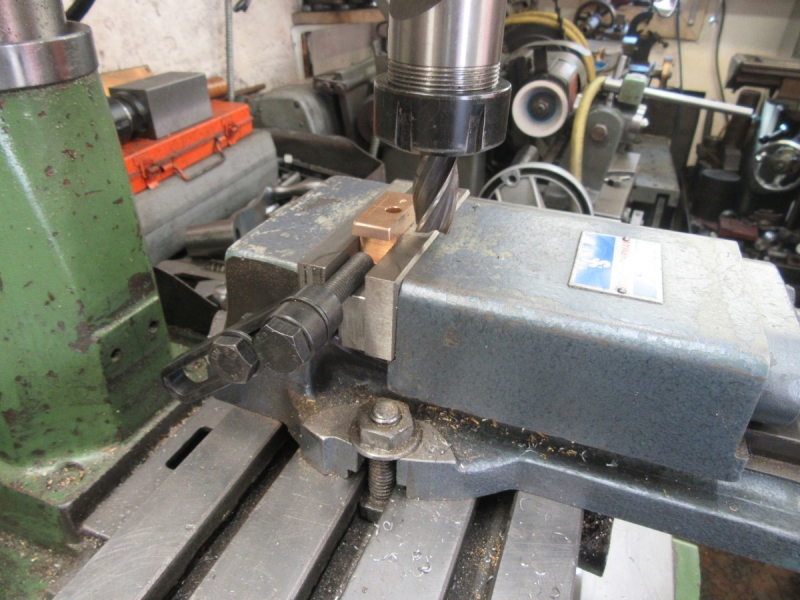
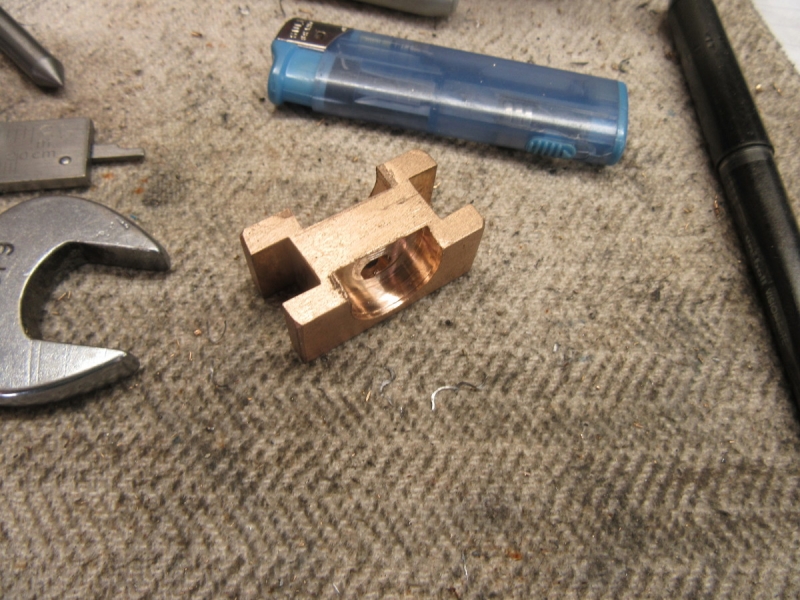
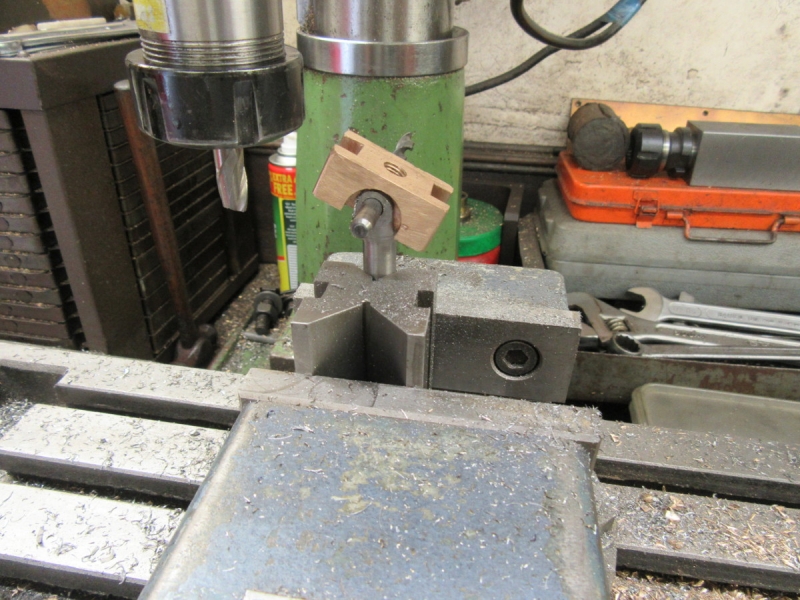
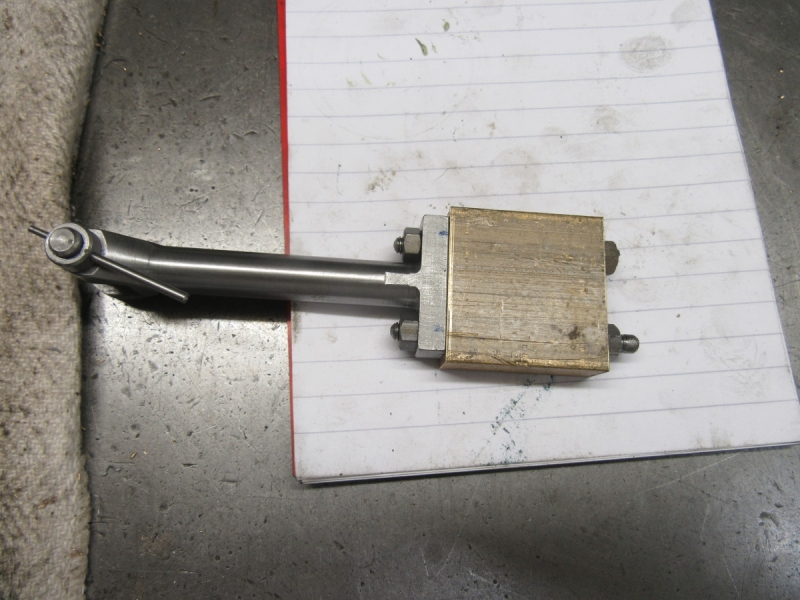
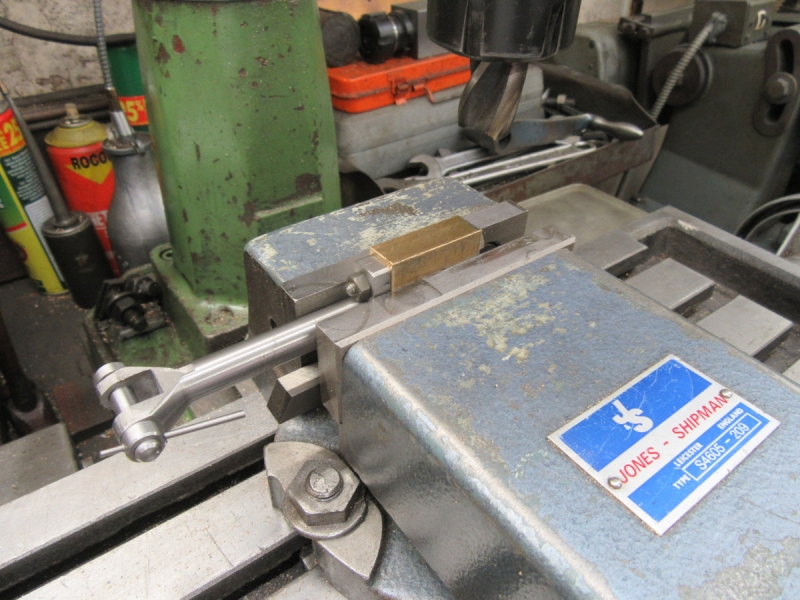
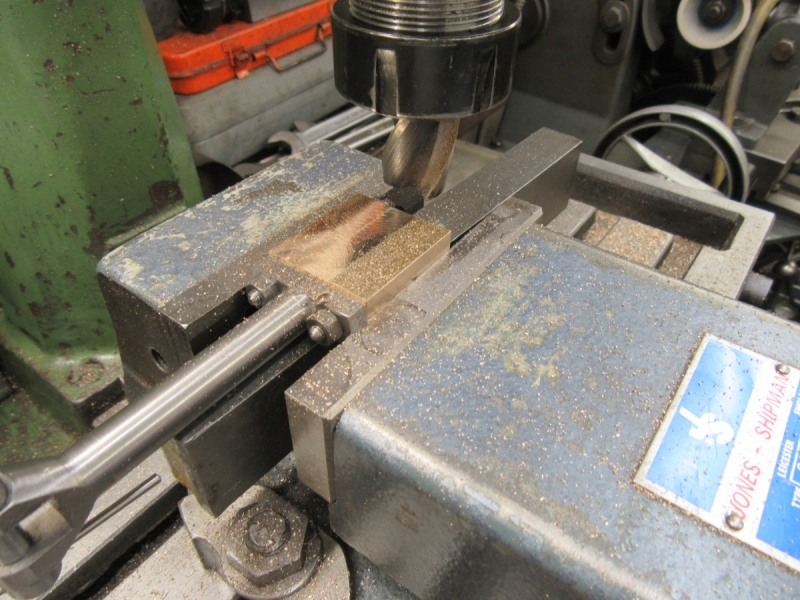
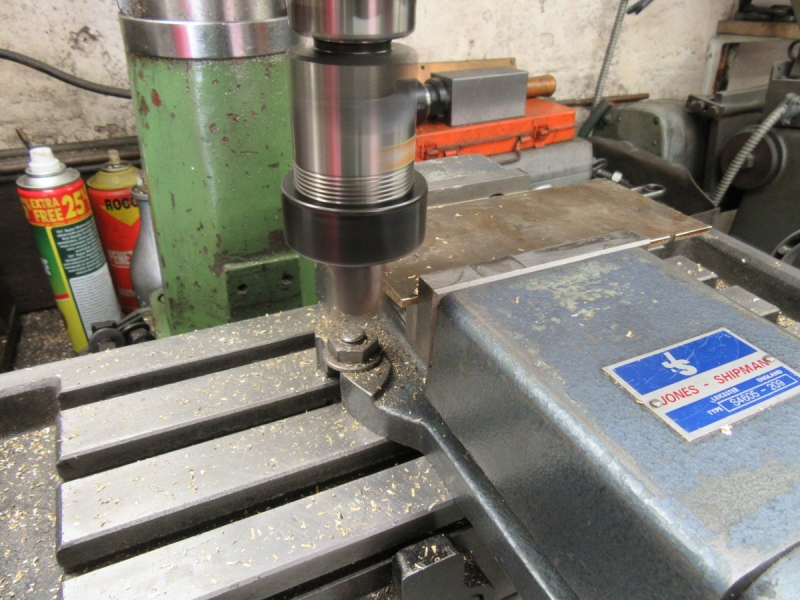
Cutting the web off the angle was easy. Just set it up and cut the corner out with one pass.

Image

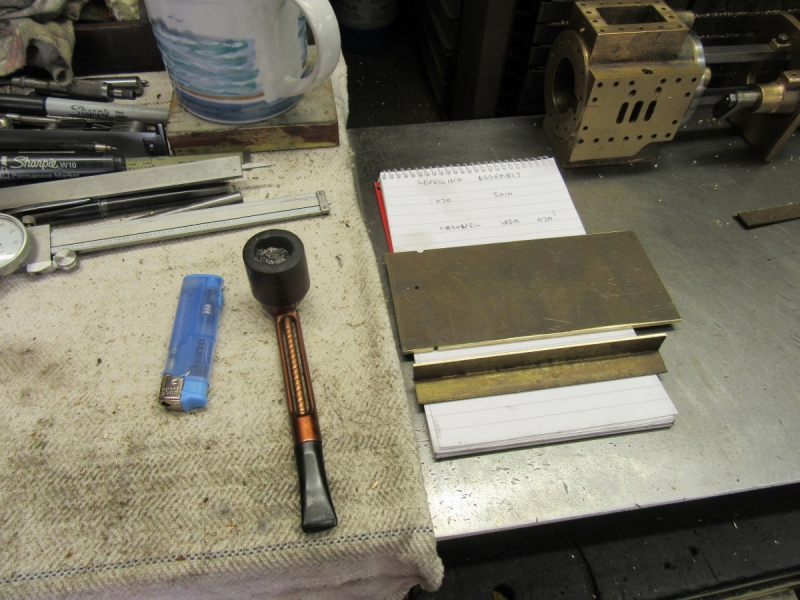
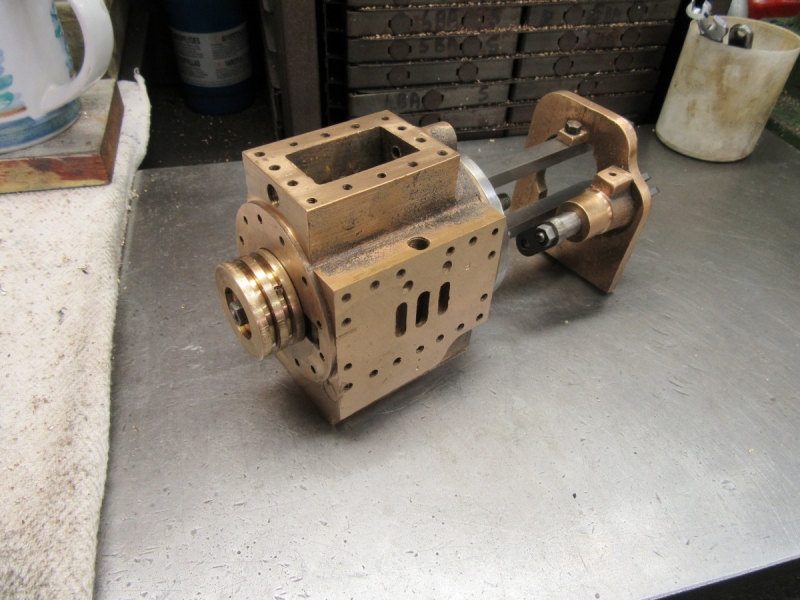
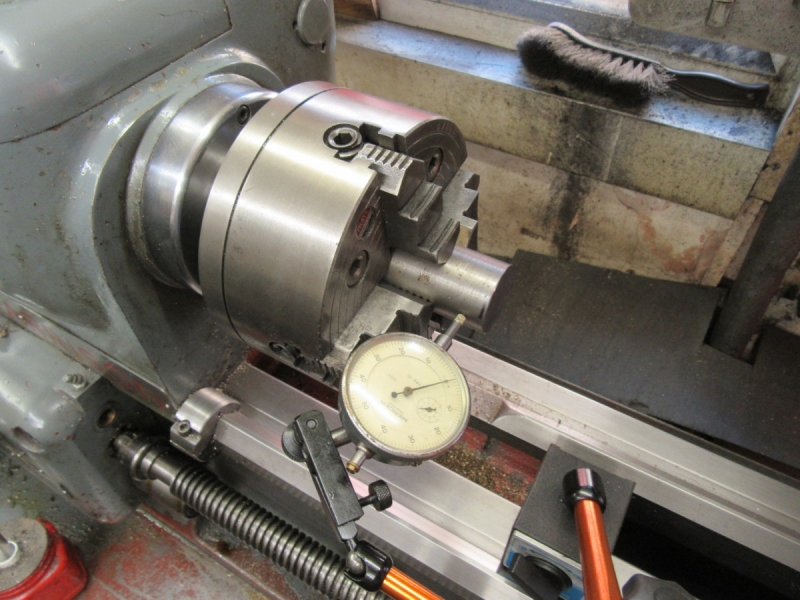
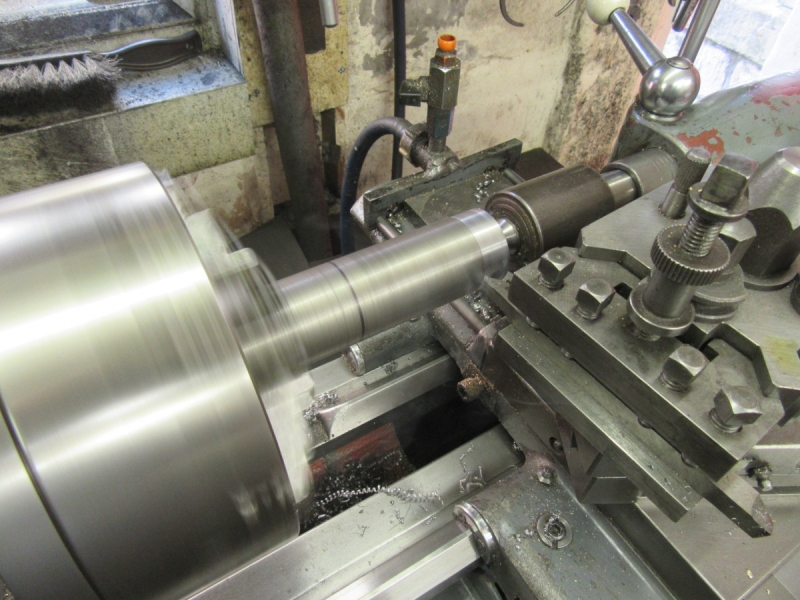
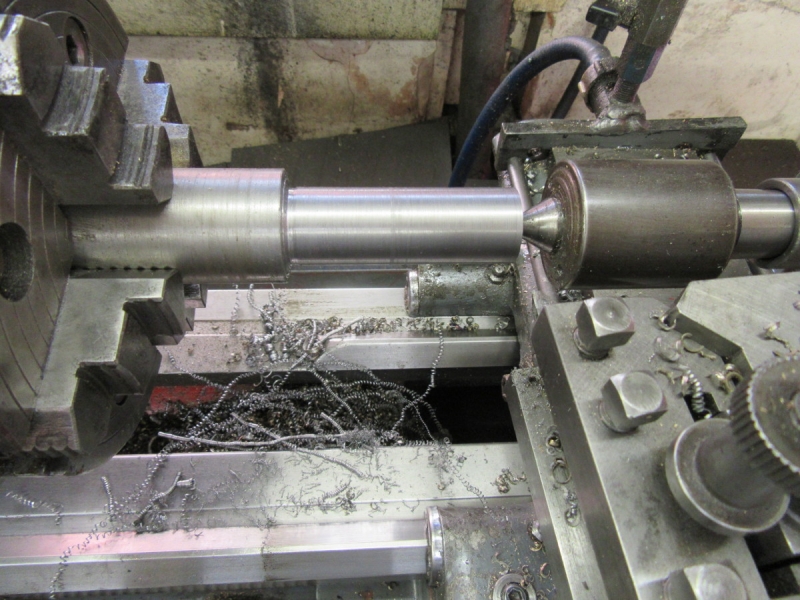
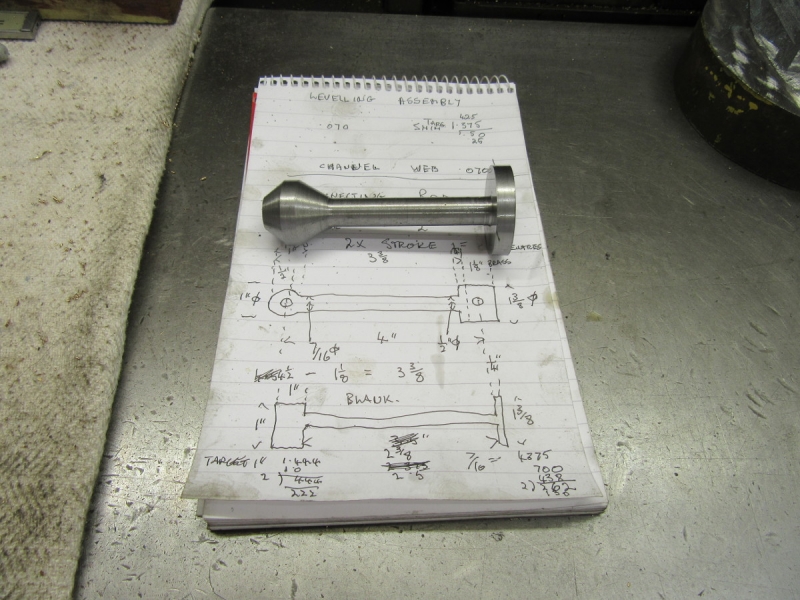
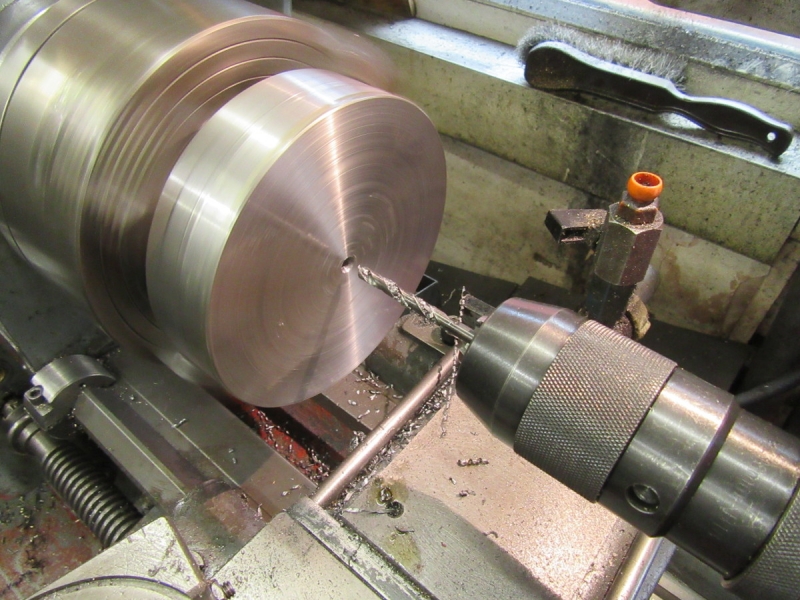
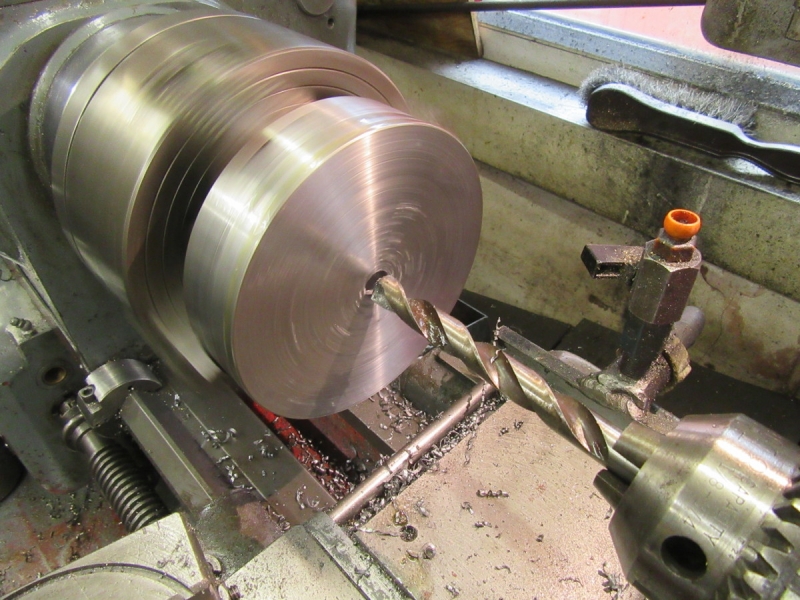
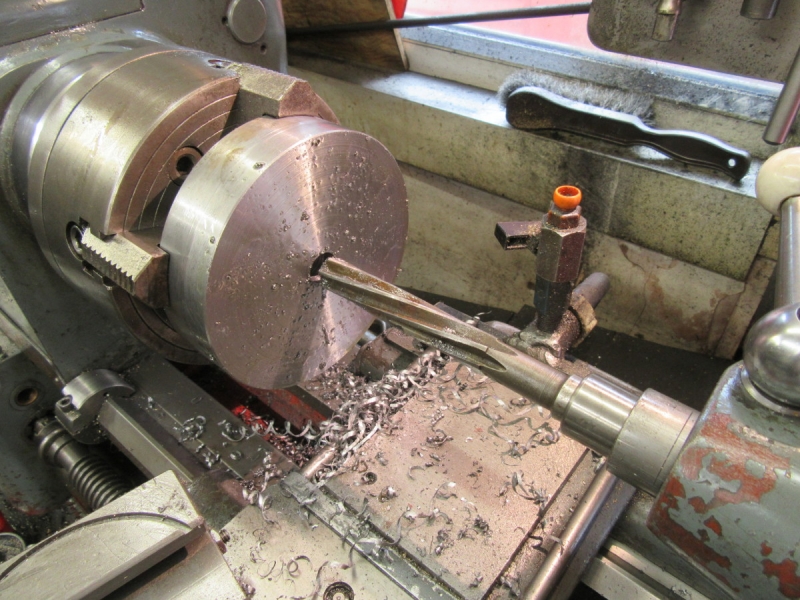
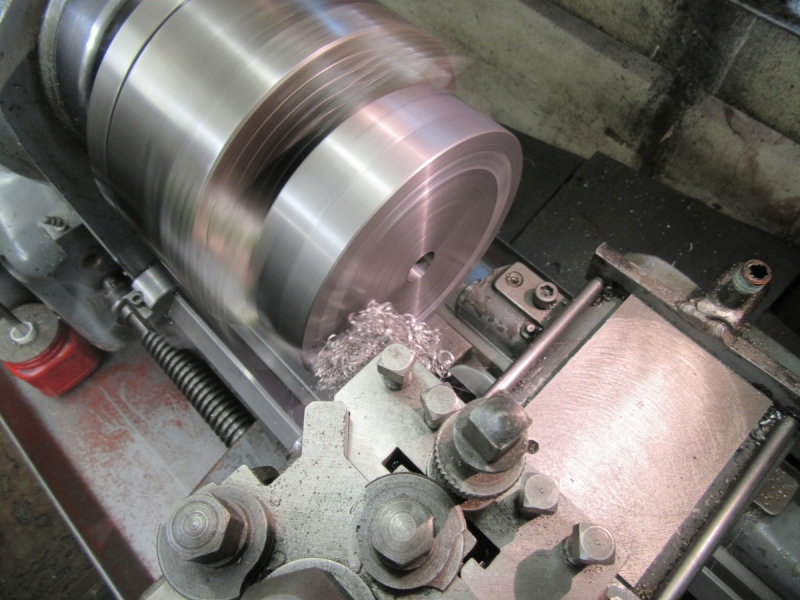
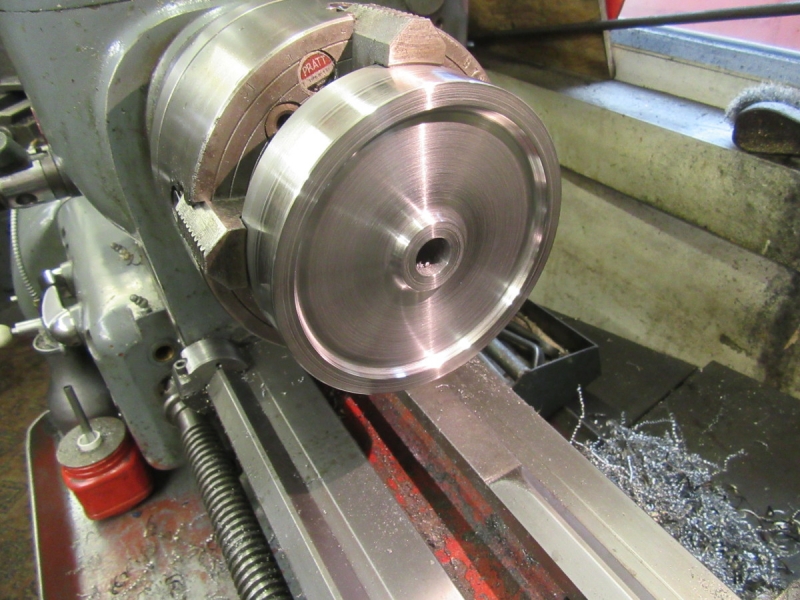
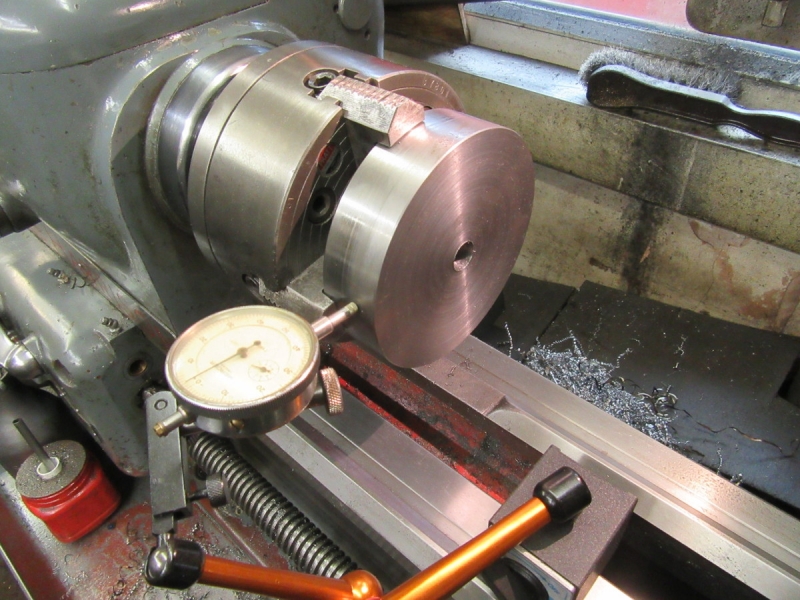
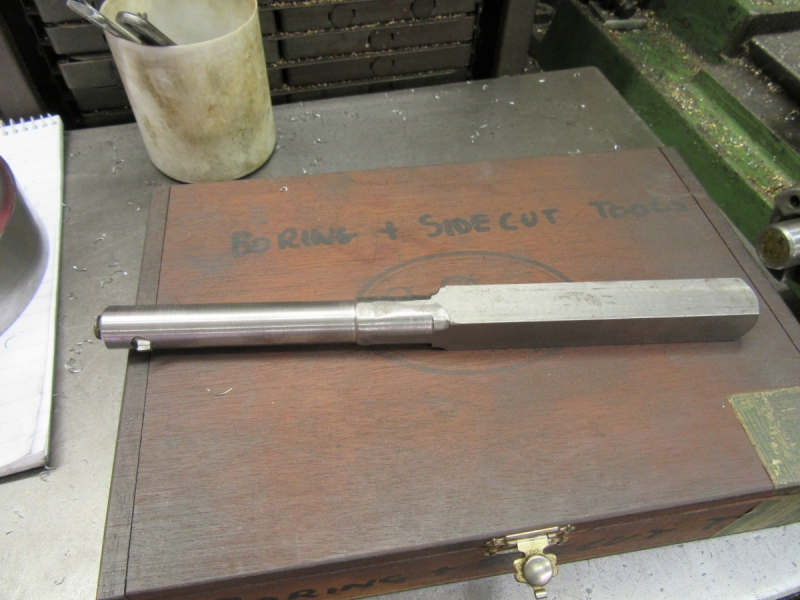
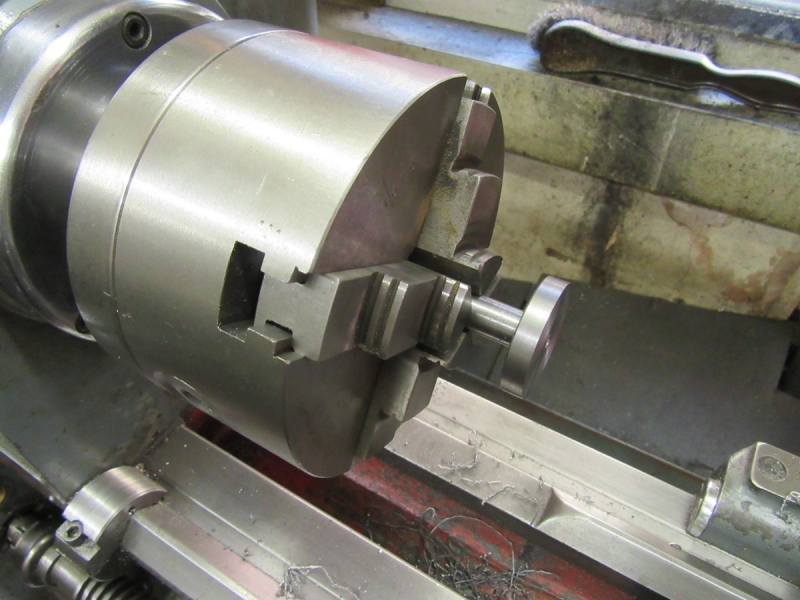
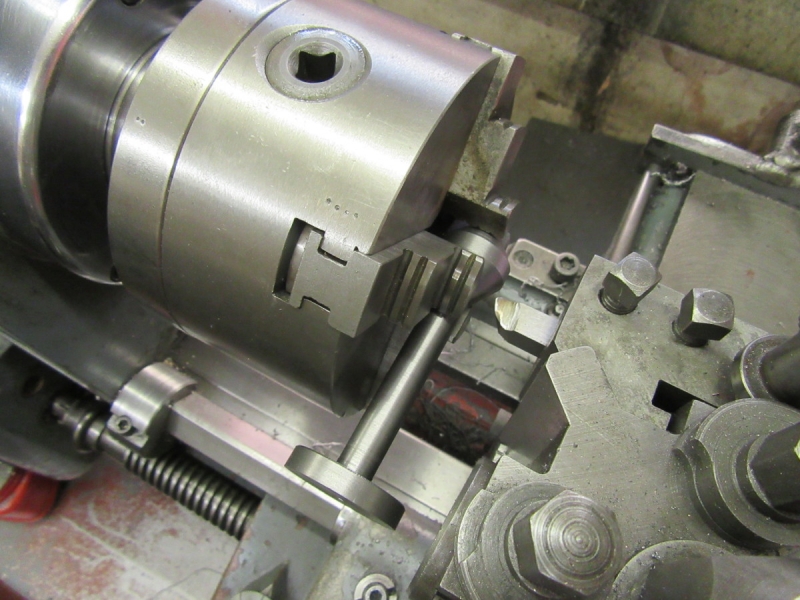
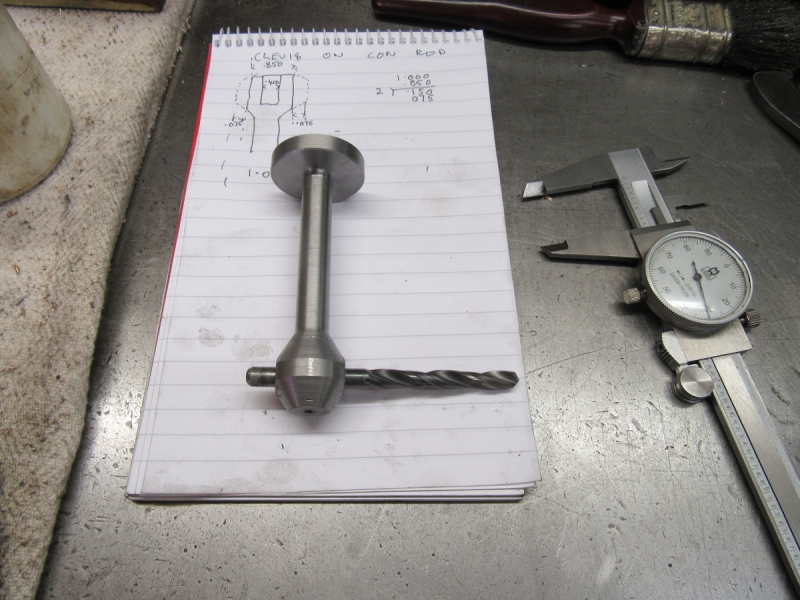
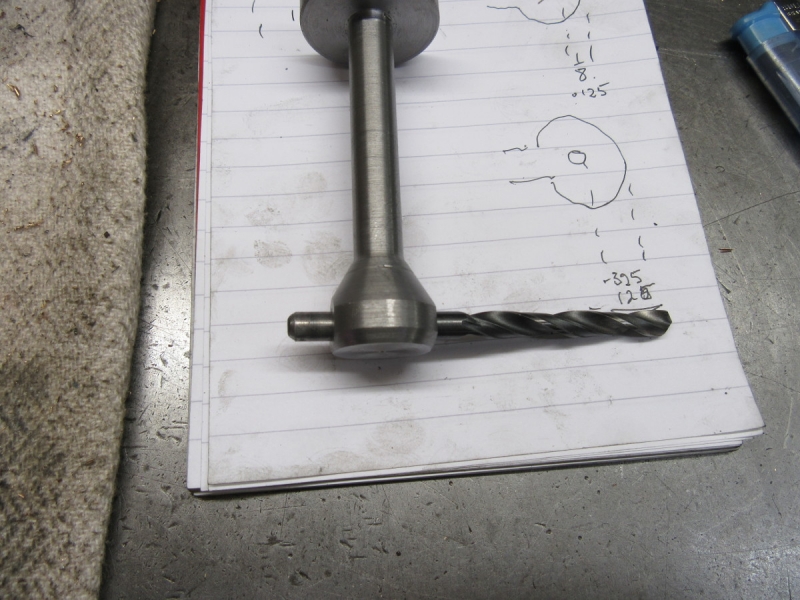
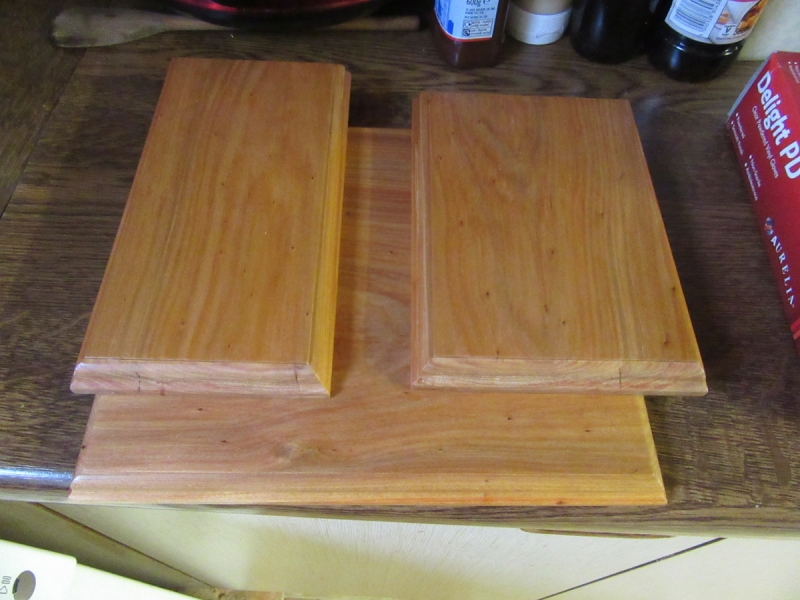
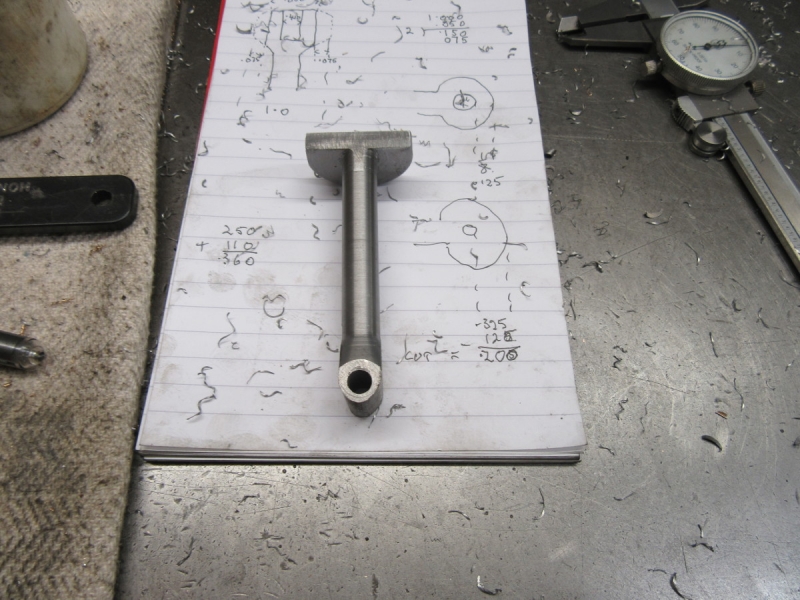
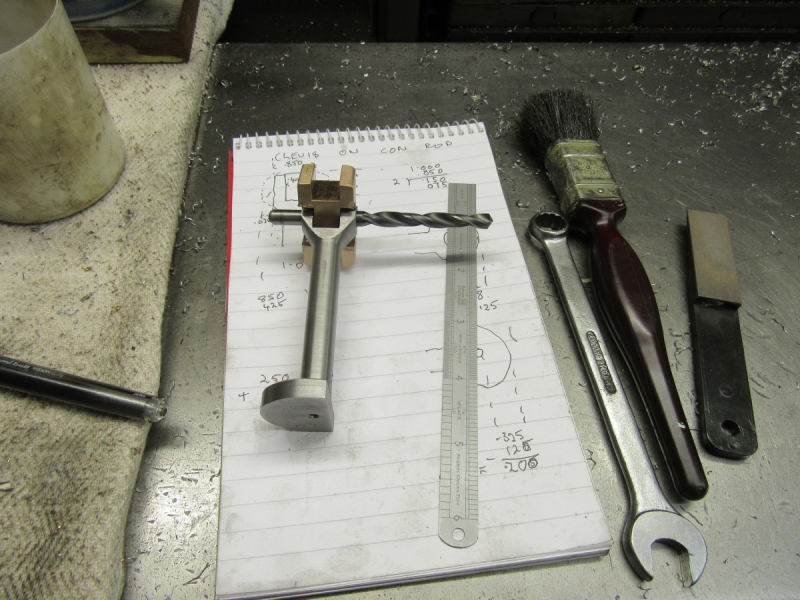
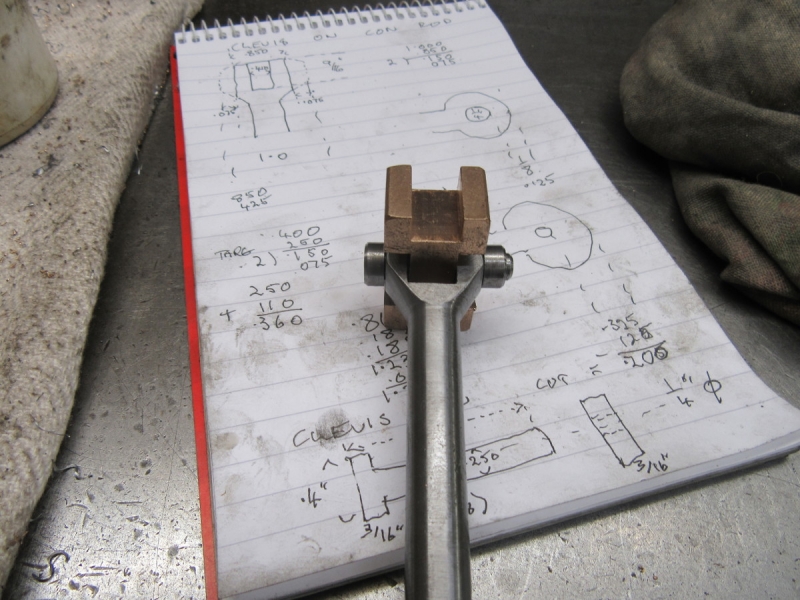
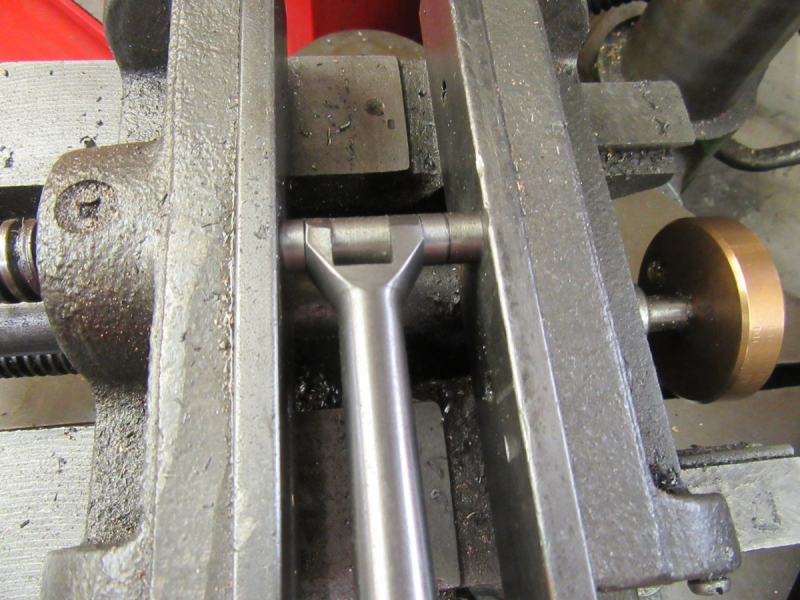
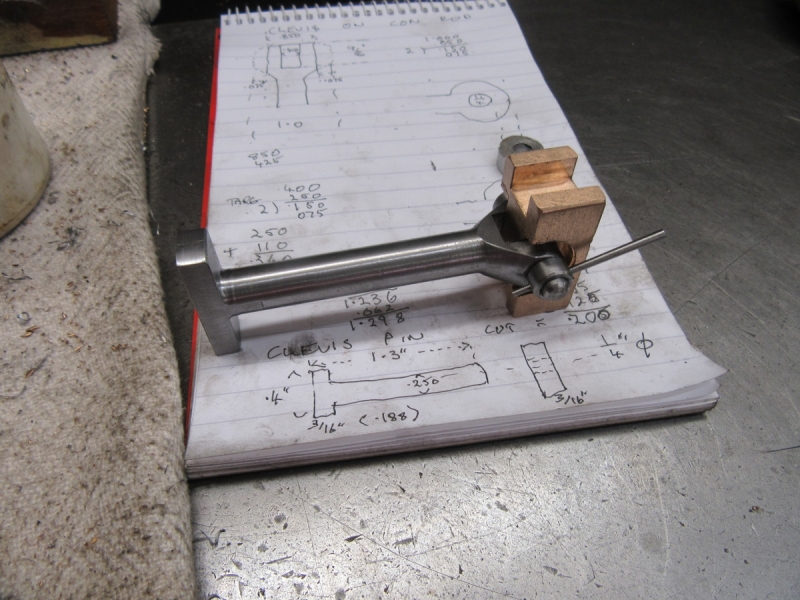
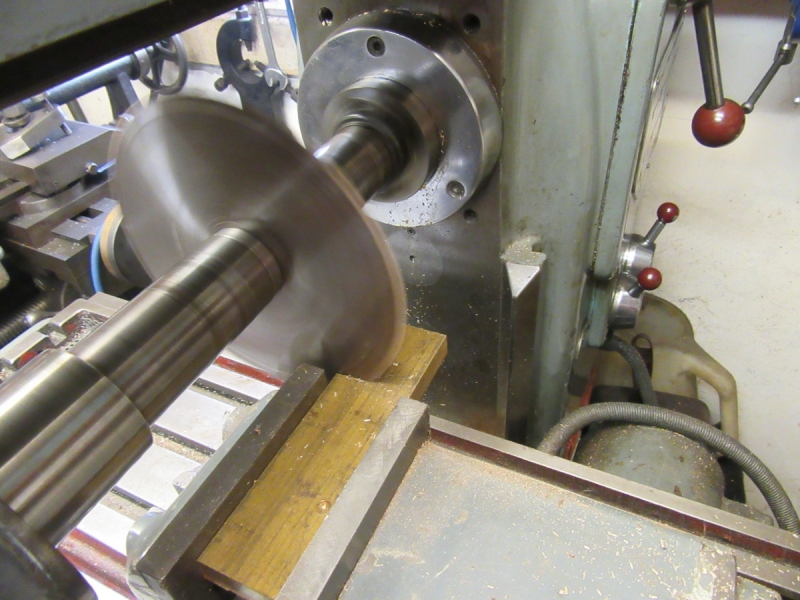
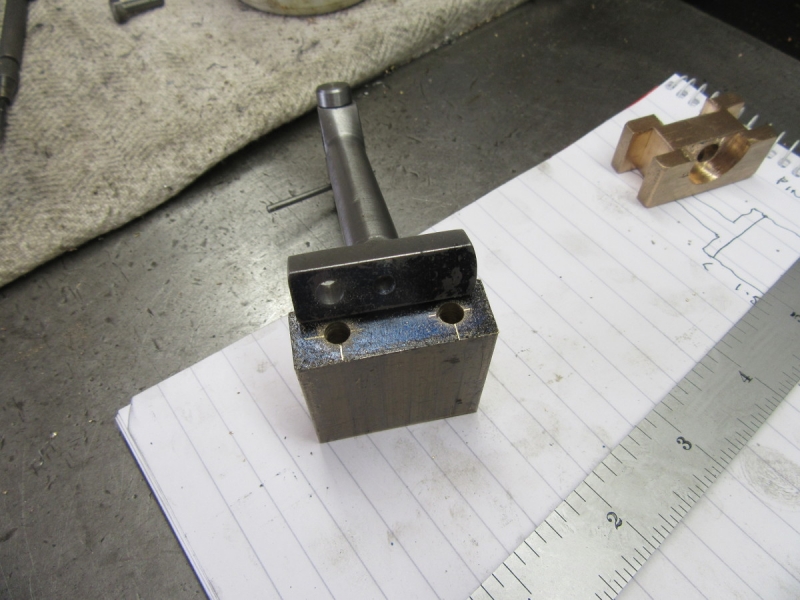
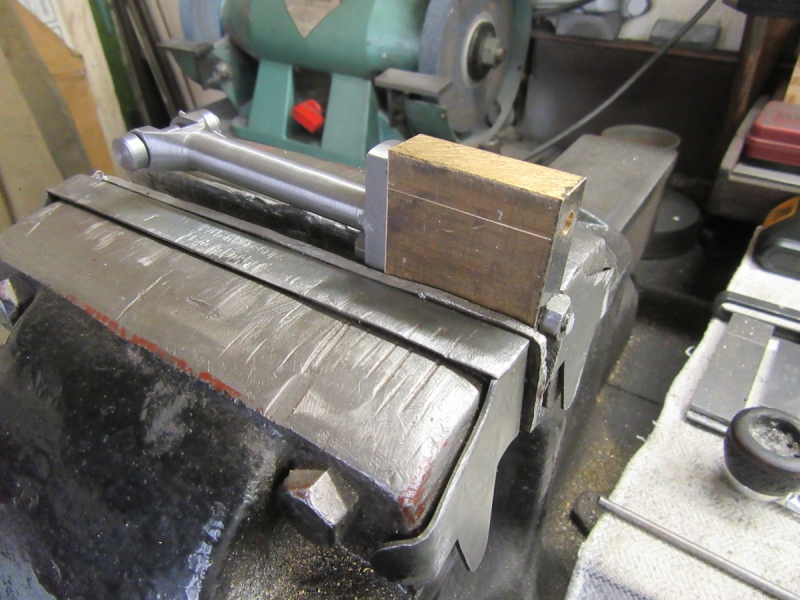
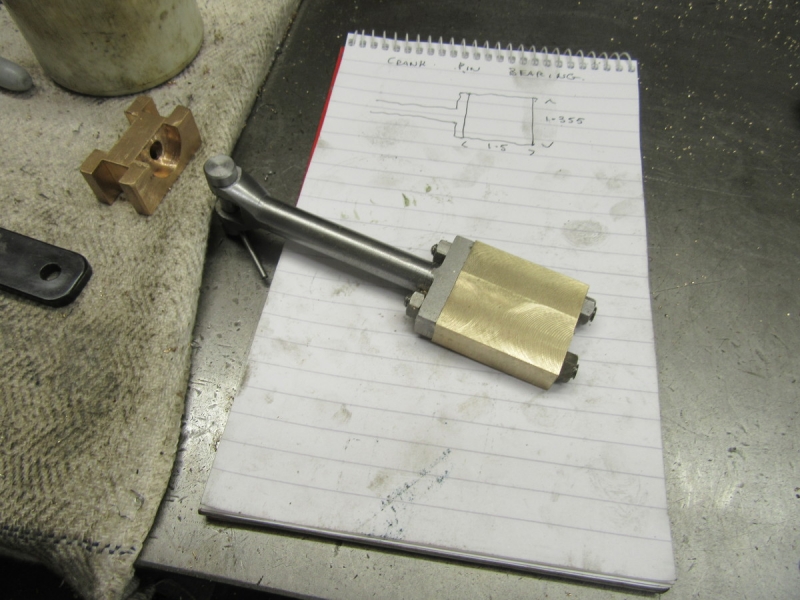
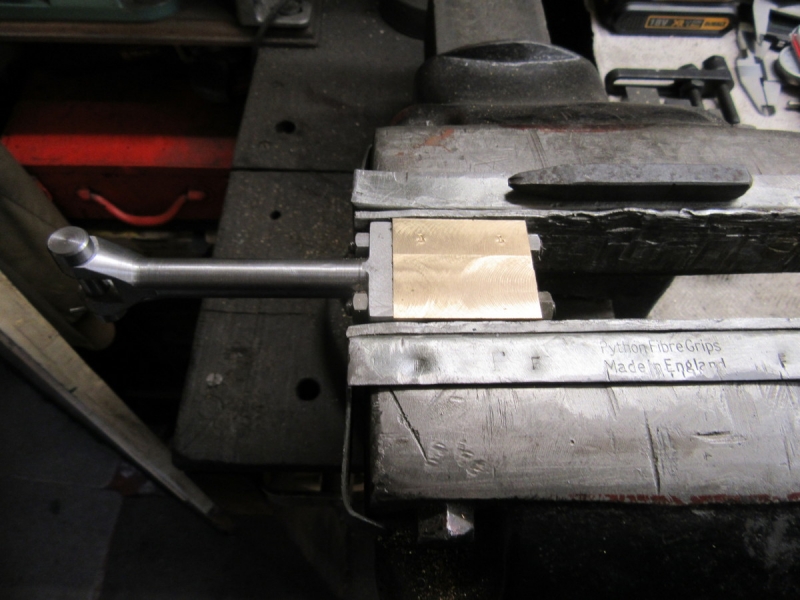
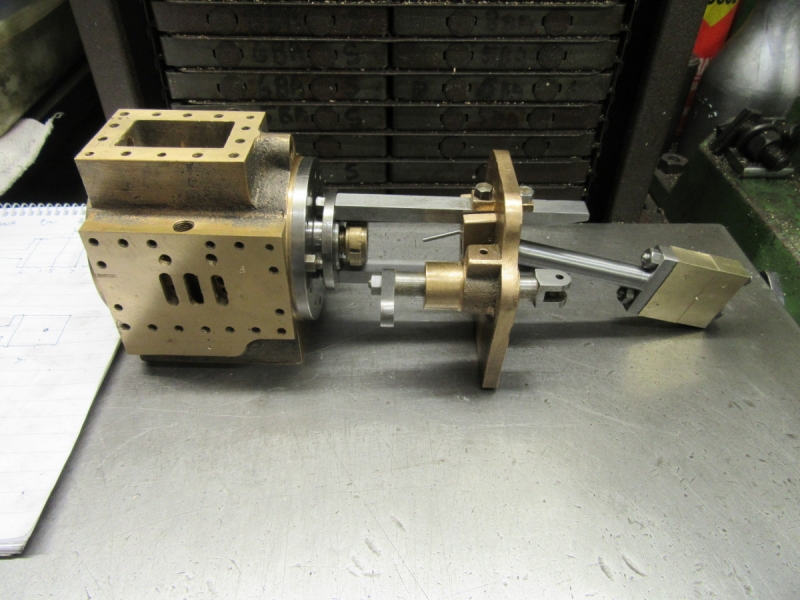
Break all the edges with a smooth file and then set the two pieces on one side. My next move is going to be some proper turning, I need a con rod, valve rod, eccentric, flywheel and shaft. Once I have them I can make decisions about the bed and this influences the fastening of the base we have made this morning.
One last job, have a chip chase and vacuum the floor so that I have a clear start. Not a big stint but good progress..... A good morning.
Stanley Challenger Graham
Stanley's View
scg1936 at talktalk.net

"Beware of certitude" (Jimmy Reid)
The floggings will continue until morale improves!
User avatar
Stanley
Global Moderator
Global Moderator
Posts: 90301
Joined: 23 Jan 2012, 12:01
Location: Barnoldswick. Nearer to Heaven than Gloria.

Re: SHED MATTERS 2

Post by Stanley »

Not often I post this early but I'm well in front this morning. I have decided to have a change and do a bit of straight turning. So this morning I am sat here listening to the delightful sound of Mrs McMaster chunking away in the shed as she slowly cuts a one and a half inch slice of a piece of 5" diameter steel bar. I started it off at 06:20 and it will take over half an hour but hey, who's counting! Just imagine making this cut with a big cutting disk or perhaps even with a hacksaw. This way is much better! Back later....
Stanley Challenger Graham
Stanley's View
scg1936 at talktalk.net

"Beware of certitude" (Jimmy Reid)
The floggings will continue until morale improves!
User avatar
Stanley
Global Moderator
Global Moderator
Posts: 90301
Joined: 23 Jan 2012, 12:01
Location: Barnoldswick. Nearer to Heaven than Gloria.

Re: SHED MATTERS 2

Post by Stanley »

Image

This was earlier this morning, Mrs McMaster starting the job of sawing a slice of this 5" steel. It's 08:45 now and I have come out of the shed early and I might as well tell you why immediately. I was a long way out with my estimate of how long Mrs M would take to cut the bar. It had been running for about an hour and a half and I was turning the blank for the con-rod when she stopped. No smell of hot motor or anything. (I'll admit that it had struck me earlier that it might be time for a new blade.....) I checked the fuse in the plug and that was OK so I felt the motor. It wasn't stinking hot but definitely warm, its over 80F in the shed so it's not surprising. I am fairly sure that what has happened is that the heat overload in the motor has tripped just before the cut was finished. So I'm not going into a decline, I shall leave it to cool down. I'll report back later.... The piece I was turning was hot and so was I so I thought the best thing to do was knock off early before my overload switch is triggered!

Image

Meanwhile.... I got on with measuring the stroke on the engine so I could decide on the con rod length. It's 2". Normally I follow the old engine maker's rule of two and a half times the stroke but I want this engine too look busy when it's running as it is only a five inch flywheel so I decided on 4" centres.

Image

I did a fag packet drawing and found a piece of steel.

Image

Then I put the 4 jaw on Mrs Harrison and had a bit more dialling in practice, faced the end and centred it.

Image

Quietly away into some plain turning, very relaxing!

Image

I got the body turned down to the minor diameter which will be the crosshead end. The other end is larger. The steel was getting hot so I cut it a couple of thou undersize, it will be spot on when it's cooled down. At this point Mrs M stopped so I had to do some investigating. I could have taken the slug out of the saw and cut the last little bit by hand but I decided to simply leave it. I'm pretty certain I'm right about the overload protection. We'll find out later!
Stanley Challenger Graham
Stanley's View
scg1936 at talktalk.net

"Beware of certitude" (Jimmy Reid)
The floggings will continue until morale improves!
User avatar
plaques
Donor
Posts: 8094
Joined: 23 May 2013, 22:09

Re: SHED MATTERS 2

Post by plaques »

Only the other day my 50 metre long heavy duty extension lead tripped out when I plugged it into my greenhouse circuit. I had fitted a Residual-current device to protect myself from my own stupidity. Opening the plug up showed that the earth lead and the negative return were making contact with each other. It costs nothing to have a look at the plug end and tidy the wires up.
User avatar
Stanley
Global Moderator
Global Moderator
Posts: 90301
Joined: 23 Jan 2012, 12:01
Location: Barnoldswick. Nearer to Heaven than Gloria.

Re: SHED MATTERS 2

Post by Stanley »

Power is OK P and I've had the plug to bits to check the fuse.. I'm convinced it is an overload switch. Just tried it and still dead. I shall pull the saw out and have a furtle tomorrow. Always something of interest in the shed!
Stanley Challenger Graham
Stanley's View
scg1936 at talktalk.net

"Beware of certitude" (Jimmy Reid)
The floggings will continue until morale improves!
User avatar
Stanley
Global Moderator
Global Moderator
Posts: 90301
Joined: 23 Jan 2012, 12:01
Location: Barnoldswick. Nearer to Heaven than Gloria.

Re: SHED MATTERS 2

Post by Stanley »

Things haven't gone quite to plan this morning. I was in the shed by 07:00 but my enthusiasm was tempered by the fact that last night I realised that when I lifted that slug of steel yesterday awkwardly I had nagged me back and it was giving me notice. So a rethink was indicated. I did one diagnostic test, I made sure that the mechanics of the saw were OK. The gearbox, drive and the slide the saw runs in are perfectly free. I decided that the thing to do was to take the almost parted slug out of the saw, clean the saw up and leave it where it is, I am not going to risk my back dragging it out and doing a lot of bending and thrutching!

Image

I got the slug in the vice and started to complete the cut using the 18t Starrett blade I put in the frame the other day. I soon realised that this was going to put my lights out! Hard work and too warm.

Image

I hate this but I bit the bullet. I put a new cutting disk in the angle grinder, put my leather apron, gloves and full face mask on and after marking the cut I started enlarging it. I soon got fed up with that but when I had taken most of the metal out I put a new all-hard Eclipse 18t blade in the frame and started sawing.

Image

After an hour of sweat and misery (But no damage to me back!) This is what we have. Pretty it ain't but it's separate from it's mother and that was the object of the exercise. The saw will get another coat of thinking and some investigation but not today, I've done enough!
Stanley Challenger Graham
Stanley's View
scg1936 at talktalk.net

"Beware of certitude" (Jimmy Reid)
The floggings will continue until morale improves!
User avatar
Stanley
Global Moderator
Global Moderator
Posts: 90301
Joined: 23 Jan 2012, 12:01
Location: Barnoldswick. Nearer to Heaven than Gloria.

Re: SHED MATTERS 2

Post by Stanley »

Image

Nothing adventurous today, a bit of tool sharpening and setting and quietly away on the con rod getting it to size and somewhere near the shape. The only bit of excitement was that the cross slide tightened up on me for some reason so I slacked the ways off, flushed them out with oil and readjusted them. Then I parted the con rod blank off. I always part off with power feed these days..... pride comes before a fall! (I cheat, I am still using the same tip that came with the tool when new, I touch it up occasionally with a diamond hone.)

Image

Here's where I finished up. Once again you take a lump and just keep reducing it until it's right! I shall leave the finish on it for a while. I think I'll have a bit of flywheel making tomorrow! With that in mind and the knowledge that there will be more swarf I had a quick clean up of Mrs Harrison, nowt like a clean start!
Stanley Challenger Graham
Stanley's View
scg1936 at talktalk.net

"Beware of certitude" (Jimmy Reid)
The floggings will continue until morale improves!
User avatar
Stanley
Global Moderator
Global Moderator
Posts: 90301
Joined: 23 Jan 2012, 12:01
Location: Barnoldswick. Nearer to Heaven than Gloria.

Re: SHED MATTERS 2

Post by Stanley »

Image

Another day, another lump of steel. First I got it in the 4 jaw and dialled it in as near concentric as possible for hot rolled bar, it isn't round. Notice I have gone onto tipped tools because this is rough turning, not least because the places where I cut it with the disc are hardened and will have bits of abrasive embedded.

Image

Once I had a face I attacked the periphery. No size in mind, I just want it clean and square.

Image

You can see from the colour of the swarf I was pushing it!

Image

Once I had that side done I reversed it in the chuck and dialled it in accurately. Then more cutting.

Image

My way of making flywheels is that once I have the slug square and finished on all faces I bore it because it will never be more central than it is now. A small drill first to pierce it.

Image

I am going for a 5/8" shaft so I used successive drills until I was close.

Image

Then I reamed it. When you are using old reamers always remember that they will be slightly undersize because of wear. So always put the reamer right through because the chances are that the very end of the flutes have had less use and will be nearest to correct size. That will do for this morning.......
Stanley Challenger Graham
Stanley's View
scg1936 at talktalk.net

"Beware of certitude" (Jimmy Reid)
The floggings will continue until morale improves!
User avatar
Stanley
Global Moderator
Global Moderator
Posts: 90301
Joined: 23 Jan 2012, 12:01
Location: Barnoldswick. Nearer to Heaven than Gloria.

Re: SHED MATTERS 2

Post by Stanley »

Image

I was in the shed at 07:30 with every intention of making more swarf putting some shape into the flywheel but as so often happens with me, I was diverted! It struck me that I wasn't satisfied with the fact that the cross slide on Mrs Harrison had struck me as tight. It still seemed that way this morning even though I adjusted it yesterday. So I changed course, I took the cross slide to bits, thoroughly cleaned the ways and the gib, lightly stoned the gib just to make sure there hadn't been a pick up of something hard in it, oiled it and put it back together.

Image

All this took a while because it's so tight it took a bit of reassembling. This is tight because it's in such good condition, not because of any fault. Here it is laced up again and adjusted. It's better but still tight but I suspect it's always been like that, it's just that a bit of muck made it worse and brought it to my attention. There's less than 3 thou backlash in the screw which is pretty amazing for a 60 year old lathe.

Image

Might as well do a proper job so I took the swarf out and had a good clean up. I honed my round nosed tool and fitted that because that's what I'll be using next.

Image

Then something else came to mind..... I have a tank of straight cutting oil above the lathe and even though I don't have a return pump I used to do a lot of cutting using a flexible pipe direct on to the cut. I think I've got a lot better over the years at sharpening and honing cutting tools and I put up with the fact that the pipe to the cross slide from the tank was always a pain in the bum but it struck me this morning that I couldn't remember the last time I had used it. So I took the plumbing off the cross slide, filled a 4 litre plastic bottle with cutting oil for topping up my brush pots which is what I use now if I want an extra fine surface. As you can see, this has de-cluttered the lathe a lot and is a definite improvement! It was 09:15 so I knocked off. No actual turning but not a wasted morning!
Stanley Challenger Graham
Stanley's View
scg1936 at talktalk.net

"Beware of certitude" (Jimmy Reid)
The floggings will continue until morale improves!
User avatar
Stanley
Global Moderator
Global Moderator
Posts: 90301
Joined: 23 Jan 2012, 12:01
Location: Barnoldswick. Nearer to Heaven than Gloria.

Re: SHED MATTERS 2

Post by Stanley »

Image

I got out into the shed and started cutting after I had dealt with some requests for information. Everything was set up so straight in there.

Image

A while later..... That looks better doesn't it!

Image

Now for the other side. I dialled it in and got ready to do this side. But I am expecting a lady to sweep me off to the hills and so I have to get this posted, give Jack a run and get ready! See you again tomorrow.
Stanley Challenger Graham
Stanley's View
scg1936 at talktalk.net

"Beware of certitude" (Jimmy Reid)
The floggings will continue until morale improves!
User avatar
Stanley
Global Moderator
Global Moderator
Posts: 90301
Joined: 23 Jan 2012, 12:01
Location: Barnoldswick. Nearer to Heaven than Gloria.

Re: SHED MATTERS 2

Post by Stanley »

Image

First job was to refix the tab on my boot, it had only been glued in. I am going to put a couple of rivets in. I meant to take a pic of the job but forgot. The anvil is interesting. It's a 28lb cast steel one, ex WD. I don't know where I got it from but it's a useful thing to have about....

Image

I won't bore you with the details but as you can see I finished the second side of the flywheel. Not a bad finish.....

Image

The flywheel is running dead true and I wasn't satisfied with the finish on the bore my old 5/8" reamer had left so I decided to take a light skim out of it with a boring bar, the size doesn't matter as I shall be making the crankshaft to suit. I got the heaviest bar I could set up in the hole but after a few passes I realised something was wrong. It took me a while to identify the fact that the bar is slightly bent. I've been using it for years and never had any trouble but never in a hole as tight as this. I shall have to correct it but for the moment I'll use a smaller bar.... That's for tomorrow!
Stanley Challenger Graham
Stanley's View
scg1936 at talktalk.net

"Beware of certitude" (Jimmy Reid)
The floggings will continue until morale improves!
User avatar
Stanley
Global Moderator
Global Moderator
Posts: 90301
Joined: 23 Jan 2012, 12:01
Location: Barnoldswick. Nearer to Heaven than Gloria.

Re: SHED MATTERS 2

Post by Stanley »

Image

Image

Less ambitious! Two light cuts and a spring cut in reverse after the second. We have a clean bore!

Image

Next job was to straighten up the boring bar that failed me yesterday. The square shank wasn't square so I milled it off until it was!

Image

Image

Then I straightened it up, broke all the edges and gave it a bit of a polish. Just like new!

Image

I tidied the con rod up in the lathe and half way through doing that it struck me that I was probably in trouble so I got the crosshead out, gave it a good coat of looking at and measuring and decided I had to make a significant modification....

Image

Image

Image

Then a bit of careful milling using the stop for once and as you can see it looks a bit different. I think I can make this work. I wonder if this is one reason Newton hadn't made the crosshead? Tomorrow I'll make the con rod fit this and see how it works out!
Stanley Challenger Graham
Stanley's View
scg1936 at talktalk.net

"Beware of certitude" (Jimmy Reid)
The floggings will continue until morale improves!
User avatar
Stanley
Global Moderator
Global Moderator
Posts: 90301
Joined: 23 Jan 2012, 12:01
Location: Barnoldswick. Nearer to Heaven than Gloria.

Re: SHED MATTERS 2

Post by Stanley »

Image

Con rod this morning..... First job was to break the back edge of the end that will eventually accept the bearing brass. For the time being it remains circular.

Image

First job was to make the sides of the clevis. Careful measuring showed that I needed .075" off each side and this seemed to be the best way to do it as I could measure the cut accurately using the top slide.

Image

Then I drilled the end for the 1/4" clevis pin. Then a bit more measuring......

Image

Then I had to reduce the end so that the clevis will fit in the recess on the crosshead. Once again the best way to measure the cut was the cross slide. I had to put the original 3 jaw on Mrs Harrison as its bore is big enough to accept the bearing end. Not enough room in the 4 jaw SC.

Image

That looks about right. Now I need to put the shape into the clevis......

Image

I'm going to cut the shape using my favourite method and wanted to set the cutter exactly 3/8" above what will be the far side of the clevis pin hole. Drills are some of the most accurate gauges you have in the shed.

Image

When I started cutting I realised that the setting of the cutter was a waste of time as I had to take small cuts until I get down to the 3/8". I started on the shaping but then knocked off, I have other fish to fry!
Like the fact I had to get a goodie bag together for Mick the Shed when he calls in later today to deliver the bases for my engines.......
Stanley Challenger Graham
Stanley's View
scg1936 at talktalk.net

"Beware of certitude" (Jimmy Reid)
The floggings will continue until morale improves!
User avatar
Bodger
Senior Member
Posts: 1285
Joined: 23 Jan 2012, 12:30
Location: Ireland

Re: SHED MATTERS 2

Post by Bodger »

User avatar
Stanley
Global Moderator
Global Moderator
Posts: 90301
Joined: 23 Jan 2012, 12:01
Location: Barnoldswick. Nearer to Heaven than Gloria.

Re: SHED MATTERS 2

Post by Stanley »

Nice little set up Bodge!


Image

The three Parana Pine base boards that Mick brought me. Up to his usual excellent quality!

Image

I finished shaping the clevis, needs some finishing yet but this morning is about the essentials.

Image

I had to cut one of the flats on the foot so that I could hold the con rod to cut the gap in the clevis. I took one cut and realised that I was making the beginner's mistake, wrong orientation!

Image

A quick change of set up, this time I have it right!

Image

That's better!

Image

I got set up and started cutting the clevis and then realised that my 3/8" cutter was blunt. What would I do without the T&C grinder? Buy a new one?

Image

The set up was a bit extended but light cuts got away with it!

Image

A bit later and we got there......

Image

Here's where I ended up. We need a lot of finishing and fitting but we're getting there!
Stanley Challenger Graham
Stanley's View
scg1936 at talktalk.net

"Beware of certitude" (Jimmy Reid)
The floggings will continue until morale improves!
User avatar
Stanley
Global Moderator
Global Moderator
Posts: 90301
Joined: 23 Jan 2012, 12:01
Location: Barnoldswick. Nearer to Heaven than Gloria.

Re: SHED MATTERS 2

Post by Stanley »

Image

Image

First job this morning was to cut the other flat on the foot, break the edges, and consider where I was at!

Image

I offered the rod up to the guides..... The thing that strikes me is that it is so short! Have I slipped up? Don't forget that when I make the bearing brasses and fit them it takes the crank pin bearing out about another inch. I think it's going to be OK.

Image

Image

Now for a bit of a diversion! I decided that the next job was to make the clevis pin and retaining collar from some hard steel and to do that I wanted to hone my HS cutter to do the best job I could. I have had this Carborundum Diamond Wheel in the treasure chest for years. God knows what it cost new. I have tried honing tools on it in the past but had no success. I got it out this morning and actually read the description and instructions for us. Not a bad move because I found that I was recommended to use an Aloxite stone or similar (Aloxite is a very fine hard class of abrasives) to break the glaze on the face of the wheel. That was news for me so I gave it a light rub with one of the Norton honing stones that I suspect is very close to the recommendation. I was amazed at the amount of stone the wheel cut! Then I cleaned the wheel, used some light oil as a lubricant (in the instructions as well!) and honed the radius on each end of the cutter. What a difference! it really was cutting. So after a few minutes I had a sharp honed cutter.

Image

Image

I found a bit of hard steel in the treasure chest and made my pin, a nice fit.

Image

Then I made the retaining collar and here's where I was when it was knocking off time. What I have to do now is drill and fit the collar for the taper pin which will hold the assembly together. I could have threaded it of course but I like the taper pin method and it has never let me down. Tomorrow is another day!
Stanley Challenger Graham
Stanley's View
scg1936 at talktalk.net

"Beware of certitude" (Jimmy Reid)
The floggings will continue until morale improves!
User avatar
Stanley
Global Moderator
Global Moderator
Posts: 90301
Joined: 23 Jan 2012, 12:01
Location: Barnoldswick. Nearer to Heaven than Gloria.

Re: SHED MATTERS 2

Post by Stanley »

Image

Fitting the taper pin. You've got to be able to hold the collar rigid on the clevis pin to get the bore for the taper pin in the right place. The easiest way I have found is to make a spacer to stop the jaws collapsing under the pressure of the vise and another one to fit over the shaft end and put pressure on the collar. It seems a long way round but does the trick every time.

Image

Out with the box of pins, find one that looks right, measure what will be the centre of the fit and find a drill to suit, in this case 1.9mm. I never bother about a taper fit, I've always found that a standard taper pin makes enough of a taper in its own bore and they have never moved yet once driven up tight. You can cut the excess off once it is firmly in place. Then a very careful drilling......

Image

Not driven home, just snug. That will do the job. One thing to note, because you had it tightly pressed against the jaw under the drill, you'll have to grind a touch off the collar to let the pin rotate freely. Don't take too much off, you want a snug fit!

Image

Next I decided to cut a blank for the crank pin brass. Nothing near the size in the brass ends so I cut a piece off this brass bar courtesy of Eddie Spencer who lived here before I did and left two handy bars at the back of one of the cupboards! When I told him about it he gave them to me. Eddie's dead now but he would be pleased to see it being used. As I set it up in the HM I promised myself that when I have got the next stage of this done I would seriously address the matter of Mrs McMaster who is still lifeless!

Image

Another fag packet drawing and here's the blank offered up to the foot. I shall fit it to the foot just as it is and install the bolts. The final sizing of the brass will be done while it is on the foot. Notice I have given it plenty of length just in case the con rod is a bit short. When I have done that I'll look at Mrs McMaster! It was about 9AM but I am a bit short of energy today so I knocked off, no rush and I listen to my body!
Stanley Challenger Graham
Stanley's View
scg1936 at talktalk.net

"Beware of certitude" (Jimmy Reid)
The floggings will continue until morale improves!
User avatar
Stanley
Global Moderator
Global Moderator
Posts: 90301
Joined: 23 Jan 2012, 12:01
Location: Barnoldswick. Nearer to Heaven than Gloria.

Re: SHED MATTERS 2

Post by Stanley »

Image

I don't normally post at this time but there is a good reason..... Bear with me!
I think you'll get a clue from this pic, we have a temporary resident in the kitchen! That's right, I'm making some lebensraum in order to attack Mrs McMaster. I know but I can't help myself when something is bugging me and a machine that won't function is as bad as it gets.

Image

I got the saw out and did the normal amateur tricks like pulling and wiggling all the connections and trying for a start. No joy and my heart was sinking into my boots. Then I noticed something. If you look carefully at the lower part of the bottom of the motor you'll see something red. I got a torch, put my reading glasses on and got down on the floor to have a shufti. It was a red plastic button! I pushed it in and there was a distinct click. I was certain that my original diagnosis was correct, a heat overload switch had protected the motor before it got hot enough to damage it. I couldn't try it in this position but I was so certain that I strained my puffoo valve and got it back on its feet again. A quick try and it is as if nothing had ever happened! Bloody marvellous!

Image

Then a bit more thrutching and farting and everything is back in place and in working order. My back felt OK but I know that at this point a sit down and a rest is the best medicine so that's why I am posting now. I can let my system quieten down and get back into normal gear. I can't tell you how much better I feel now! Sometimes things do go right!
Stanley Challenger Graham
Stanley's View
scg1936 at talktalk.net

"Beware of certitude" (Jimmy Reid)
The floggings will continue until morale improves!
User avatar
PanBiker
Site Administrator
Site Administrator
Posts: 16447
Joined: 23 Jan 2012, 13:07
Location: Barnoldswick - In the West Riding of Yorkshire, always was, always will be.

Re: SHED MATTERS 2

Post by PanBiker »

That was a handy get out of jail free card Stanley, (as long as your back survives). For future reference it looks from the photo that the reset switch is accessible without having to move the old lady if she ever goes on another trip again. :smile: Pity you had to thrutch and fart to find out though. :extrawink: :biggrin2:
Ian
User avatar
Stanley
Global Moderator
Global Moderator
Posts: 90301
Joined: 23 Jan 2012, 12:01
Location: Barnoldswick. Nearer to Heaven than Gloria.

Re: SHED MATTERS 2

Post by Stanley »

Image

Later after a rest.... We need to do a bit on the bearing.... First job was to square each end and make them exactly parallel with each other. At this point that's all we need.

Image

That'll do!

Image

I decided on 2BA bolts for the bearing so some thinking, careful measuring and get the holes marked clearly and accurately.

Image

Under the drill and poke two 3/16" clearance holes through.

Image

Then transfer the positions to the foot of the con rod and drill one of the holes. The idea is to bolt this one in place and then mark the other hole with the drill, that way I know they are in the right place. If you do both of them they will not be dead accurate.
That was enough for this morning.....

Just read your post Ian. Yes you're right but it won't be all that easy to get at! I'm just pleased that I was right and that no damage has been done. I shall take care not to get it that hot again! I think I've got away with it in respect of my back but I'll have it easy for the rest of the day.....
Stanley Challenger Graham
Stanley's View
scg1936 at talktalk.net

"Beware of certitude" (Jimmy Reid)
The floggings will continue until morale improves!
User avatar
Stanley
Global Moderator
Global Moderator
Posts: 90301
Joined: 23 Jan 2012, 12:01
Location: Barnoldswick. Nearer to Heaven than Gloria.

Re: SHED MATTERS 2

Post by Stanley »

The bad news is that housework and shopping have knocked the shed sideways this morning.
Looking back on yesterday one reassuring fact that has emerged is that the safety feature on the Hoover motor is working perfectly and protecting the motor well before it gets dangerously overheated. I commented at the time that there was no smell of hot motor and that's what made me suspect it was a cut out governed by heat. Bit of a nuisance but very good to have a practical test.
By the way, the first think I will do when I get back into the shed is to fit a new blade. If I remember rightly the one I installed when I first got it and upgraded it to a 12" blade was a used one. A new Eclipse all hard blade will give it a better chance when cutting something as big as 5" diameter.
Stanley Challenger Graham
Stanley's View
scg1936 at talktalk.net

"Beware of certitude" (Jimmy Reid)
The floggings will continue until morale improves!
User avatar
Stanley
Global Moderator
Global Moderator
Posts: 90301
Joined: 23 Jan 2012, 12:01
Location: Barnoldswick. Nearer to Heaven than Gloria.

Re: SHED MATTERS 2

Post by Stanley »

Never got round to the new blade. It was 8AM when I got in the shed, I had cooking to do!

Image

I had about my person a half finished 2BA stud long enough for one side of the bearing so I finished making that and installed it. I squared the blank up and tightened it up. Then it was easy to drill the 3/16" clearance hole though the foot with the DeWalt drill because I couldn't get off track!

Image

Then into the lathe and make another long stud. Don't try a short cut and simply thread it by hand, if you do it will not be a straight thread. This way it will be OK.

Image

Then I bolted the blank up as tight as I could get it so it's solid on the foot. Now we can finish it.

Image

Set up dead square in the vise and mill the first side down until it just matches the foot. Then turn it over and do the same to the other side. Notice that no measuring needs to be done, the workpiece tells you all you need to know.

Image

We have two square sides so no problems in setting up to mill the sides. Just alter the backing piece in the vise. I didn't mill all the way down to the foot, I stopped a shade before the cutter kissed the con-rod. Then turn it over and do the same with the other side.

Image

Here we are at knocking off time. The blank is perfectly matched to the con rod and ready for splitting before boring it for the crank pin. I shall put witness marks on and split it tomorrow but the boring will have to wait until I have made the crankshaft then bore it to suit.
Stanley Challenger Graham
Stanley's View
scg1936 at talktalk.net

"Beware of certitude" (Jimmy Reid)
The floggings will continue until morale improves!
User avatar
Stanley
Global Moderator
Global Moderator
Posts: 90301
Joined: 23 Jan 2012, 12:01
Location: Barnoldswick. Nearer to Heaven than Gloria.

Re: SHED MATTERS 2

Post by Stanley »

I made a discovery yesterday. Anyone who has followed me on Shed Matters will have come across references to my El Cheapo Taiwanese vertical milling machine. I've always known it was only entry level milling and it definitely has its limitations but despite all this over the last thirty odd years I have done some good work with it.
Yesterday I came across the Rong Fu reference and when I chased it up I found that this design for a cheap Mill/Drill machine originated in the Far East in 1980 or thereabouts and was immediately pirated by numerous manufacturers in Taiwan and China. The machines were imported and branded by individual companies, mine is labelled 'WARCO' and Warren Machine Tools, Shere. Surrey. I've had a look and they are still selling a slightly modified version of mine for £1350, I think I paid about £300 for mine in the early 1980s.
Not earth-shaking news and of very little interest to most people but for me, a most satisfying discovery. Now I want to know about the origin of the original design which hasn't changed for over thirty years, even the castings are the same shape. I think we can say it was a success!
Stanley Challenger Graham
Stanley's View
scg1936 at talktalk.net

"Beware of certitude" (Jimmy Reid)
The floggings will continue until morale improves!
User avatar
Stanley
Global Moderator
Global Moderator
Posts: 90301
Joined: 23 Jan 2012, 12:01
Location: Barnoldswick. Nearer to Heaven than Gloria.

Re: SHED MATTERS 2

Post by Stanley »

Image

I started the morning by putting a new blade in Mrs McMaster. I found I had a used one that was still sharp and used that. I still have two brand new ones (I looked them up and they are £15 each) and I am not going to live forever.
Then I got on with the con rod and the bearing brass. First job was to put some witness marks on so that I always know where each bit fits.

Image

Next I set up a slitting saw on an arbor in the VM, set the brass up and whistled through it, sharp slitting saw! The block of metal is there to stop the chips flying all over the floor.

Image

Bit of a diversion here. When I was looking at the Rong Fu videos last night one of the men who had modified his machine in various ways mentioned that he had taken the handles off his because they got in the way and he could use the handwheel to do all he needed. He's right! I took mine off this morning. They won't get in the way any more.

Image

Not a lot of fault can be found in the brass. Lovely cuts and dead square!

Image

I re-installed the brasses and found the centre for the eventual hole for the crank pin. That's as far as I can go with it at the moment.

Image

Next I offered the con rod up to the guides. The pin is going to foul the end plate on both sides.

Image

Image

The head was easy, into the lathe and cut it back. The collar end is different, I don't want to take anything off the pin so I filed a recess out in the end plate. That cured that!

Image

Knocking off time..... Now I need to do a bit of investigating and measuring to see whether I can get away with this set up. I have an idea it's going to be OK.....
Stanley Challenger Graham
Stanley's View
scg1936 at talktalk.net

"Beware of certitude" (Jimmy Reid)
The floggings will continue until morale improves!
User avatar
chinatyke
Donor
Posts: 3831
Joined: 21 Apr 2012, 13:14
Location: Pingguo, Guangxi, China

Re: SHED MATTERS 2

Post by chinatyke »

See "What attracted your attention today" - http://www.rongfu.com/en/product.html
Post Reply

Return to “Crafts”