Shed Matters 3

User avatar
Stanley
Global Moderator
Global Moderator
Posts: 90439
Joined: 23 Jan 2012, 12:01
Location: Barnoldswick. Nearer to Heaven than Gloria.

Re: Shed Matters 3

Post by Stanley »

Image

Image

Image

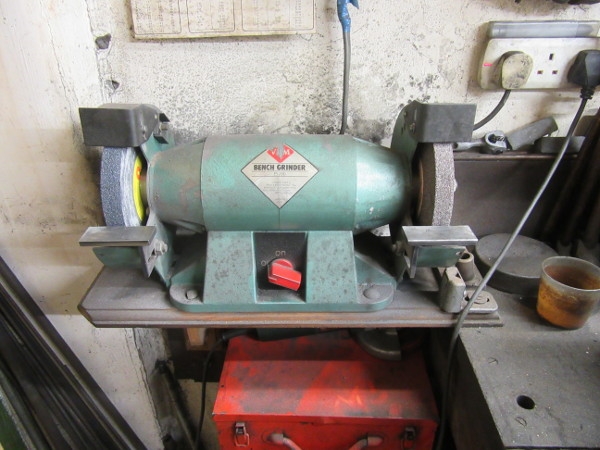
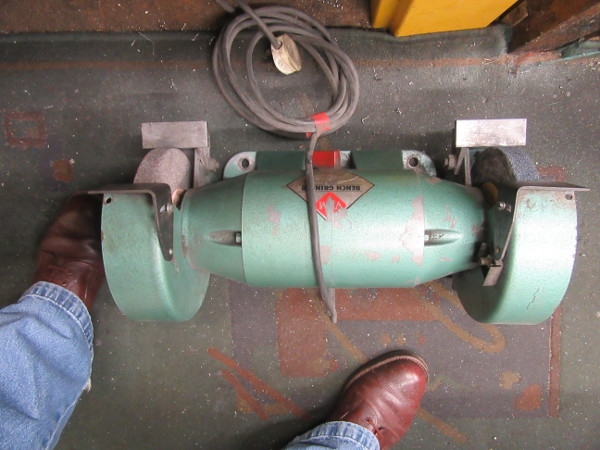
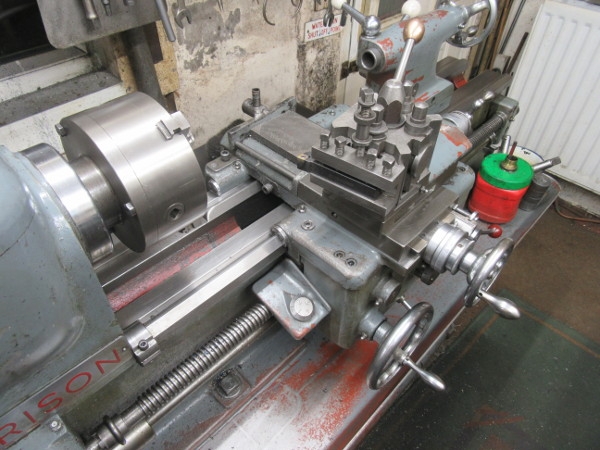
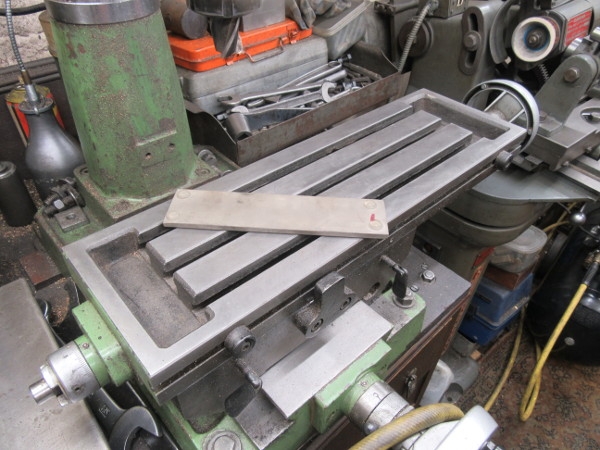
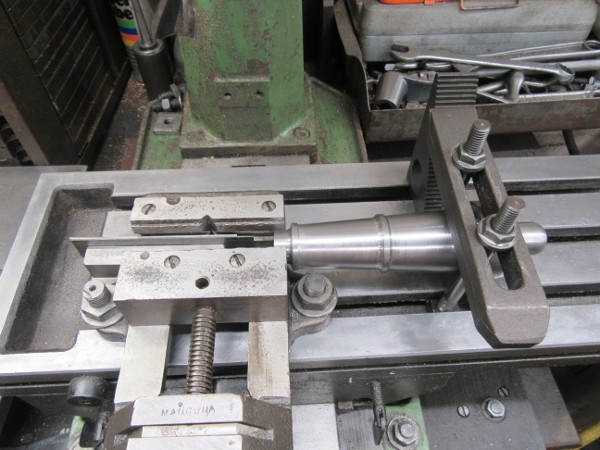
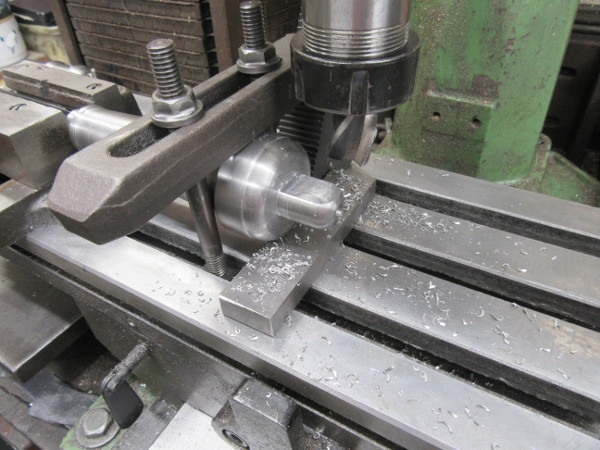
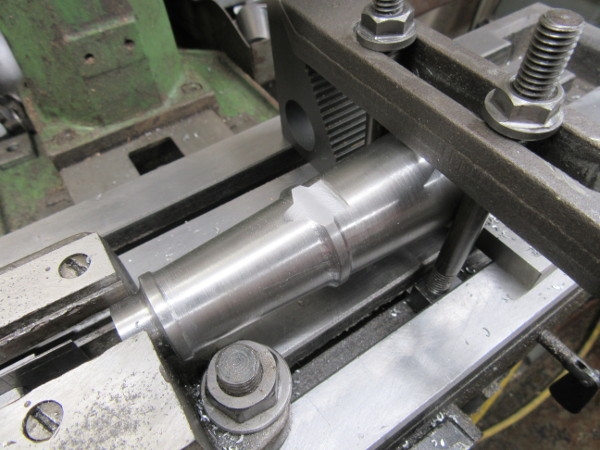
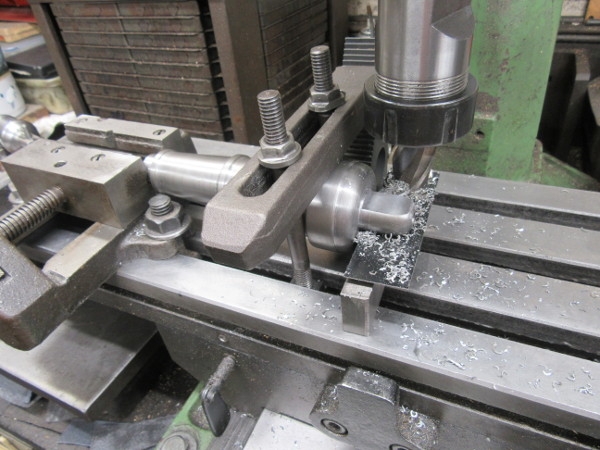
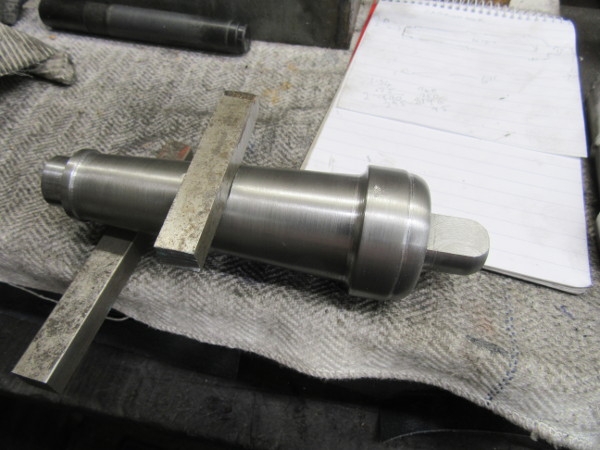
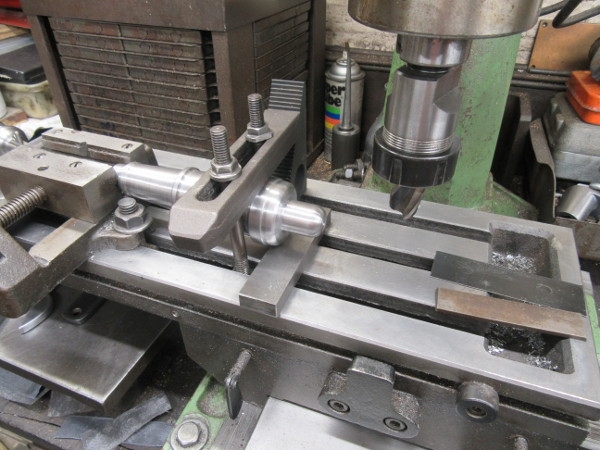
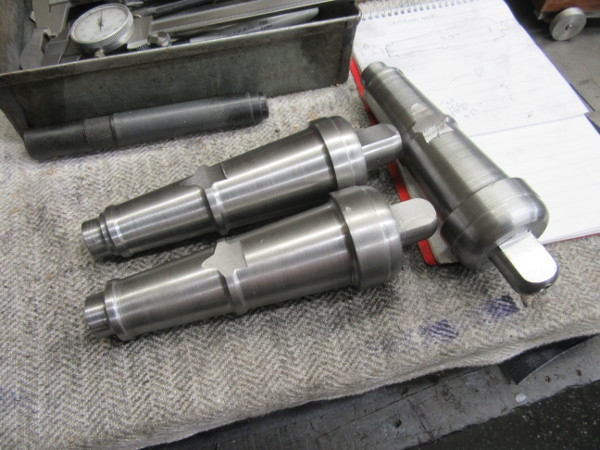
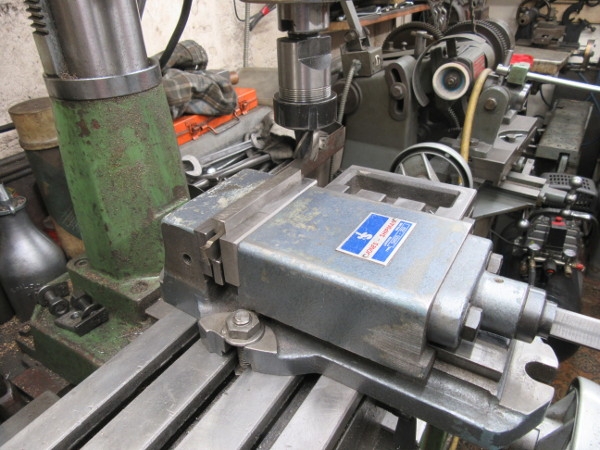
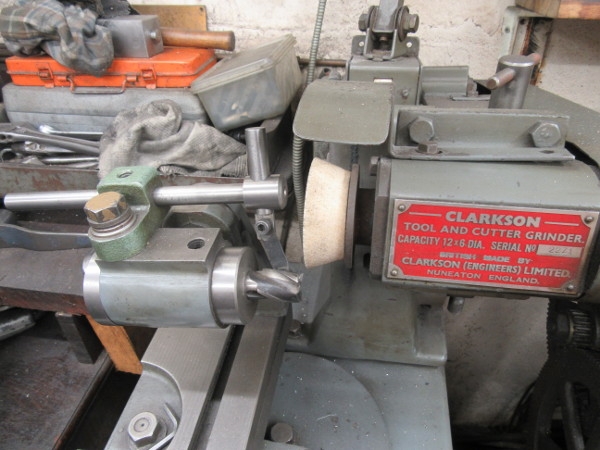
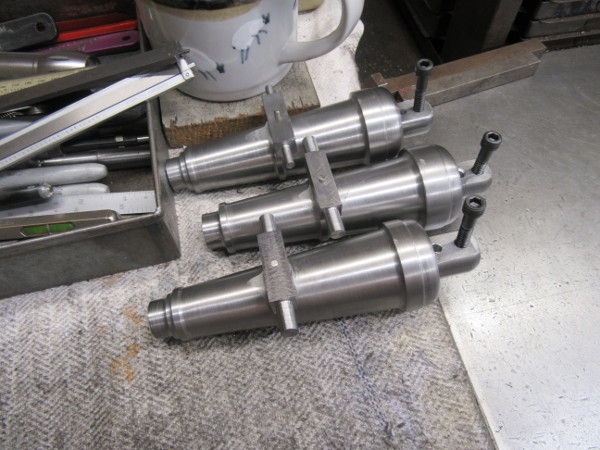
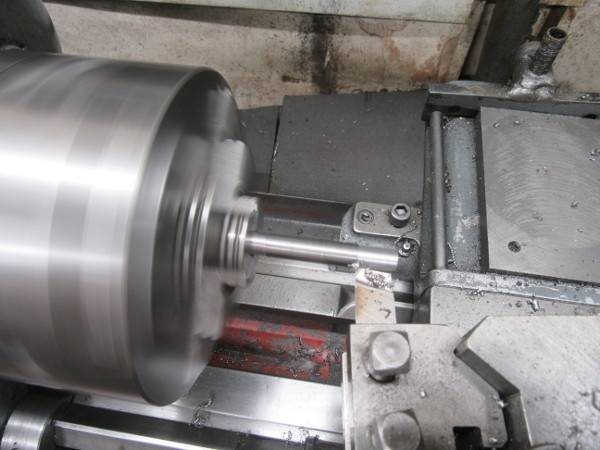
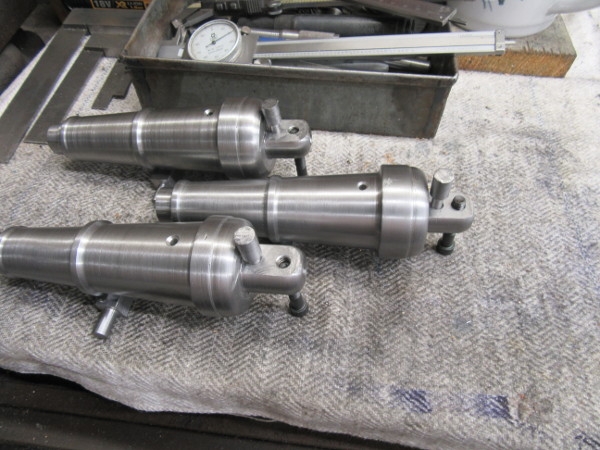
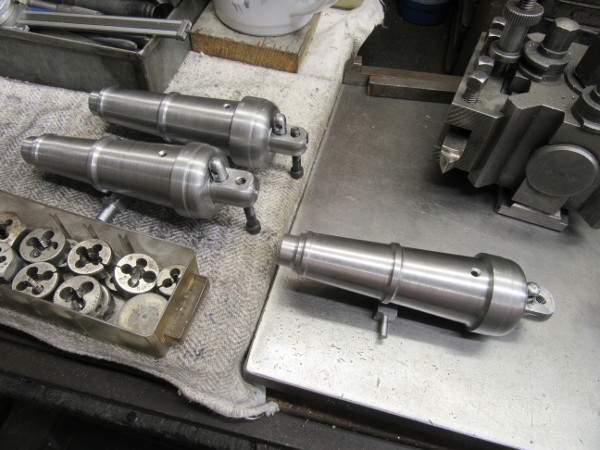
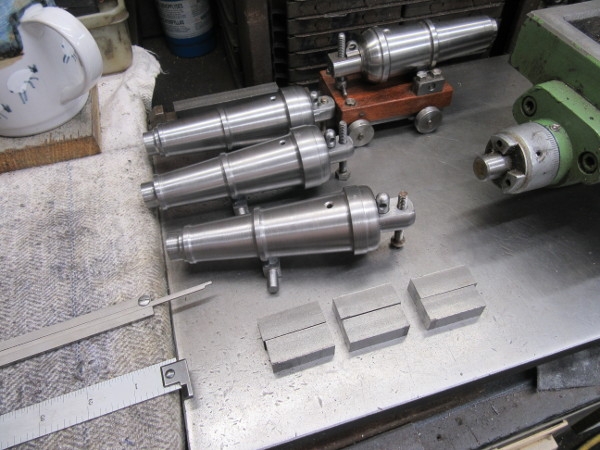
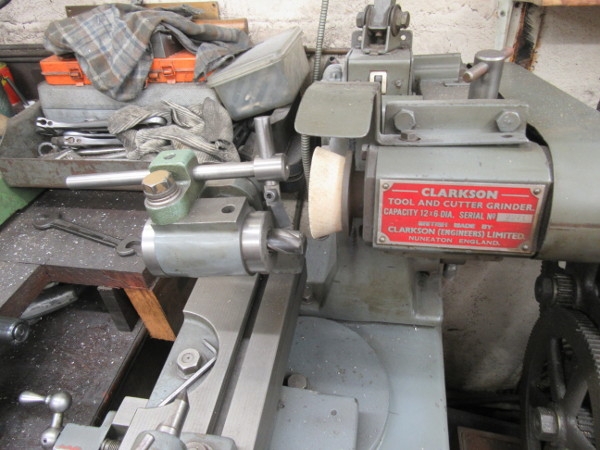
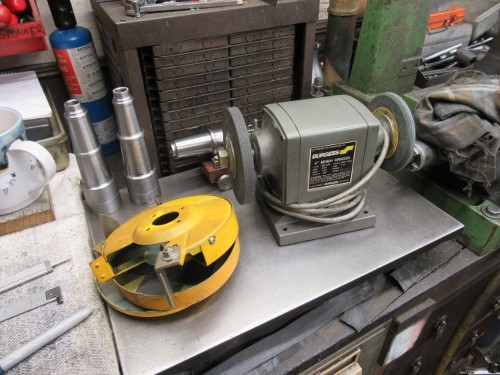
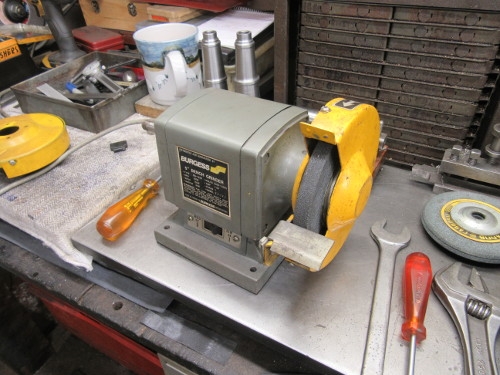
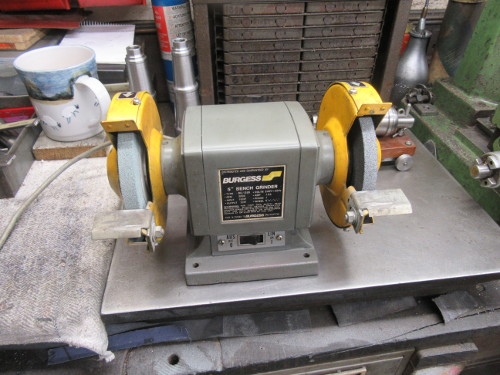
These three pics tell you what I've been doing this morning. I had decided to b ring this 5" Burgess grinder back into use after reaching the conclusion that the problems with the big 8" grinder are beyond me. I have tried everything I know and it is still out of balance.
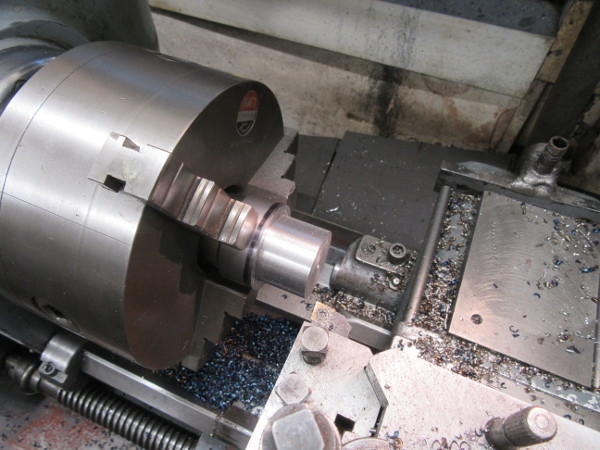
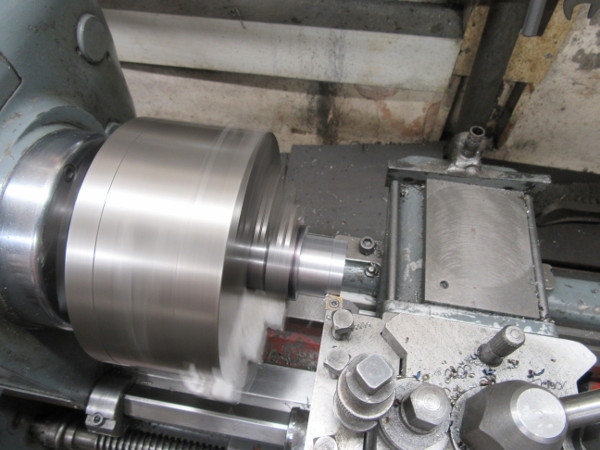
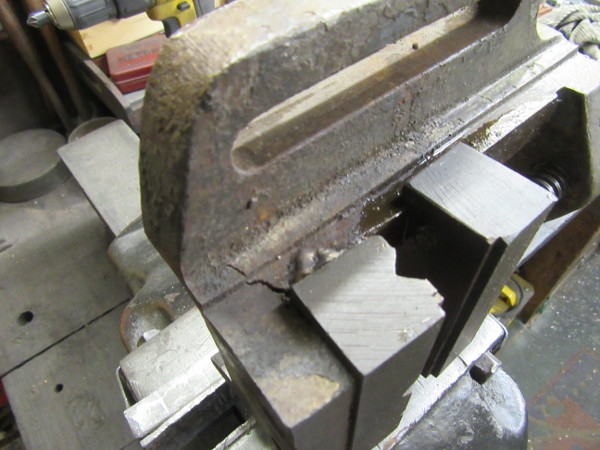
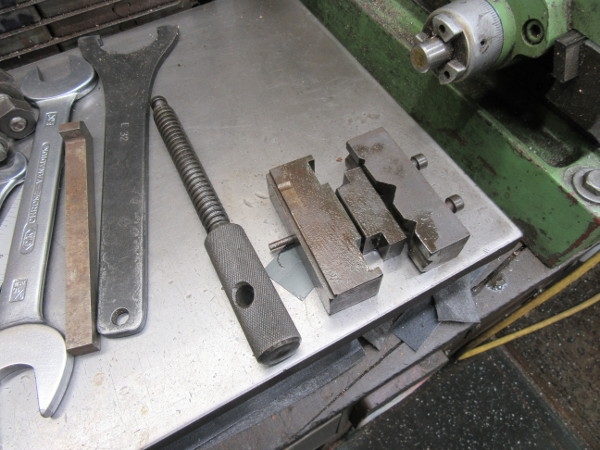
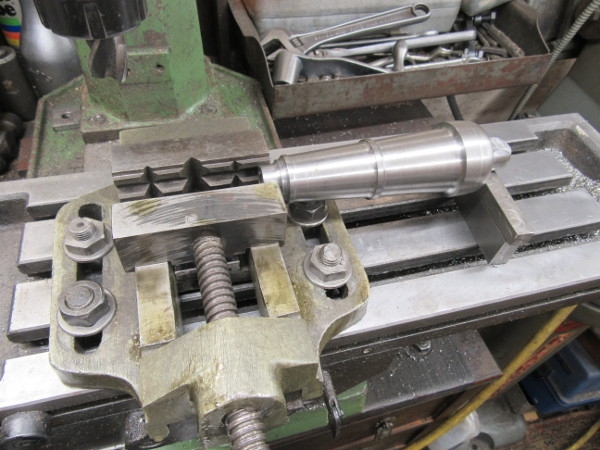
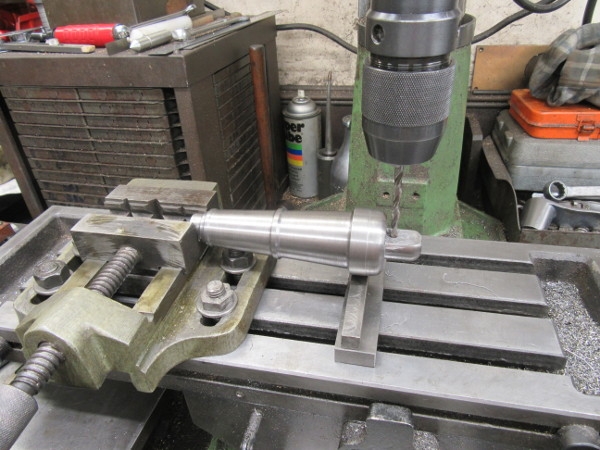
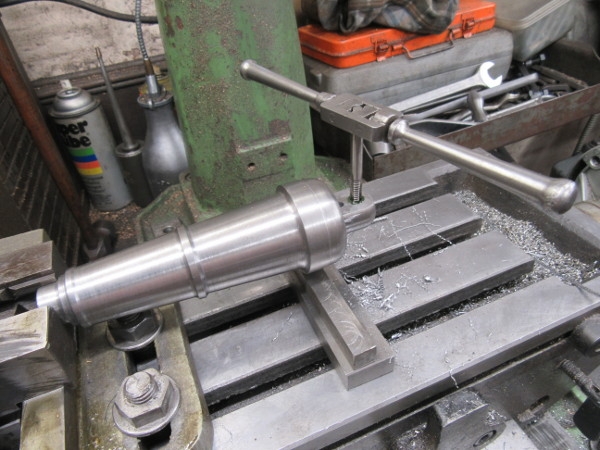
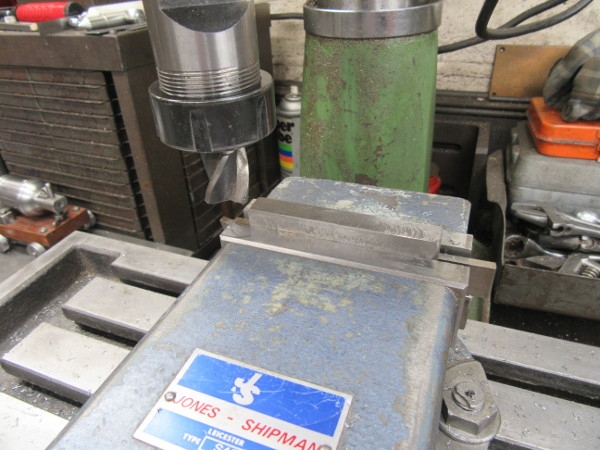
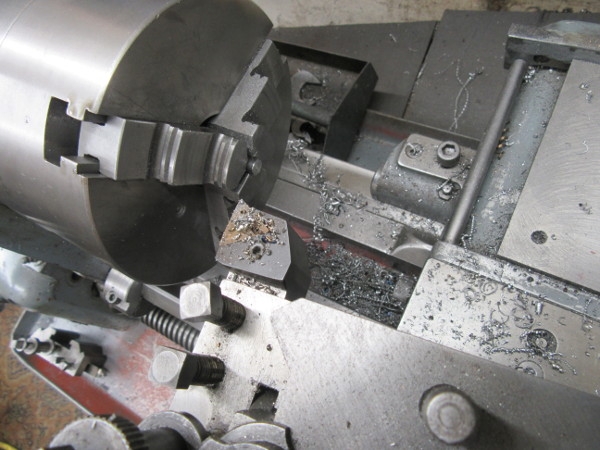
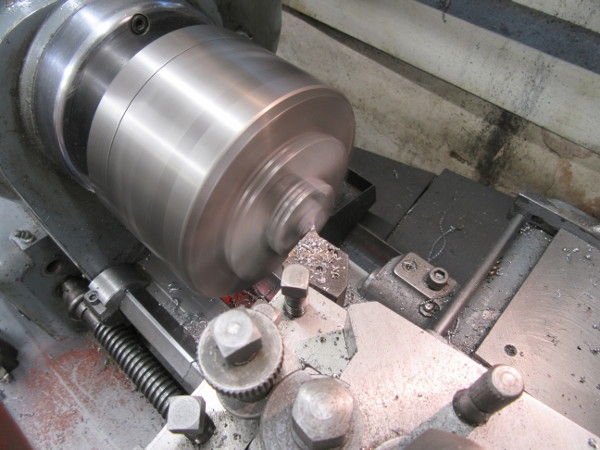
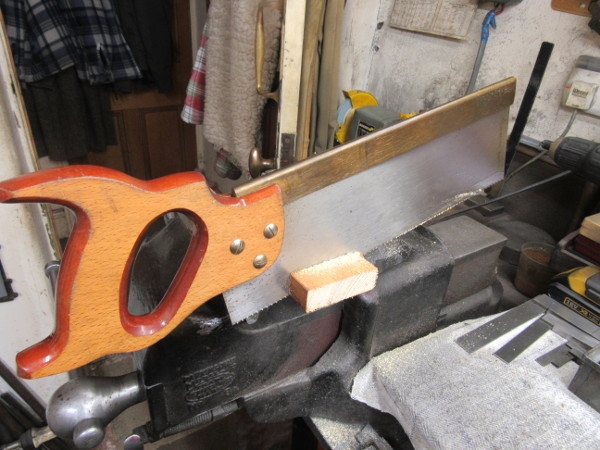
You might wonder why I had stripped all the shrouding off it. This was because I was using as a grinding head I could mount on the horizontal mill table and use it to sharpen the wheel in my circular saw which has carbide inserts. I did that successfully and never brought the grinder back to general use. however, I put all the shrouding and fitting screws in a corner of the shed and never forgot where they were. This morning I got them out and reinstated them on the Burgess grinder. I only used the green grit wheel from the new wheels I got because the ordinary grey grit wheel for steel is in good condition. The fact that Abtec only sent bushes to convert one wheel to 1/2" was also a factor! So I used the bushes in the green grit wheel as the original was badly out of shape because I dressed it to a shape that fitted the carbide tipped wheel I was sharpening. (I've mailed Abtec and asked them for the conversion bushes for the other wheel.)
Tomorrow I shall take the big grinder out of the shed and reinstate the 5" grinder. If I find the need for a bigger grinder I shall consider getting another but I shall have to be sure it doesn't vibrate.... (I remember that the one I have was remarkably cheap, probably something to do with the vibration.)
Stanley Challenger Graham
Stanley's View
scg1936 at talktalk.net

"Beware of certitude" (Jimmy Reid)
The floggings will continue until morale improves!
User avatar
Stanley
Global Moderator
Global Moderator
Posts: 90439
Joined: 23 Jan 2012, 12:01
Location: Barnoldswick. Nearer to Heaven than Gloria.

Re: Shed Matters 3

Post by Stanley »

I didn't go in the shed this morning, didn't fancy standing at the bench for two hours in a room at 50F (it's only a small radiator.). I'll take a view tomorrow, it will be cold again, I'm not into punishment!
Stanley Challenger Graham
Stanley's View
scg1936 at talktalk.net

"Beware of certitude" (Jimmy Reid)
The floggings will continue until morale improves!
User avatar
Stanley
Global Moderator
Global Moderator
Posts: 90439
Joined: 23 Jan 2012, 12:01
Location: Barnoldswick. Nearer to Heaven than Gloria.

Re: Shed Matters 3

Post by Stanley »

I've had an hour in the shed but it was enough, my knees hurt when they are cold!

Image

Here's what we started with. First job was to get it out and clean up a bit.

Image

Half an hour or so afterwards we have the 5" grinder in place and plugged in. No vibration. :biggrin2:

Image

Then I had a bit of a problem. What do I do with this lump? I found a solution, into the glory hole under the stairs where many things live that are not fit to be anywhere else!
It feels like a good morning because I have got rid of that vibration. If I feel the need for a heavier grinder I shall think again but I suspect I will manage quite nicely thank you with the little Burgess grinder....
Stanley Challenger Graham
Stanley's View
scg1936 at talktalk.net

"Beware of certitude" (Jimmy Reid)
The floggings will continue until morale improves!
User avatar
Stanley
Global Moderator
Global Moderator
Posts: 90439
Joined: 23 Jan 2012, 12:01
Location: Barnoldswick. Nearer to Heaven than Gloria.

Re: Shed Matters 3

Post by Stanley »

Image

If you look back you'll see that I set up for this stage using the smaller 3 jaw SC. This morning I put the original 3jaw chuck on because it has a bigger bore. That means I can have a much stiffer set up for this stage which is muck-shifting. I want to cut all the slugs back to a 1" spigot on the back and this will be much better.

Image

Some time later I have the first slug cut back and ready to come out. It's very hot!

Image

This was closing time. I took the edge off the tip and had to swap it round. That cured it but I realised that I have no tips for these tools so I had to divert into identifying which they are so I can order some. So. a bit of messing about and now I am half way through this stage. A good spell and I'm happy.
Stanley Challenger Graham
Stanley's View
scg1936 at talktalk.net

"Beware of certitude" (Jimmy Reid)
The floggings will continue until morale improves!
User avatar
Stanley
Global Moderator
Global Moderator
Posts: 90439
Joined: 23 Jan 2012, 12:01
Location: Barnoldswick. Nearer to Heaven than Gloria.

Re: Shed Matters 3

Post by Stanley »

Image

Abtec took notice and sent me the reducing bush for the other grinding wheel.

Image

Knowing I only had an hour because of going for my shopping I got straight into reducing the stock. Making blue chips again.

Image

Here's where I was up to when I had my last blow this morning....

Image

I cleaned Mrs Harrison ready for tomorrow. A good productive hour...
Stanley Challenger Graham
Stanley's View
scg1936 at talktalk.net

"Beware of certitude" (Jimmy Reid)
The floggings will continue until morale improves!
User avatar
Stanley
Global Moderator
Global Moderator
Posts: 90439
Joined: 23 Jan 2012, 12:01
Location: Barnoldswick. Nearer to Heaven than Gloria.

Re: Shed Matters 3

Post by Stanley »

Image

Today we start with a box full of form cutters.

Image

This is what I am after, getting some shape into the breech, starting with the spigot. Careful quiet turning. You can't take heavy cuts with form cutters working on a wide cut.

Image

When I had done the spigots on all three I went over to a different set up to do the swell of the breech.

Image

You might wonder how I managed to get a pattern like this on the swell and why I have changed the setup. :biggrin2: Simple, I had a bad jam up with the original setup and had to spend almost half an hour cleaning up my mess.

Image

Let's try this setup. Different cutter and a more rigid setup. Very careful cuts!

Image

Knocking off time. That's as far as I want to go with the curve on the swell. I think it will look OK. Now for some similar careful turning on the other two. But that's for tomorrow!
Stanley Challenger Graham
Stanley's View
scg1936 at talktalk.net

"Beware of certitude" (Jimmy Reid)
The floggings will continue until morale improves!
User avatar
Stanley
Global Moderator
Global Moderator
Posts: 90439
Joined: 23 Jan 2012, 12:01
Location: Barnoldswick. Nearer to Heaven than Gloria.

Re: Shed Matters 3

Post by Stanley »

Image

Only one pic needed this morning. I have, thankfully, finished the external shaping of the carronades. It was 49F in the shed and only 53F when I finished. Not good for my knees but we are ready to move on now with making the carronades rather than having to fight the shape.
Stanley Challenger Graham
Stanley's View
scg1936 at talktalk.net

"Beware of certitude" (Jimmy Reid)
The floggings will continue until morale improves!
User avatar
Stanley
Global Moderator
Global Moderator
Posts: 90439
Joined: 23 Jan 2012, 12:01
Location: Barnoldswick. Nearer to Heaven than Gloria.

Re: Shed Matters 3

Post by Stanley »

It was my 85th birthday yesterday so I allowed myself a day off!

Image

Today we have to do some milling with a setup that doesn't need the normal vise so I took it off and gave the bed a rub down with the diamond hone to remove any small dings and bruises. There are always some!

Image

Image

Image

The job is to put a flat on each side of the spigot and also mill a flat on the bottom of the gun to act as a landing where the trunnion block will be fitted.

Image

Then turn the cannon over and cut the parallel face on the spigot.

Image

Closing time. The blank for the trunnion bar is on the flat on the body. I only got one done because it was all a new set up but I should be able to knock the other two off tomorrow. Better slow and mistake free than rushing into a cock-up.
Stanley Challenger Graham
Stanley's View
scg1936 at talktalk.net

"Beware of certitude" (Jimmy Reid)
The floggings will continue until morale improves!
User avatar
Stanley
Global Moderator
Global Moderator
Posts: 90439
Joined: 23 Jan 2012, 12:01
Location: Barnoldswick. Nearer to Heaven than Gloria.

Re: Shed Matters 3

Post by Stanley »

Image

Image

First job was to spend almost an hour working on the milling of the other two carronades. Just a matter of careful work.

Image

Then I gave a bit of thought to where I go next and decided making the trunnions would be good. I've enjoyed using the beaten up little vise and decided I'd use another, slightly better, vise and as I had two to choose from I chose the rusty one on the grounds it would be good to rescue it. I spent probably twenty minutes restoring it and fitted it on the bed of the VM.

Image

Then I found out why it's been sitting unused for so long, It had broken at some time and been welded. The weld was bad and failed as soon as I put any weight on it.

Image

I took the re-usable spares off the vise and chucked the body in the scrap. I shall start again on this track tomorrow. Not sorry the way it went, we have sorted that out and made a bit more room in the shed!
Stanley Challenger Graham
Stanley's View
scg1936 at talktalk.net

"Beware of certitude" (Jimmy Reid)
The floggings will continue until morale improves!
User avatar
Stanley
Global Moderator
Global Moderator
Posts: 90439
Joined: 23 Jan 2012, 12:01
Location: Barnoldswick. Nearer to Heaven than Gloria.

Re: Shed Matters 3

Post by Stanley »

Image

I spent the first half hour this morning sorting out this vise and setting it up ready for today's task. It's identical with yesterdays but this one has an intact body!

Image

Each of the spigots needs two additions, an eye for the recoil rope and a threaded hole for the elevating screw. The first job was to mark and drill these two holes.

Image

Then thread the elevating screw hole and measure and mark for the touch hole..

Image

Here's the result.

Image

Then, like yesterday, I set up the first of the next two to get the same attention. Slow and steady but good progress.
Stanley Challenger Graham
Stanley's View
scg1936 at talktalk.net

"Beware of certitude" (Jimmy Reid)
The floggings will continue until morale improves!
User avatar
Stanley
Global Moderator
Global Moderator
Posts: 90439
Joined: 23 Jan 2012, 12:01
Location: Barnoldswick. Nearer to Heaven than Gloria.

Re: Shed Matters 3

Post by Stanley »

Image

One pic tells you all you need to know about this morning. As I forecast yesterday, I have sorted the other two and now we have three carronades all the the same stage. I shall take a view tomorrow on what we go for next, completion of the elevation screw and the eye for the recoil rope, (Which is what I am favouring.), or the trunnions.
I'll decide tomorrow. I had a bit of a clean up and put some tackle away. The chuck taken off the mill and the cutter put back on. Standards must be maintained!
Stanley Challenger Graham
Stanley's View
scg1936 at talktalk.net

"Beware of certitude" (Jimmy Reid)
The floggings will continue until morale improves!
User avatar
Stanley
Global Moderator
Global Moderator
Posts: 90439
Joined: 23 Jan 2012, 12:01
Location: Barnoldswick. Nearer to Heaven than Gloria.

Re: Shed Matters 3

Post by Stanley »

Image

The first job this morning was to restore my good vise on the El Cheapo mill. This took longer than you'd think, these things always do. Never mind, its back in place and trammed in.

Image

Next job was to touch the cutter up because I have changed my mind about the order of play. I am going to make the trunnions first as the size and positioning of them determines the length and design of the elevating screw. I also put the 4 jaw SC chuck back on because we are going to be working with square stock.

Image

Image

My treasure chests aren't rich in square stock so I am having to adapt what I have to the job in hand, here we have the preliminary sizing and the marking for length before sawing by hand in the vise.

Image

Knocking off time, 3 pieces sized and squared and ready for the trunnions cutting on the ends.
Stanley Challenger Graham
Stanley's View
scg1936 at talktalk.net

"Beware of certitude" (Jimmy Reid)
The floggings will continue until morale improves!
User avatar
Stanley
Global Moderator
Global Moderator
Posts: 90439
Joined: 23 Jan 2012, 12:01
Location: Barnoldswick. Nearer to Heaven than Gloria.

Re: Shed Matters 3

Post by Stanley »

Image

Busy morning today for various reasons but I did get in the shed and do useful things. The first thing to do was to turn the actual trunnions on the end of the bars. The eagle eyed amongst you will notice that one has smaller trunnions than the other two. :biggrin2: This is where I could give all sorts of excuses but the truth is funnier. I decided to make the trunnions 1/16" bigger than 1/4" so I made the first trunnion 3/16".... I told you it was funny. I shall live with the smaller trunnions on this one but made the others the proper size!

Image

The trunnions are going to be attached with glue and located with an 1/8" dowel. (The Carron foundry would have used super glue if it had been available!) So the three bars have been drilled and dowels found for them. A bit of careful measuring tomorrow and we can fit them.
Stanley Challenger Graham
Stanley's View
scg1936 at talktalk.net

"Beware of certitude" (Jimmy Reid)
The floggings will continue until morale improves!
User avatar
Stanley
Global Moderator
Global Moderator
Posts: 90439
Joined: 23 Jan 2012, 12:01
Location: Barnoldswick. Nearer to Heaven than Gloria.

Re: Shed Matters 3

Post by Stanley »

Image

First job this morning was to revert to this setup again, it's what we need today.

Image

The method is to first make sure the drill is on the centre line of the cannon. Than use the trunnion block locating against the step we milled into the body to get the exact centre. Then drill to enough depth to make a good location for the dowel. Then clean the block and the cannon with brake cleaning fluid, give it a dose of Gorilla instant glue. In stall the dowel and make sure it is driven home.

Image

And then set aside to cure overnight before I do anything else to them.

Image

Next we have to re-install the J&S vise. Tramming it in with this Verdict indicator on a bar held in the jaws.

Image

Closing time after an hour and a half. I have to cut the excess dowel off the carronades tomorrow. Ready for the next moves. These could be more to do with the carriage!
Stanley Challenger Graham
Stanley's View
scg1936 at talktalk.net

"Beware of certitude" (Jimmy Reid)
The floggings will continue until morale improves!
User avatar
Stanley
Global Moderator
Global Moderator
Posts: 90439
Joined: 23 Jan 2012, 12:01
Location: Barnoldswick. Nearer to Heaven than Gloria.

Re: Shed Matters 3

Post by Stanley »

Image

This morning I am going to cut the excess dowel off the trunnion blocks and make the blanks for the eye that has to be made. It was originally for the thick rope that restrained recoil of the piece when it was fired. It doesn't have to be square stock so I found a scrap piece of rod and made it the same size over its full length.

Image

First job was trim the dowels and clean the trunnion blocks up.

Image

Then clean my stock up and settle down to making 3 blanks that are a nice fit in the holes I drilled for them.

Image

Here we are at knocking off time, all three pieces have blanks and now the end of each blank has to be modelled and given an eye. That's the next step and will be on the agenda tomorrow. Slow but sure. I had to make 4 blanks actually because the first was made trusting the size of the drill I used for the hole, 5.1mm. Nowhere near right and I saw sense and made them all to fit their holes.
Stanley Challenger Graham
Stanley's View
scg1936 at talktalk.net

"Beware of certitude" (Jimmy Reid)
The floggings will continue until morale improves!
User avatar
Stanley
Global Moderator
Global Moderator
Posts: 90439
Joined: 23 Jan 2012, 12:01
Location: Barnoldswick. Nearer to Heaven than Gloria.

Re: Shed Matters 3

Post by Stanley »

Image

The start this morning had nothing to do with carronades. I have been gradually using indexed carbide insert tools for some jobs and I needed to sort out which were mounted in the quick change Dickson tool holders. I had to swap them round a bit and then of course check them for centre. It's very easy to blow away half an hour!

Image

I was very remiss about pictures. I have rounded the tops of all the recoil rope additions and drilled them all ready for fitting. Then I installed them all using shaft fit Loctite. Then I addressed the matter of the elevating screws.

Image

What I had in mind was putting more thread on the elevating screws but I had forgotten how hard Unbrako socket head screws are! Impossible to thread them so that idea had to be ditched.

Image

This is one reason for having carbide inserts to hand. The heads of the screws had to come off and this insert has no problems.

Image

Knocking off time, we have carronades that are almost finished. Next job is to make the trunnion housings so I can get an accurate idea of whether the length of the elevating screws is right.
Stanley Challenger Graham
Stanley's View
scg1936 at talktalk.net

"Beware of certitude" (Jimmy Reid)
The floggings will continue until morale improves!
User avatar
Stanley
Global Moderator
Global Moderator
Posts: 90439
Joined: 23 Jan 2012, 12:01
Location: Barnoldswick. Nearer to Heaven than Gloria.

Re: Shed Matters 3

Post by Stanley »

Image

The agenda changed when I realised that I had made a mistake. To finish the elevating screws I need to drill them and fit a tommy bar. There is no way I will be able to drill these hardened screws so we had to have a different plan. I looked to see if I had any threaded rod but no luck so I went into this box, everyone has a box like this full of screws that don't fit anywhere. I found 3 of 1/4" screws and cleaned the threads up. I'll sort them out when I have the carronades mounted.

Image

Image

I need six blocks to make into the trunnion mounts on the carriage. I decided to cut them by hand, the exercise is good for me. However, as I am not going to live forever I decided to fit a new 12" All Hard Eclipse blade and hit a problem I have never come across before. The frame was shortened for some reason and wouldn't tighten the blade properly. I tried threading the adjusting screw but that didn't work, it must be the frame that needs bending so I just got another frame out, fitted the blade and got on with it. It takes quite a while to make six cuts through 3/4" X 1/2" key steel.

Image

All the blanks needed the ends squaring, 12 cuts in all. I didn't bother fitting the four jaw because it would have been no good, the stock isn't square. The three jaw does a better job and it doesn't matter that the centre is offset. All I am interested in is a square cut.

Image

Knocking off time. I have my three sets of trunnion blocks ready for tomorrow.
Stanley Challenger Graham
Stanley's View
scg1936 at talktalk.net

"Beware of certitude" (Jimmy Reid)
The floggings will continue until morale improves!
User avatar
Stanley
Global Moderator
Global Moderator
Posts: 90439
Joined: 23 Jan 2012, 12:01
Location: Barnoldswick. Nearer to Heaven than Gloria.

Re: Shed Matters 3

Post by Stanley »

Image

Today's work isn't much because I have to do my shopping early doors but what's going on is the start of making trunnion blocks Matched to each of the carronades. This involved numbering the cannons and the trunnion blocks that go with them.

Image

Two faces are milled on each of the blocks and they are done in pairs so that they are interchangeable on that piece.

Image

Here we are after an hour, all three carronades are numbered, they have matching trunnion blocks and the blocks themselves are numbered, matched for size and ready for drilling to accept the carronades.
Stanley Challenger Graham
Stanley's View
scg1936 at talktalk.net

"Beware of certitude" (Jimmy Reid)
The floggings will continue until morale improves!
User avatar
Stanley
Global Moderator
Global Moderator
Posts: 90439
Joined: 23 Jan 2012, 12:01
Location: Barnoldswick. Nearer to Heaven than Gloria.

Re: Shed Matters 3

Post by Stanley »

Image

Trunnion mounts is the name of the game. First job was to finish the marking I started yesterday and drill all the mounts the right size for the trunnions. Remember one carronade has smaller trunnions because of a mistake I made!

Image

Then we need to put the shape in the mounts, they have to be thinned down because that's best for the holding down bolts.

Image

It won't surprise you to see that I broke off half way through to make sure the cutter was as sharp as possible. No point having a T&C grinder and not using it! It only takes five minutes.

Image

Here we are after two hours honest endeavour. All the carronades have trunnion mounts that fit and are the right shape. Now they need bolt holes. That could be a nice start to tomorrow. (And then there is the matter of those elevating screws!)
Stanley Challenger Graham
Stanley's View
scg1936 at talktalk.net

"Beware of certitude" (Jimmy Reid)
The floggings will continue until morale improves!
BobH
Regular User
Posts: 133
Joined: 15 Nov 2019, 18:09
Location: Rochdale

Re: Shed Matters 3

Post by BobH »

The 10H is coming along. Next job is to drill the valve chest, cover and cylinder to match. The cylinder holes will be tapped 7BA as per the drawing. Then there is the flywheel to make and I will be able to clean up all the cast iron dust. I have used the workshop vacuum cleaner as I went along but a good wipe down and oil will be in order.
2EA4F915-B22D-44F2-B3E5-C9360C8BC014.jpeg
6C187B6F-F08B-4F4E-91B6-EBC5C24415D8.jpeg
You do not have the required permissions to view the files attached to this post.
User avatar
Stanley
Global Moderator
Global Moderator
Posts: 90439
Joined: 23 Jan 2012, 12:01
Location: Barnoldswick. Nearer to Heaven than Gloria.

Re: Shed Matters 3

Post by Stanley »

Nice. I see you have the drain cocks that I keep buying despite the fact they are so expensive.
Good luck with the 7BA drilling and tapping. :biggrin2:
Stanley Challenger Graham
Stanley's View
scg1936 at talktalk.net

"Beware of certitude" (Jimmy Reid)
The floggings will continue until morale improves!
User avatar
plaques
Donor
Posts: 8094
Joined: 23 May 2013, 22:09

Re: Shed Matters 3

Post by plaques »

The drain cocks look very much like vintage motorcycle petrol taps can't remember the price but they be worth chasing up.
User avatar
Stanley
Global Moderator
Global Moderator
Posts: 90439
Joined: 23 Jan 2012, 12:01
Location: Barnoldswick. Nearer to Heaven than Gloria.

Re: Shed Matters 3

Post by Stanley »

I seem to remember Stuarts charge £16 each for them. Bob and I should set up with a few form tools and make them. Newton used to make the tapered cocks complete with handles from Brazing rod. He said that was the easiest because you could bend the handle to shape cols after you had made the cock.
Stanley Challenger Graham
Stanley's View
scg1936 at talktalk.net

"Beware of certitude" (Jimmy Reid)
The floggings will continue until morale improves!
User avatar
Stanley
Global Moderator
Global Moderator
Posts: 90439
Joined: 23 Jan 2012, 12:01
Location: Barnoldswick. Nearer to Heaven than Gloria.

Re: Shed Matters 3

Post by Stanley »

Image

It won't be long until I need the wooden bases of the carriages so I did a bit of searching. I have marked them up but it will have to come daylight before I get the chop saw out and cut them.

Image

No matter, plenty to carry on with, I marked my trunnion mounts up for the holding down bolts and drilled them. Would you believe I couldn't get my 3/16" drill sharp and had to find a replacement? Nothing is simple.

Image

Knocking off time. All the trunnion mounts drilled, the wooden bases of the carriages cut out, Solid progress.
Stanley Challenger Graham
Stanley's View
scg1936 at talktalk.net

"Beware of certitude" (Jimmy Reid)
The floggings will continue until morale improves!
User avatar
Stanley
Global Moderator
Global Moderator
Posts: 90439
Joined: 23 Jan 2012, 12:01
Location: Barnoldswick. Nearer to Heaven than Gloria.

Re: Shed Matters 3

Post by Stanley »

Image

I realised this morning that the wooden bases I had cut were too long so I cut them to length with the tenon saw. But than realised I was nowhere near as good as the chop saw and got that out to square them up.

Image

Then I addressed the elevating screws and finished them all off. It was while I was doing this that I realised that I couldn't find my favourite scale, a 6" Starrett hook scale. I couldn't find it anywhere and spent 30 minutes looking for it. It was outside on the tail of the vice where I had left it after using it yesterday. I had covered it with sawdust!

Image

Knocking off time. Three carronades on their modified bases and each with an elevating screw that has a tommy bar for leverage on the base. Last but not least, a I found my 6" Starrett hook scale. All is well!
Stanley Challenger Graham
Stanley's View
scg1936 at talktalk.net

"Beware of certitude" (Jimmy Reid)
The floggings will continue until morale improves!
Post Reply

Return to “Crafts”