Page 66 of 99
Re: Shed Matters 3
Posted: 30 Apr 2022, 05:16
by Stanley

No real shed this morning. I am having an easy day after a long day out yesterday. I've ordered another set of castings for a No9 Stuart and will see whether I can do an even better job!
The shed always looks better with a clean tablecloth on the big surface plate!
Re: Shed Matters 3
Posted: 01 May 2022, 07:14
by Stanley
Re: Shed Matters 3
Posted: 02 May 2022, 06:58
by Stanley
Re: Shed Matters 3
Posted: 02 May 2022, 08:40
by Stanley
I've just realised I was so interested in getting the stock accurately lined up I forgot to mill the main of the metal out. Never mind, I have plenty of time and there is no rush!
Re: Shed Matters 3
Posted: 03 May 2022, 07:04
by Stanley
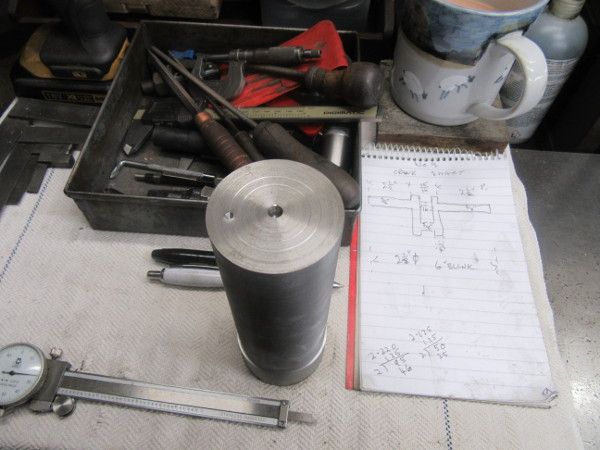
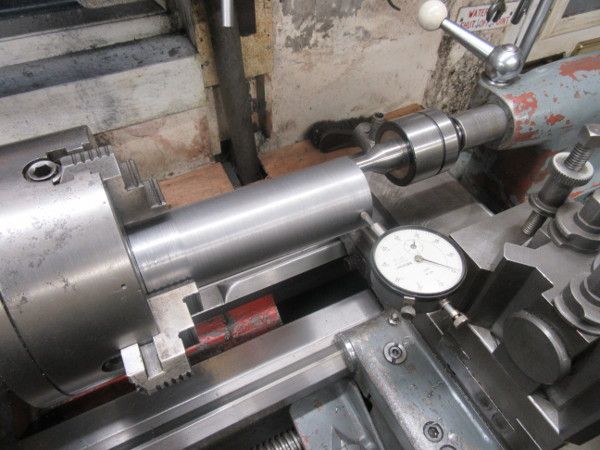
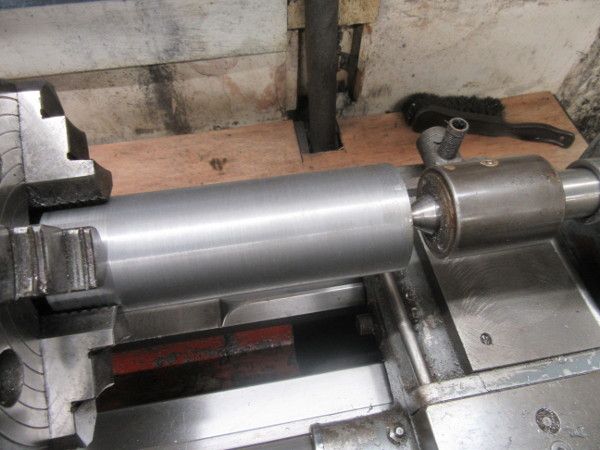
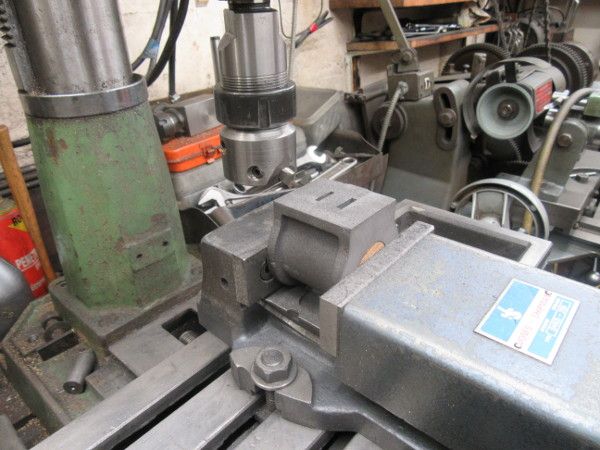
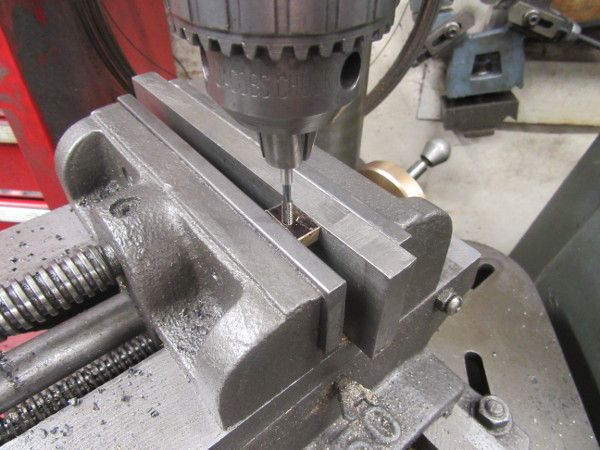
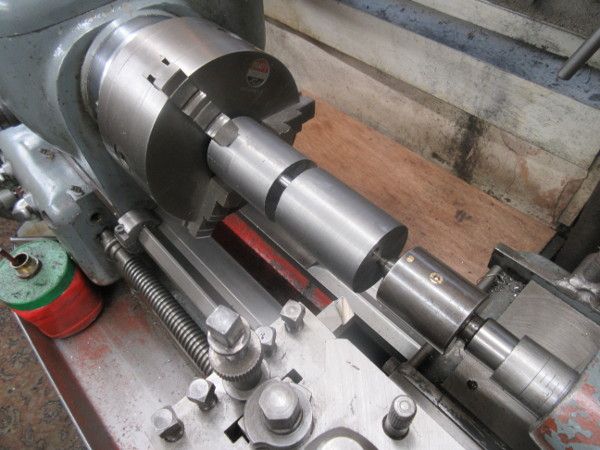
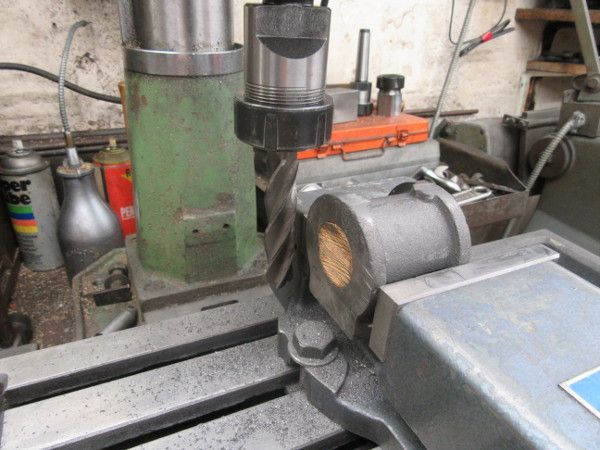
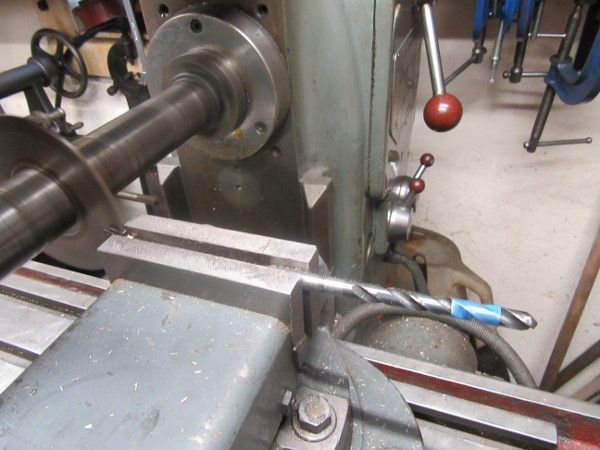
One pic says it all. I changed my mind and set the slug up under the mill to cut the unwanted metal out from between the webs of the crankshaft. When I came to do this I realised that you can run but you can't hide! I got the width wrong, and when I adjusted it yesterday I got it wrong again. I now have it right, 7/16", there's no doubt about it, advancing age is affecting me. Here you see the main cut taken out and now I'm taking the two smaller pieces out. It's all worth it, apart from rescuing myself from the mistake I have made the actual turning much easier.
Re: Shed Matters 3
Posted: 04 May 2022, 07:17
by Stanley

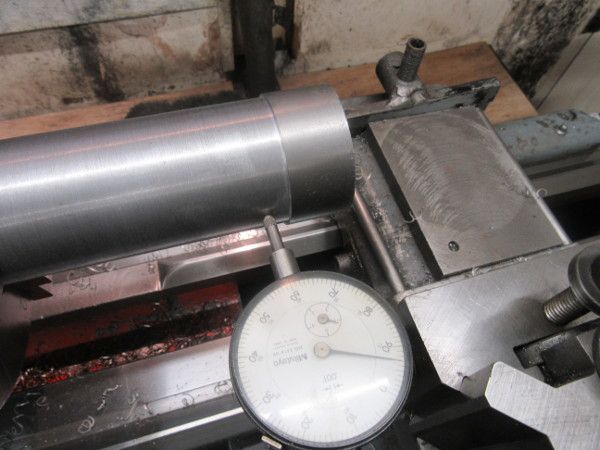
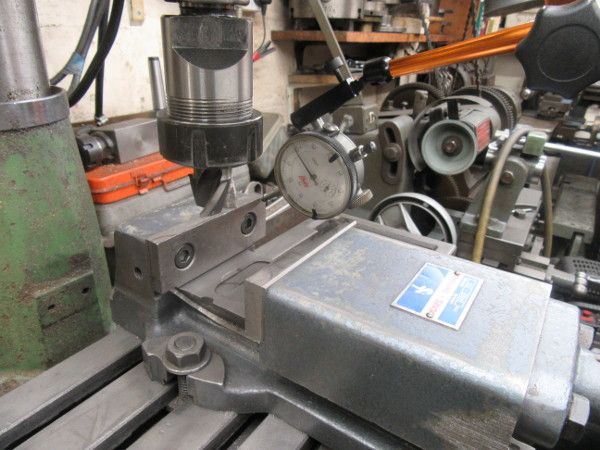
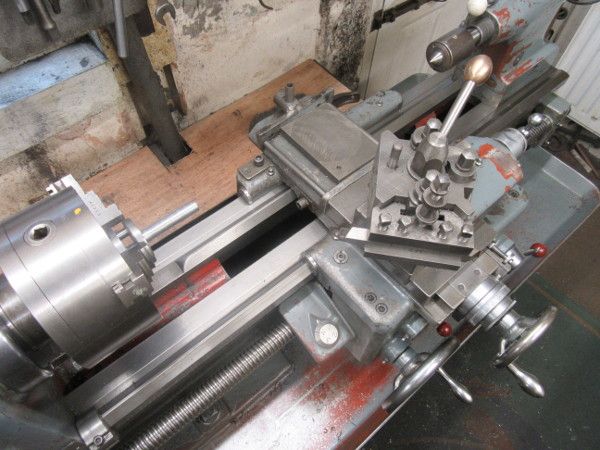
Straight back to the mill and finish taking out the excess metal from between the webs. Looking for a 3/8" diameter crank pin.
Then set up in the lathe again with maximum stick out on the parting tool and 5 thou cuts. I have set my stops up again so that I don't have to be watching so carefully at each side of the cut.
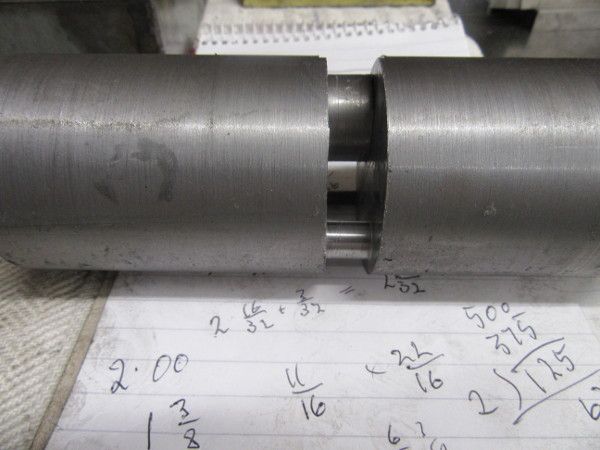
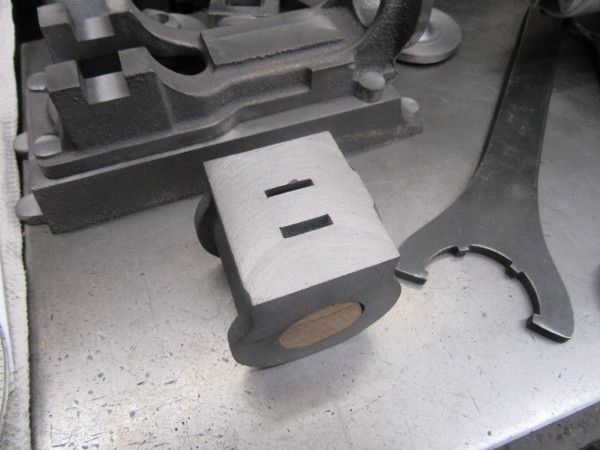
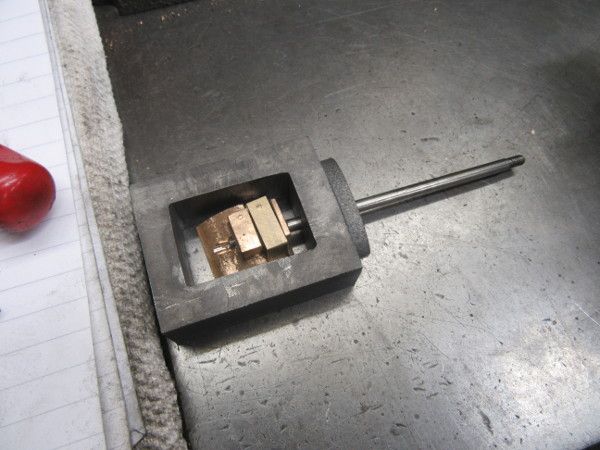
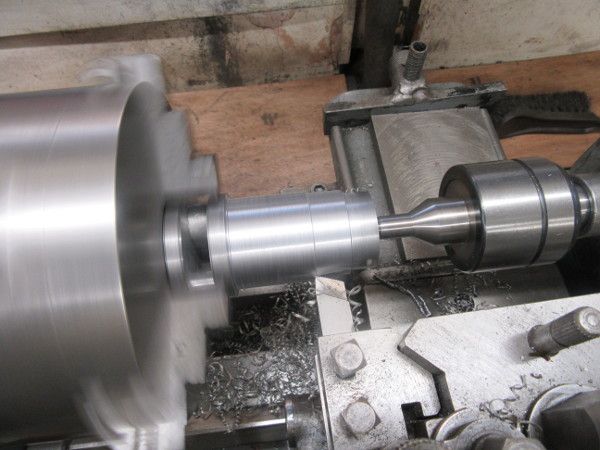
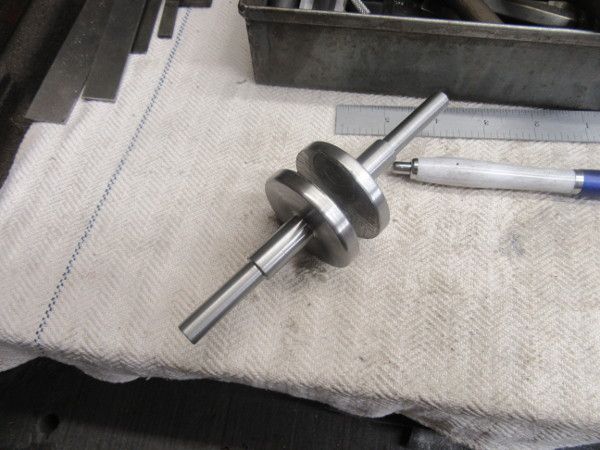
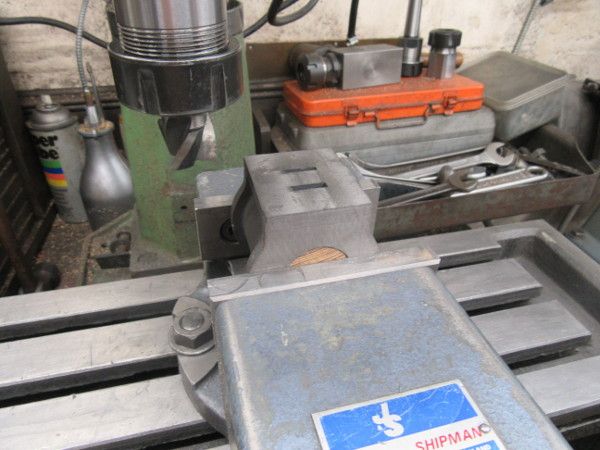
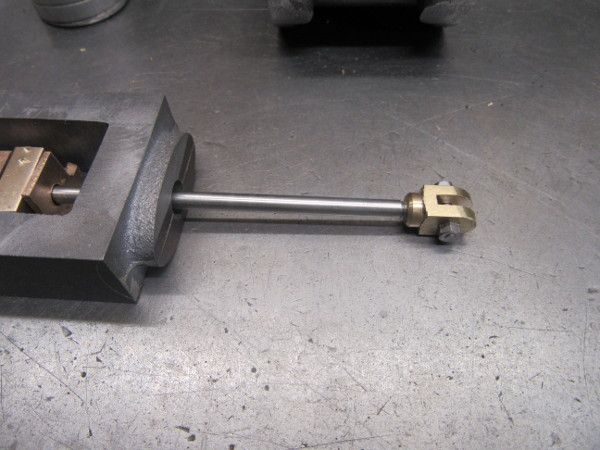
This was the successful end of this morning's work. We have a finished crank pin and a 7/16" button installed in the gap with instant glue to take the pressure off the live centre during the next lot of turning to get the rest of the shaft to size..
Re: Shed Matters 3
Posted: 04 May 2022, 11:48
by Stanley
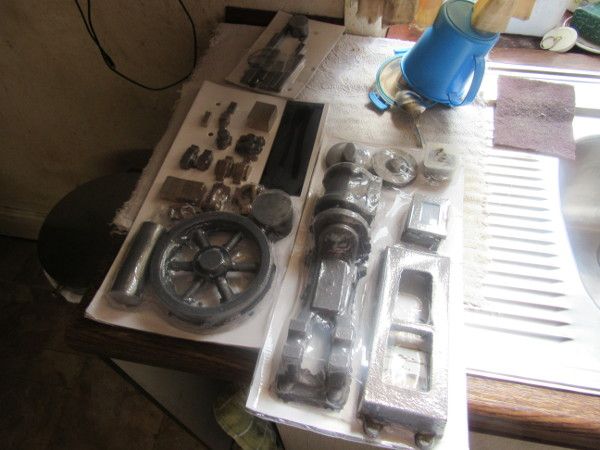
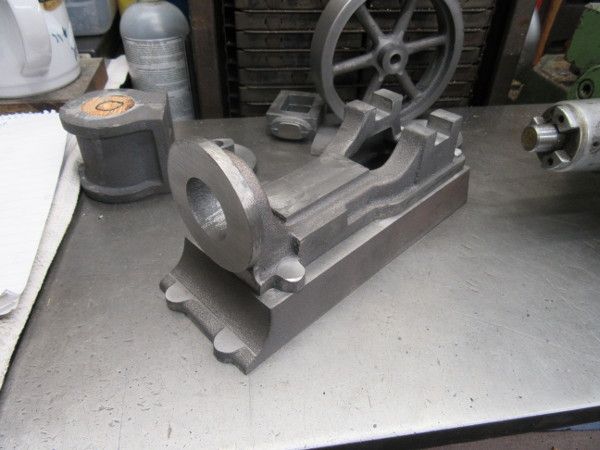
My castings have arrived.

Re: Shed Matters 3
Posted: 05 May 2022, 07:42
by Stanley
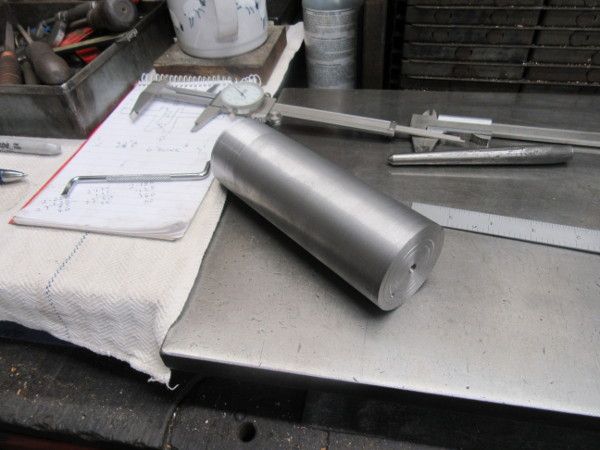
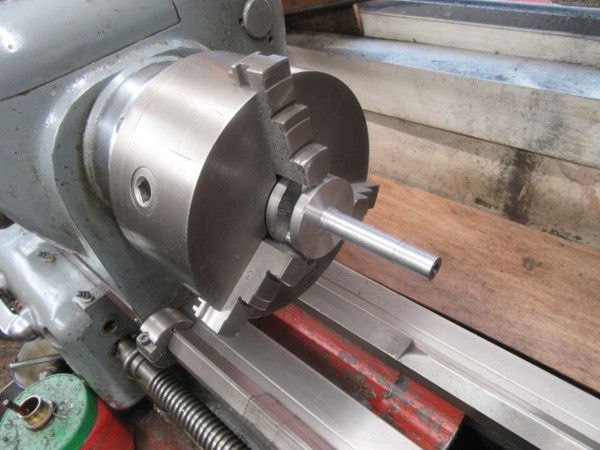
This was the opening scene this morning. I have to unpack the castings. But first I have to set up the shaft for turning.
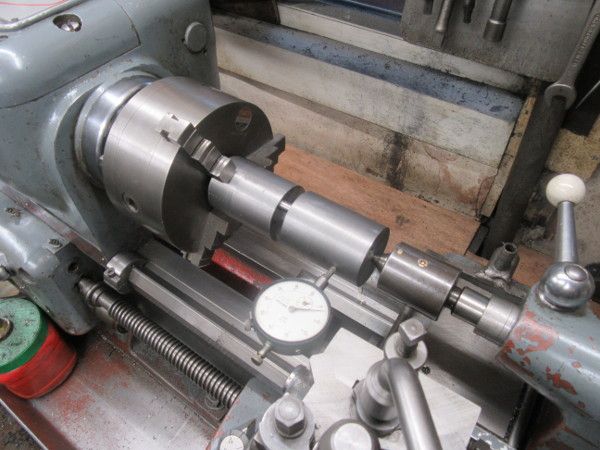
Notice that I checked for true running. It's within 3 thou wherever you try it which isn't bad for a 70 year old chuck.

Then Unpack the castings from their shrink pack and get my bench in order.

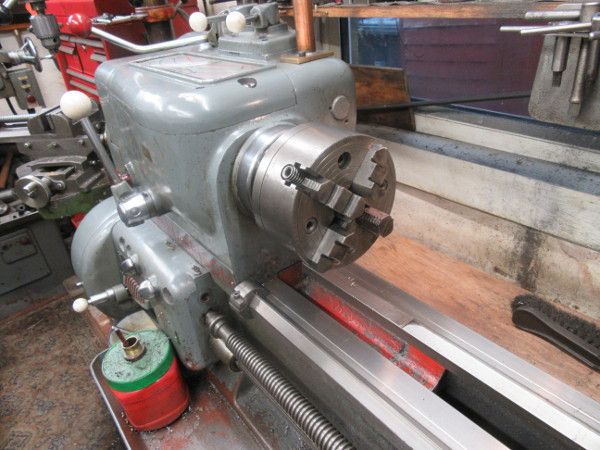
Then turn one end down until it can be seated deep in the chuck.

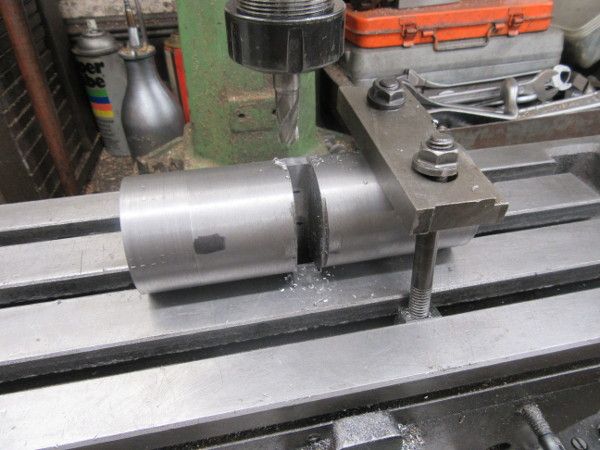
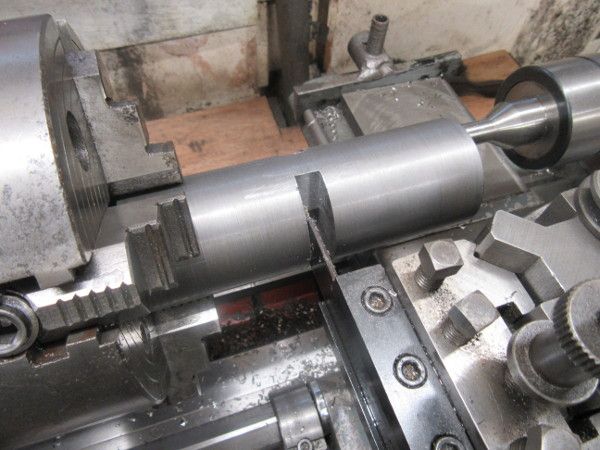
Here we are at closing time. I am ready to do the finish turning on this end of the shaft. Notice that I have it sunk deep enough in the jaws to take the torque of the cut without transmitting it through the crank pin and we still have the 7/16" button in between the webs to carry the pressure of the live centre without distorting the shaft.
Then I went and voted. Now I can have breakfast with a clear conscience!
Re: Shed Matters 3
Posted: 06 May 2022, 07:01
by Stanley

The object of this morning's hour in the shed was simple. Turn this leg of the shaft down to a shade over 1/2" (Which is what the bearing journals will be) and leave it to cool overnight so that I can get an accurate measurement tomorrow.
This was closing time. The bulk of the metal has gone and the lathe (and the floor) has had a quick clean. I am ready to turn this leg down to finished size.
Re: Shed Matters 3
Posted: 07 May 2022, 06:53
by Stanley
I finished turning the shaft down to the right diameter as it had cooled down.

Then I got into muck shifting again and finished up where I was last night with a finished web and a hot shaft turned down to just over 1/2" which is the target for the bearing journal.
Re: Shed Matters 3
Posted: 08 May 2022, 06:37
by Stanley
Only one pic this morning. I have finished the crankshaft and am ready to go forward with the castings. It's different than the drawings in that I have made the journals for the main bearing 1/2" and not the 3/8" in the drawings. That measurement is dictated by Stuart's recommended way of building a flywheel from individual parts, I don't like that and think that chopping a crankshaft out of solid bar is better and the increased size of the bearing journals is only one of the benefits.
Re: Shed Matters 3
Posted: 09 May 2022, 07:05
by Stanley
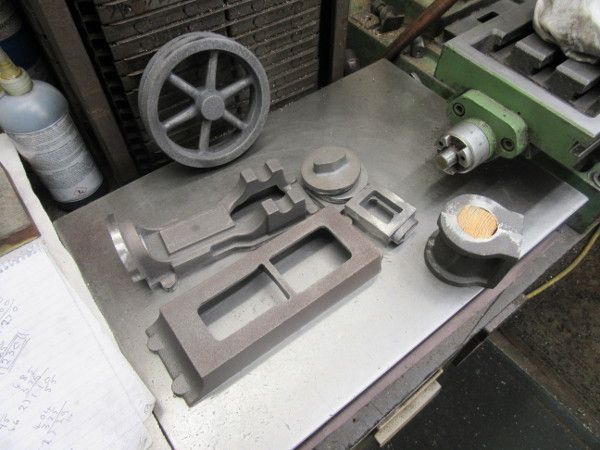
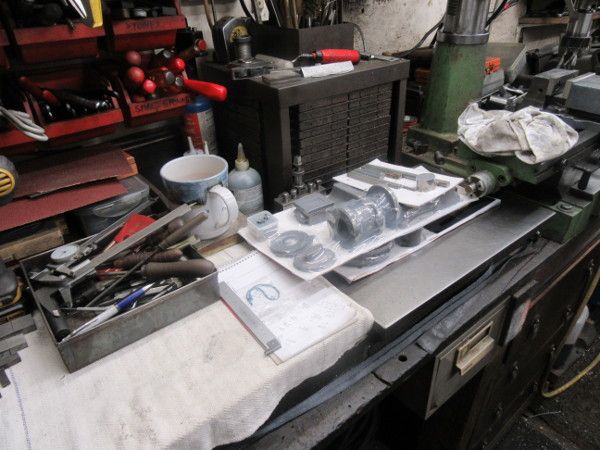
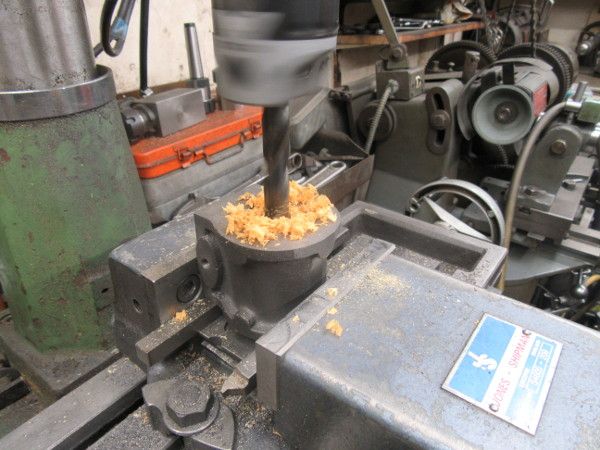
As promised, I got down and dirty with the castings taking the flash off and tidying them up. There's nothing refined about this process and no finishing point, you can titivate castings for hours if you want to. I didn't and just got them to a reasonable state, I will be refining the finish as I work my way through the build.
I finished by woodturning in the lathe (and cleaning up afterwards!) to make and install a plug for the bore to assist in laying out. A good start and no cock-ups.
Re: Shed Matters 3
Posted: 10 May 2022, 06:48
by Stanley

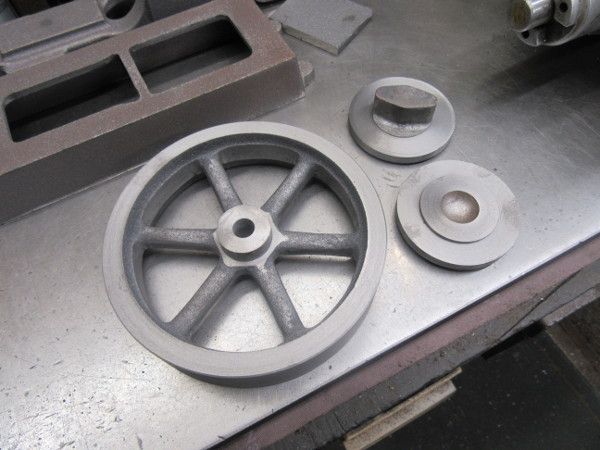
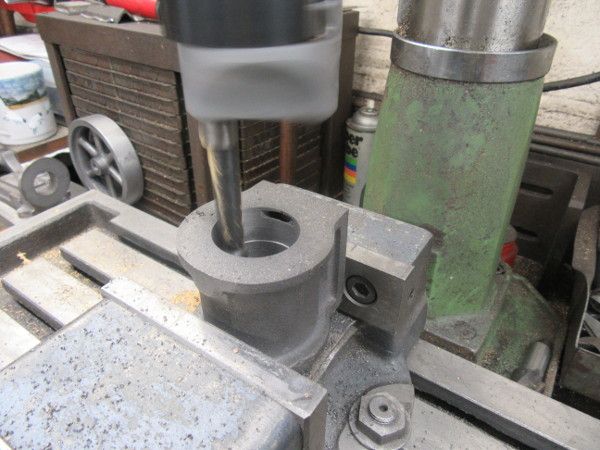
Dead simple this morning, rough turning of castings. They can be refined when we get to fitting....
Re: Shed Matters 3
Posted: 11 May 2022, 06:51
by Stanley

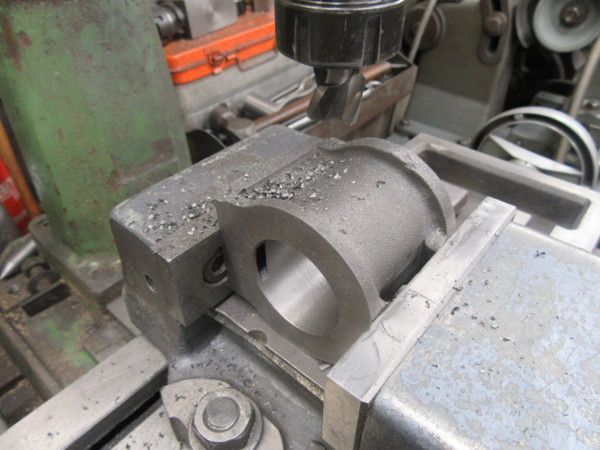
I started the morning by modifying the gland casting on the front lid until it fitted in the aperture in the bed casting. Then I drilled it for the piston rod and gland casting.
Here is the reason. it's easier with a casting to find the appropriate centre in the bore and mark it with a transfer punch. Measurement can be deceptive because rough castings aren't accurate.
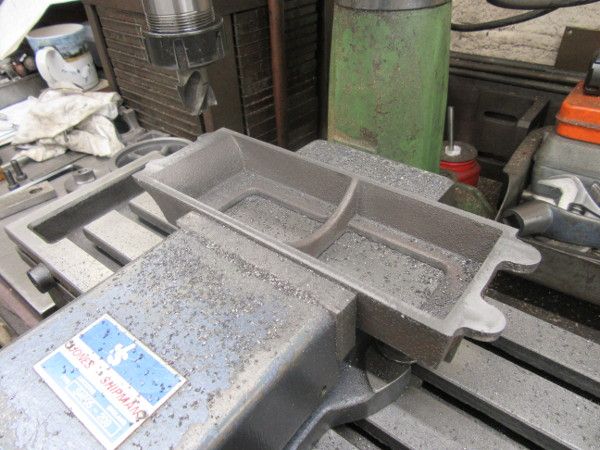
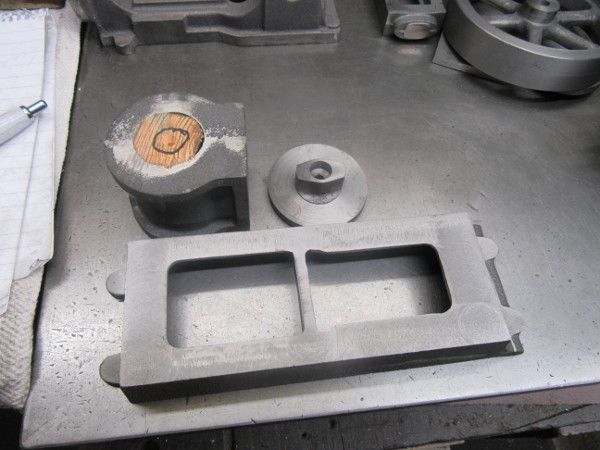
Then I addressed the bed casting and finished up with it machined level, including the feet for the holding down bolts. Last job was to clear all the CI dust off the lathe and milling machine. I will be making more tomorrow but I like to keep the level down!
Re: Shed Matters 3
Posted: 12 May 2022, 07:15
by Stanley
Re: Shed Matters 3
Posted: 13 May 2022, 07:01
by Stanley

I've popped a 1/4" rod in the front lid just to check the alignment. As far as I can see at this point we are OK.
I concentrated on the cylinder for the hour I had before shopping. The images tell the story. theoretically milling the ends with a long cutter should ensure the ends are square with the bore. I measured and though not perfect it's very close, close enough.
Closing time. I have measured and know how much I need to take off the valve face. So I have set up ready for tomorrow.
Re: Shed Matters 3
Posted: 14 May 2022, 07:23
by Stanley
Re: Shed Matters 3
Posted: 15 May 2022, 06:51
by Stanley
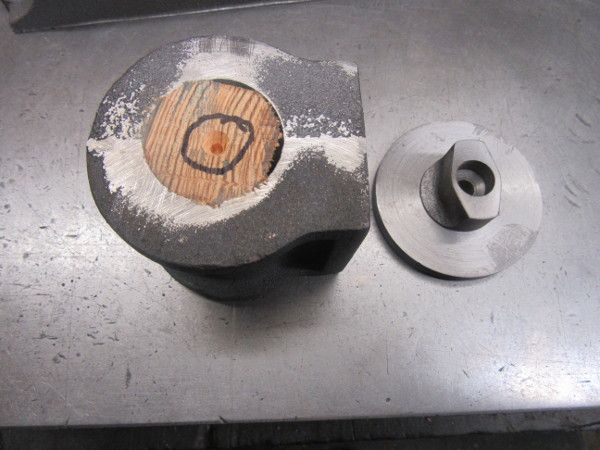
I settled on a boring morning....
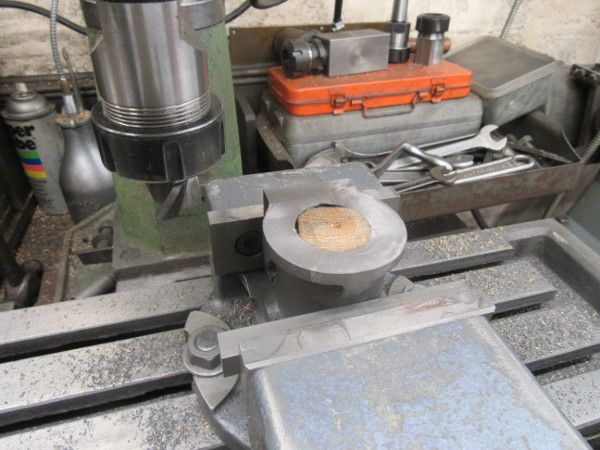
Here I am boring out the wooden core. It has served its purpose and i have centred the cylinder using the mark I generated on the core.
Once set up, it was just a case of boring quietly and carefully. Boring to a centre that was generated from the dimensions of a rough casting is always a bit of a lottery! You have to have faith....

Knocking off time. It's not bad for parallelism, the centre was very close to accurate. It will certainly do. Very pleased.
Re: Shed Matters 3
Posted: 16 May 2022, 06:47
by Stanley
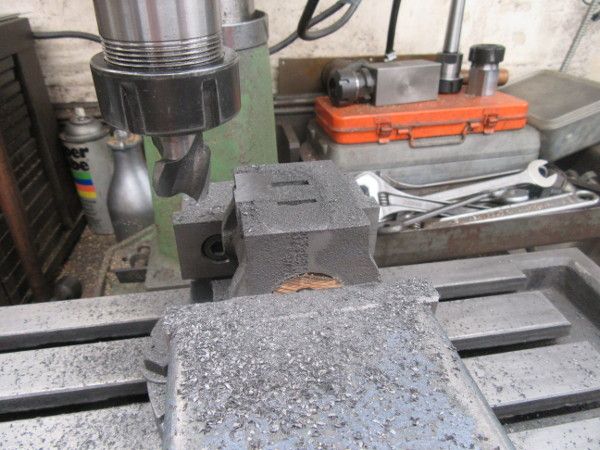
First job this morning was to clean one edge of the cylinder casting so that I could get a good witness mark on to make sure this engine is the opposite hand to the last one.

Then I addressed the lids, front and back, I wanted good registers on them and a finished fit. This is what a perfect fit looks like... I did the same with the back lid.
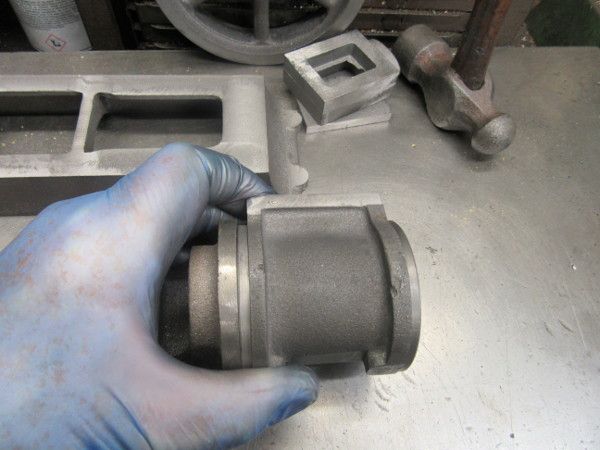
Here's the cylinder with two lids fitted.
Then I turned to the steam chest and did the interior cleaning up with a file. Then some careful measuring.
Closing time, ready to put the chest in the mill and do some serious finishing and and getting ready for the valve rod and the gland. A nice morning with more good progress......
Re: Shed Matters 3
Posted: 17 May 2022, 07:01
by Stanley
One pic is all we need. I have spent 2 hours on the steam chest and lid. They are finished on all surfaces, square and the right size. They are ready for the next operations, all concerned with fitting.
Re: Shed Matters 3
Posted: 18 May 2022, 07:30
by Stanley
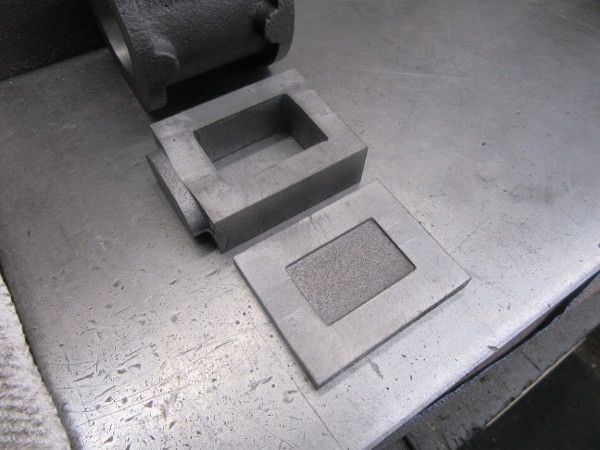
Not sure where to go this morning but eventually I settled on the complicated job of machining the casting that will become the steam valve.
Almost an hour spent on all the major faces....
Then I fitted the 1/4" cutter and started by chopping out the recess that carries the driving bar.
Then I used the same cutter to mill out the steam passage in the bottom of the valve.

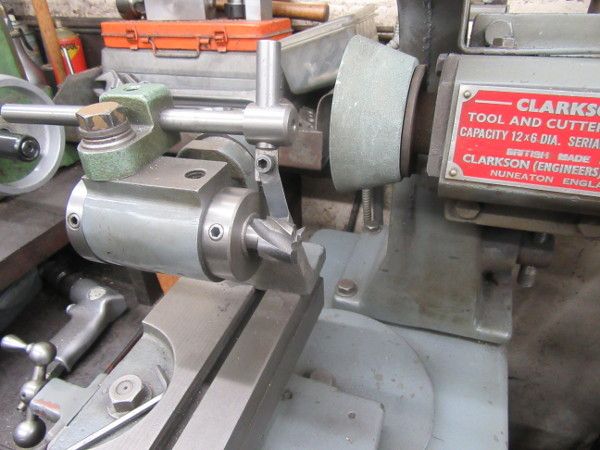
The last job was to resharpen the big milling cutter before putting it back in the mill.... A good productive two hours.....

Re: Shed Matters 3
Posted: 19 May 2022, 07:15
by Stanley
Re: Shed Matters 3
Posted: 21 May 2022, 06:43
by Stanley
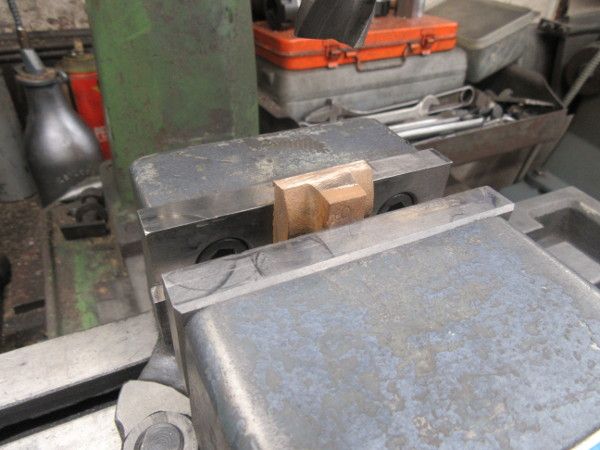
I started this morning by refitting the driver bar in the steam valve as I wasn't satisfied with yesterday's effort. It's far better now and will work better.
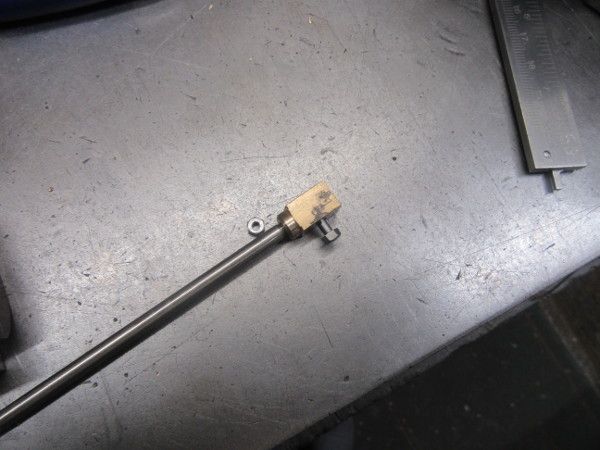
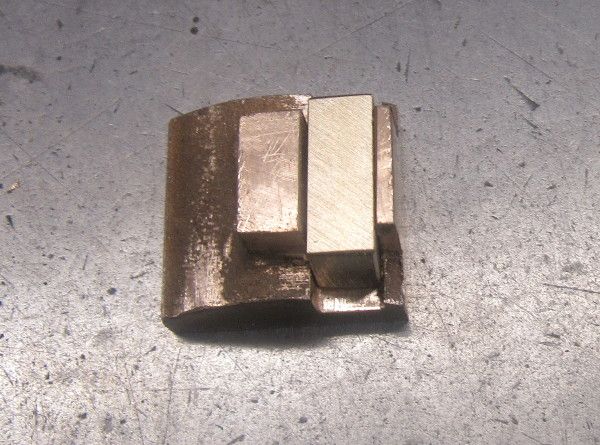
Then I set to to make the clevis for the end of the valve rod. Another complicated little piece. I have it made and drilled and tapped for the 7BA nut and bolt that connects it. I still have to cut the slot for the valve rod and round the end. I've left that as the first job tomorrow as setting the 3/32" cutter up is a lengthy job!
Good progress and we knocked off in good order.
Re: Shed Matters 3
Posted: 22 May 2022, 06:43
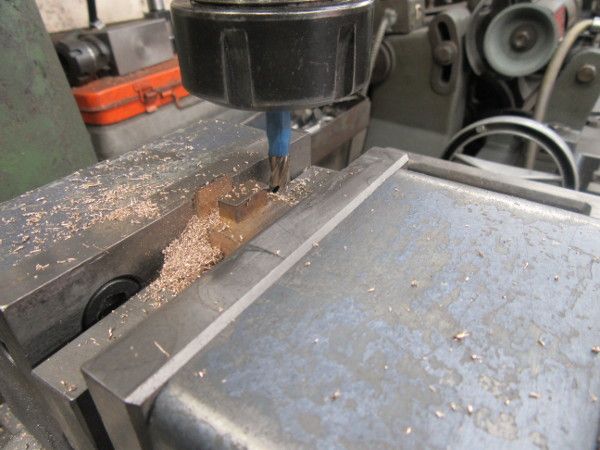
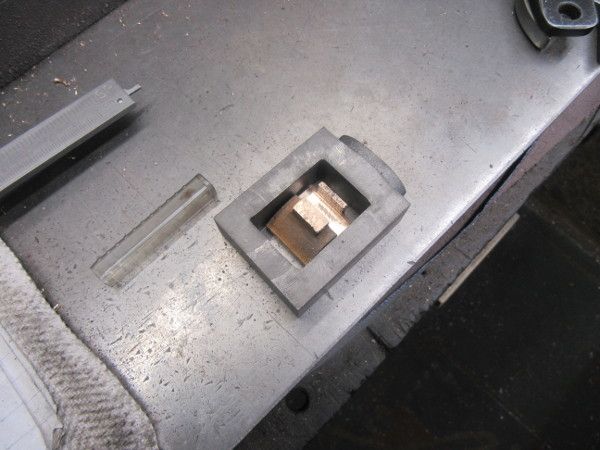
by Stanley
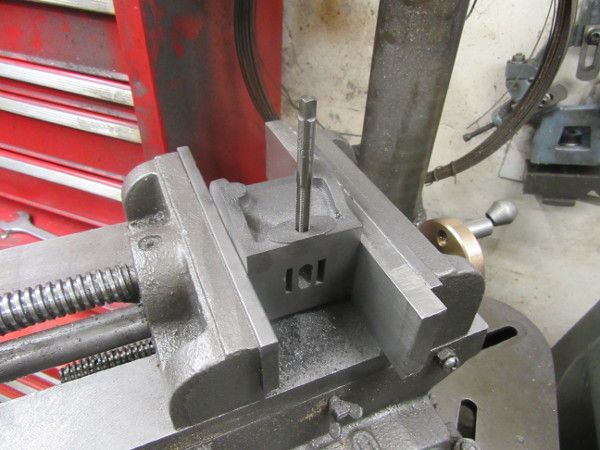
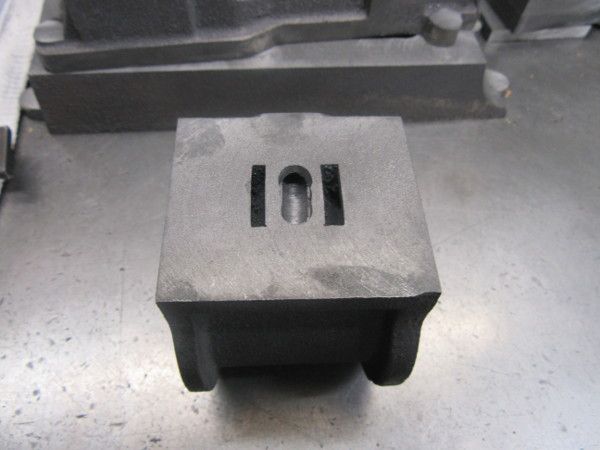
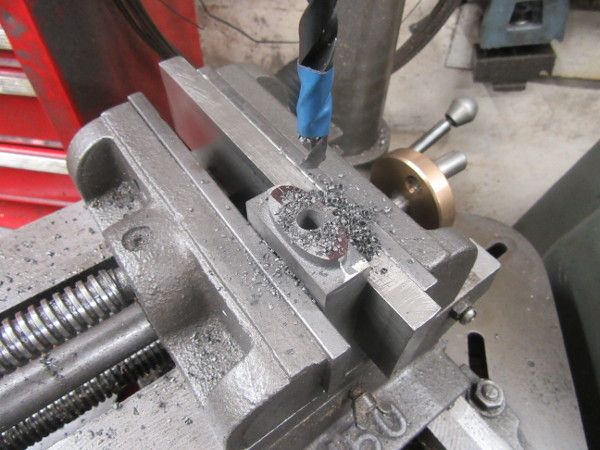
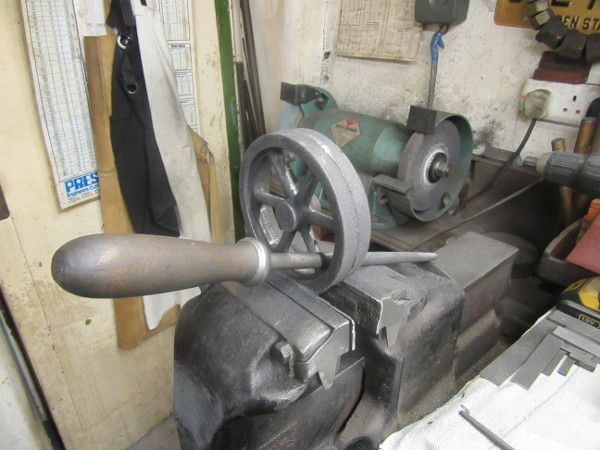
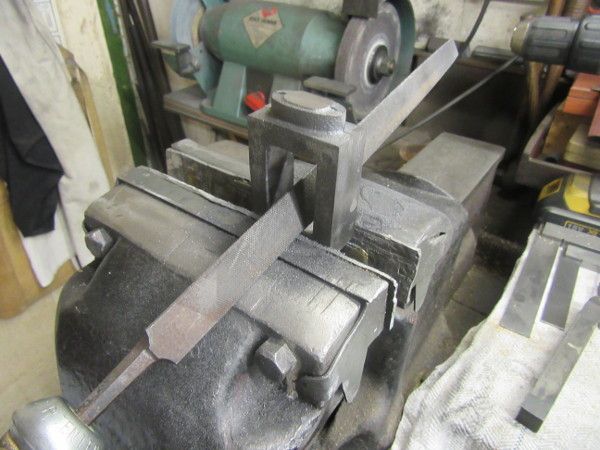
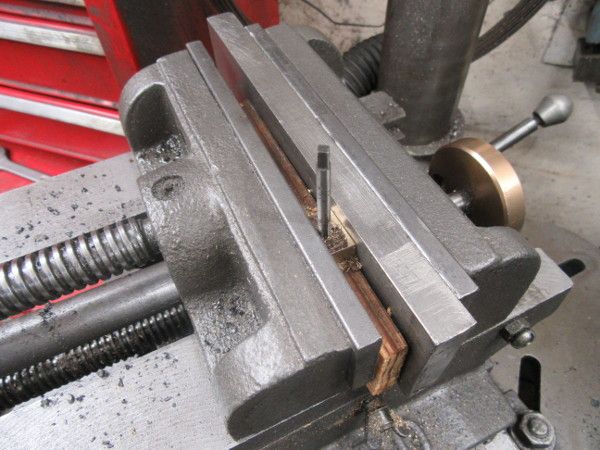
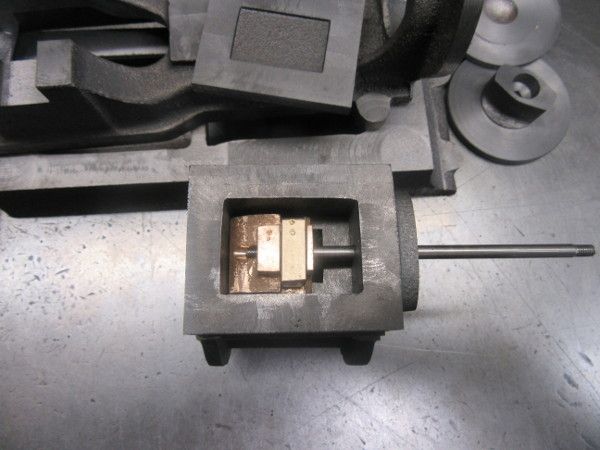
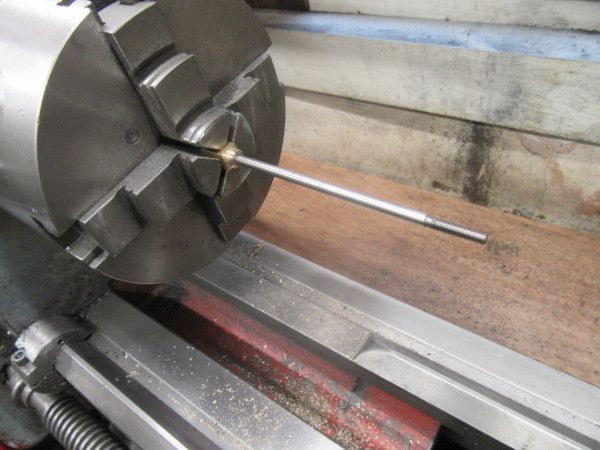
The first job in the shed was to get set up in the HM for cutting the 3/32" gap in the cle3vis, only one way to do it accurately. If you're wondering about the drill on the right of the jaw, that's a 5/16" drill to take pressure at that side and even out the strain on the vise.

After cutting the slot, the counterbore and thread for the 7BA bolt had to be cleaned up.
After an hour and a half I have a clevis ready for fitting and it's installed on the end of the valve rod. The next move is to make and fit the gland. I don't want to start that today so I knocked off and I'm having breakfast now. I took my time but got it right. That's an achievement when you can't see straight!
Re: Shed Matters 3
Posted: 23 May 2022, 07:27
by Stanley
We need glands and here's what the rough castings look like. I have made fag packet drawings to embed the sizes in my head....
There's nothing subtle about fettling castings. Get on to the grinding wheel and do the best you can to get rid of the flash and casting debris.
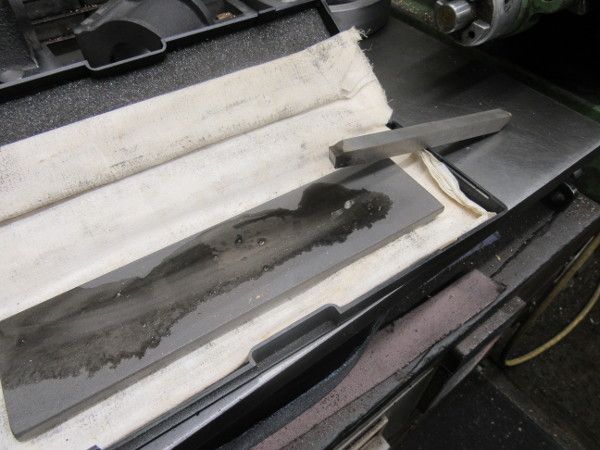
Every now and again I like to start with a fresh HSS cutter that hasn't had its angles gradually degraded by repeated sharpening. Here's the new one getting honed on the diamond hone....
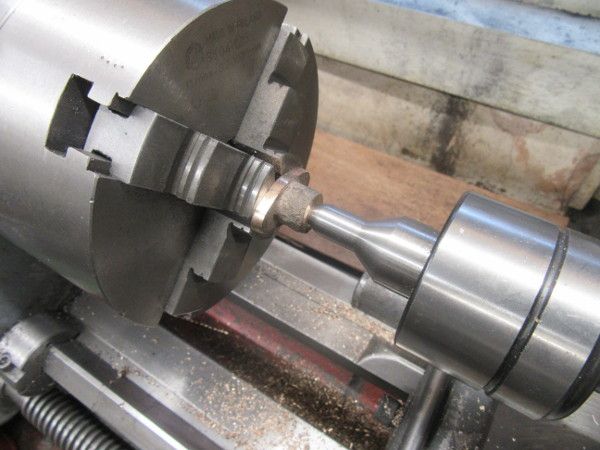
Cutting the face was easy because we had the spigot to grab but this side needs a different approach which is by way of being today's bleeding obvious tip. If you have a central hole, use the centre to press the gland against the chuck. This is good enough for light cuts....
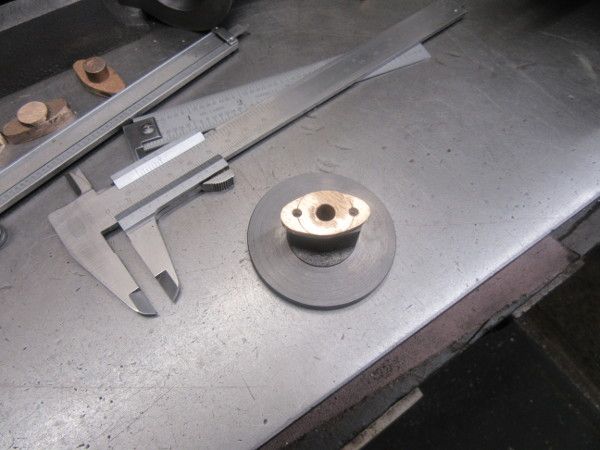
A short while later.... we have a piston rod gland ready for fitting. It still needs some hand work to refine the finish but the basic machining is done. Tomorrow I shall do the same with the valve rod gland. Quiet productive morning....