Page 90 of 99
Re: Shed Matters 3
Posted: 02 Nov 2023, 07:40
by Stanley
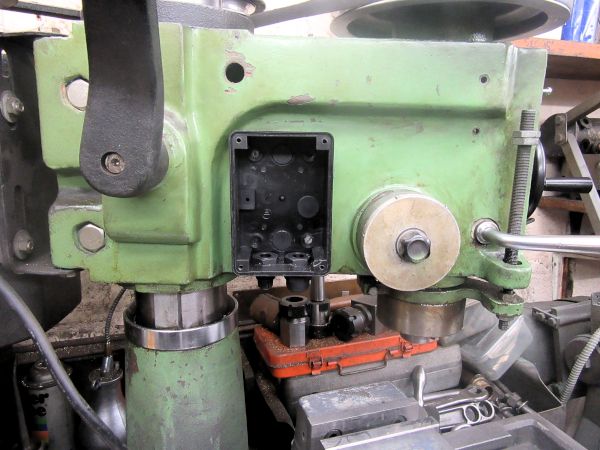
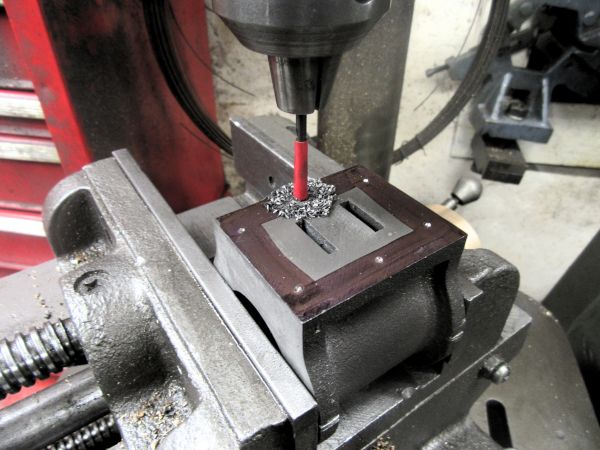
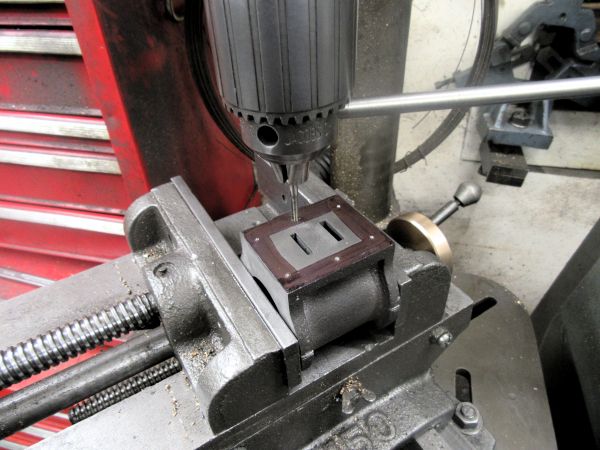
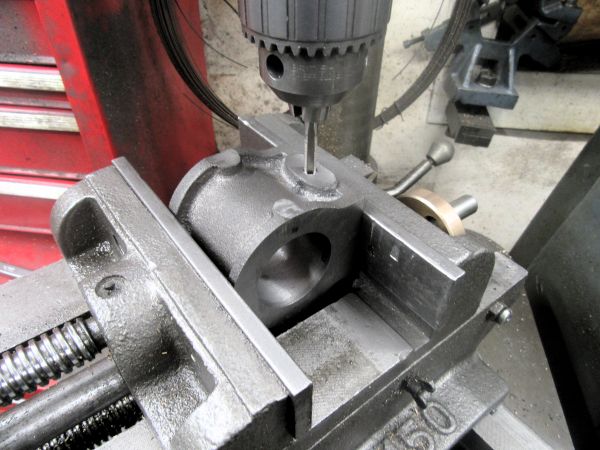
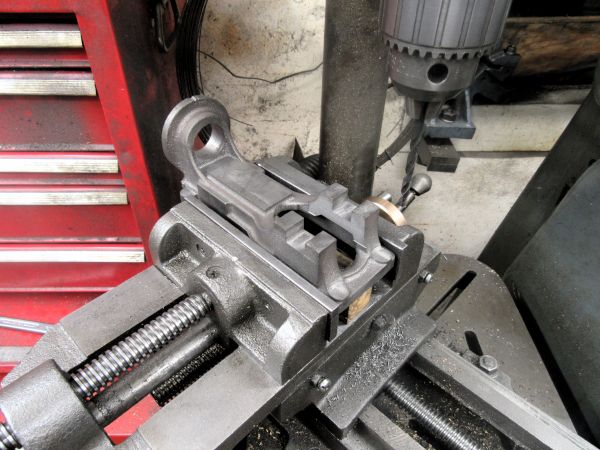
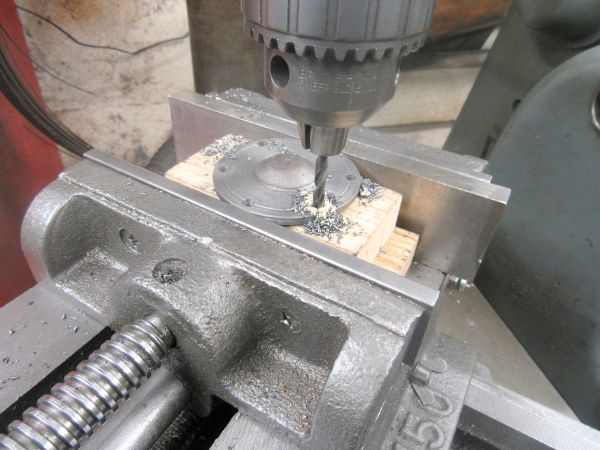
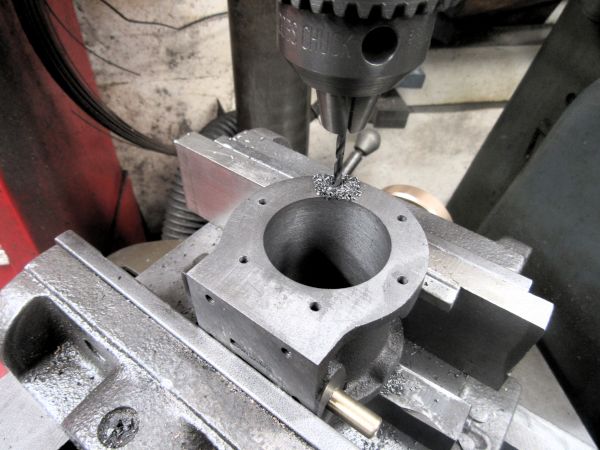
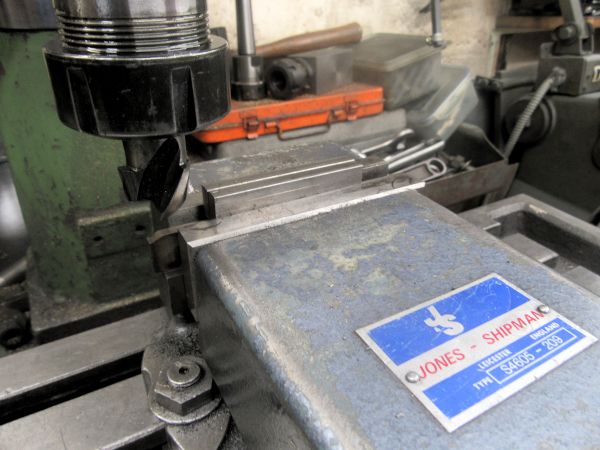
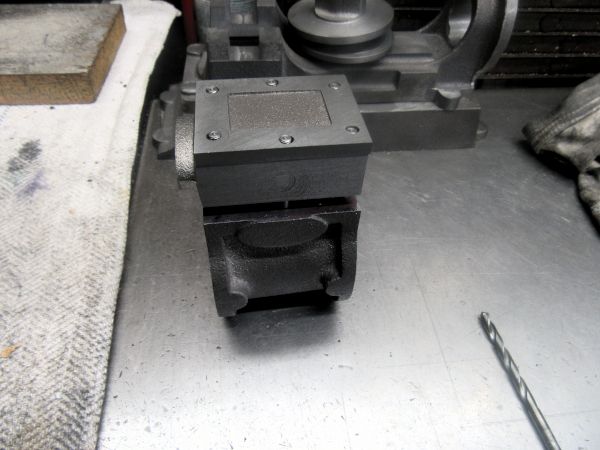
The replacement switch for the mill arrived yesterday. I had a look at it and decided I could understand the wiring instructions and so this morning I started on that job. The first job was to decide where to mount the switch as it couldn't go where the old one was as it would foul the handle for lowering and raising the quill. Then I had to decide how to mount it and decided on self-tappers. It took me the rest of the hour and a quarter I was in the shed to drill through the cast iron and adjust the drill size to suit the screws I had. I have done that and the body is mounted securely if not dead straight! (You can't have everything) I have the terminal kit and now I need to connect the switch. I think I need some help, I am not good at fiddly work like this in an awkward position, it nearly put my lights out this morning. So I am appealing for some help....... I shall ask elsewhere on the site as well.
Re: Shed Matters 3
Posted: 02 Nov 2023, 14:16
by Stanley
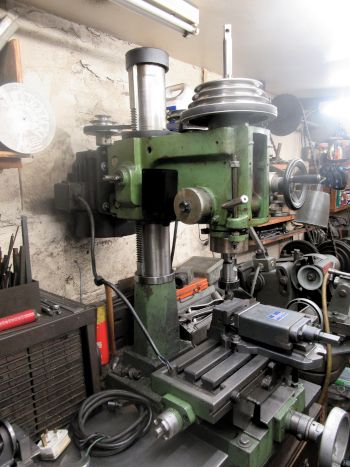
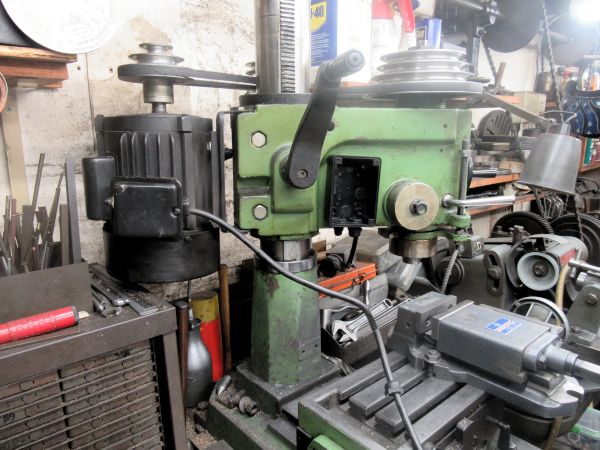
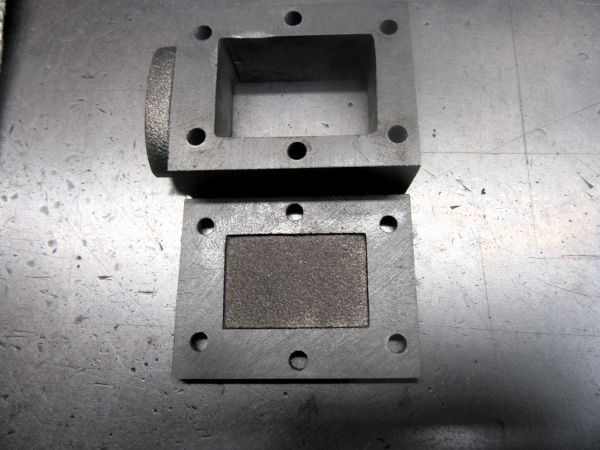
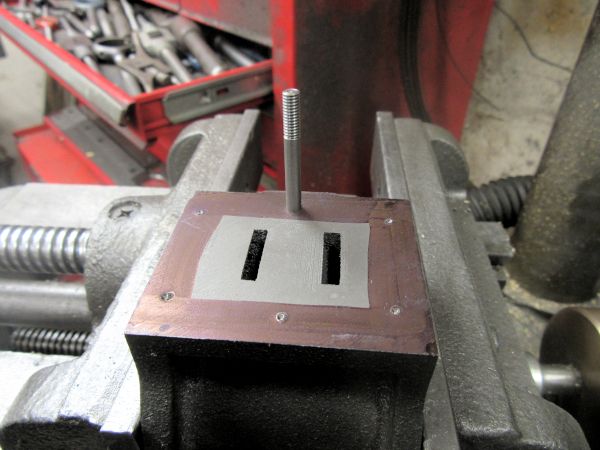
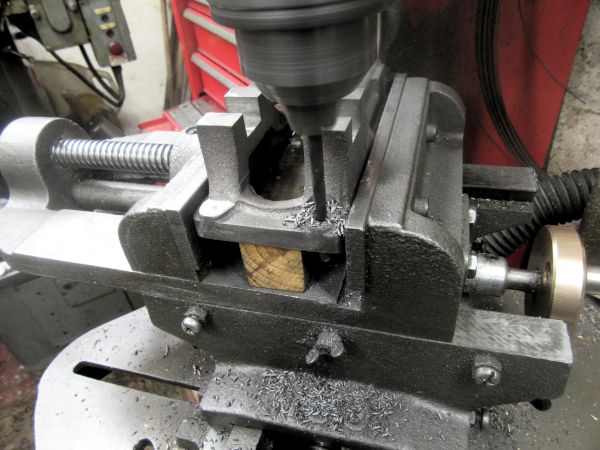
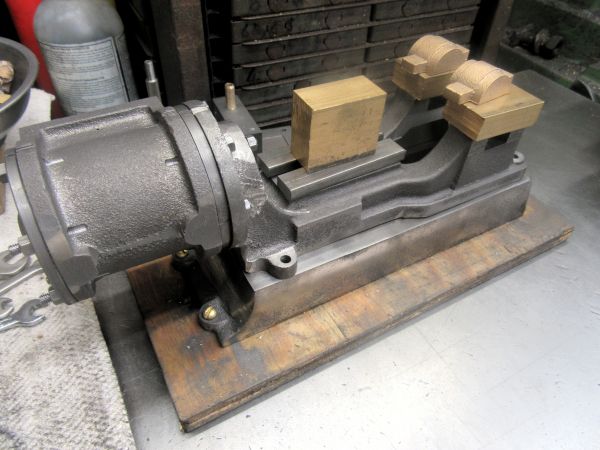
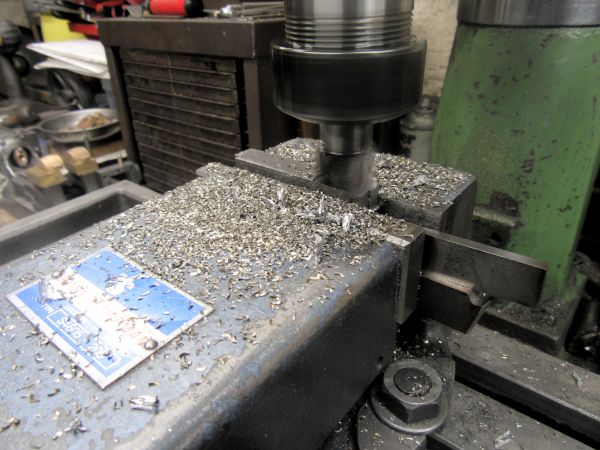
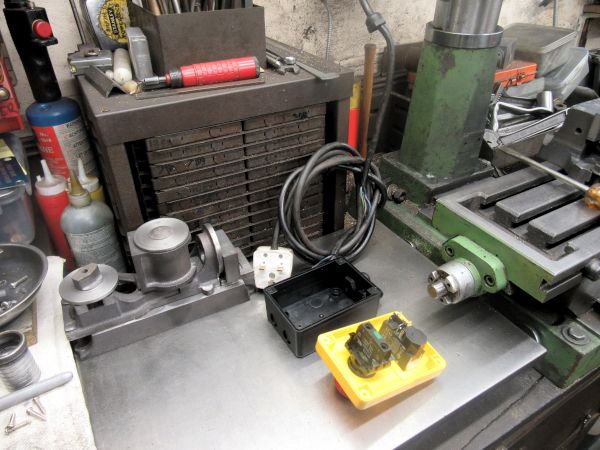
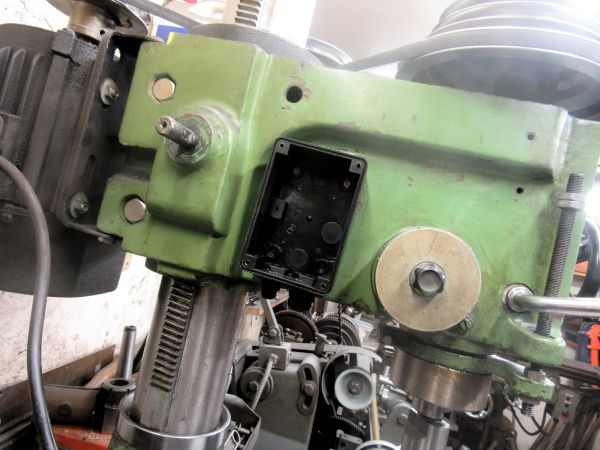
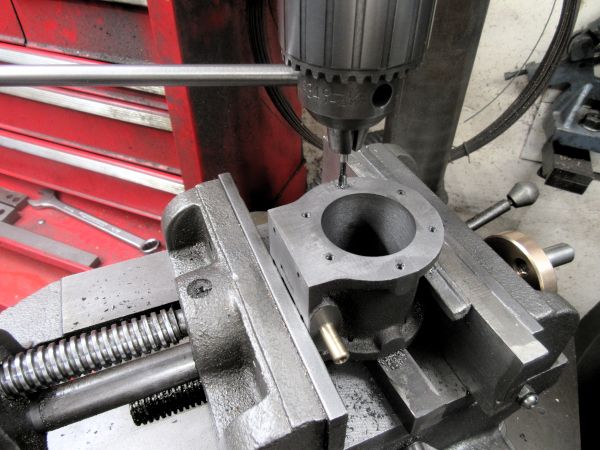
Later on Thursday. It's a good job I can't reach my arse to kick it but have a look at these two images. Spot the difference. It was only after my dinner that I realised I could have lowered the head of the mill and turned it. Obvious you might say but I have been working with the head at the top and facing forwards for 30 years.....
I wish I'd thought about this first thing this morning!
Re: Shed Matters 3
Posted: 03 Nov 2023, 07:21
by Stanley
Re: Shed Matters 3
Posted: 04 Nov 2023, 07:12
by Stanley

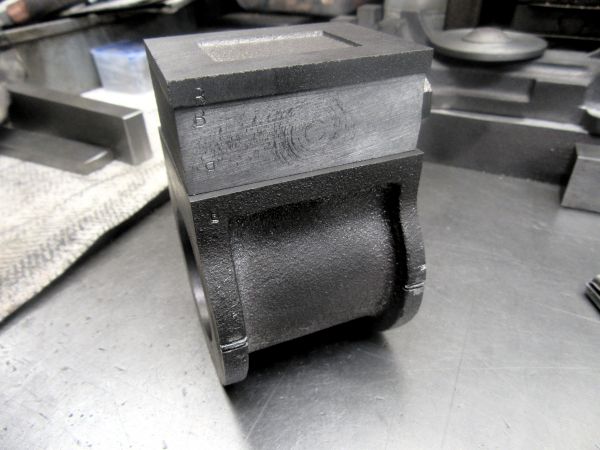
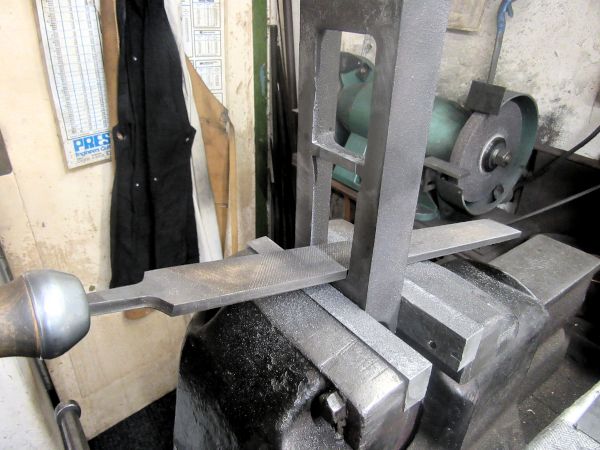
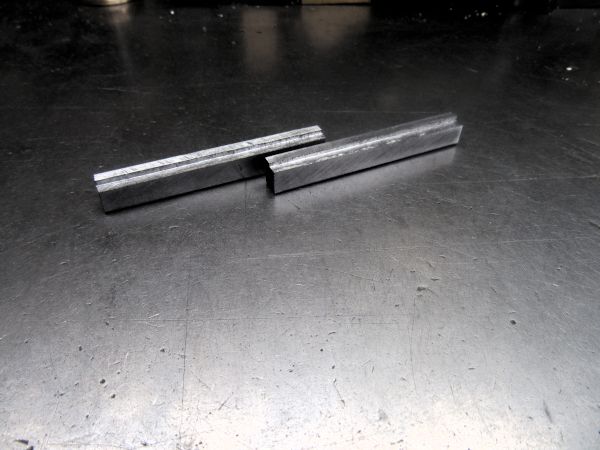
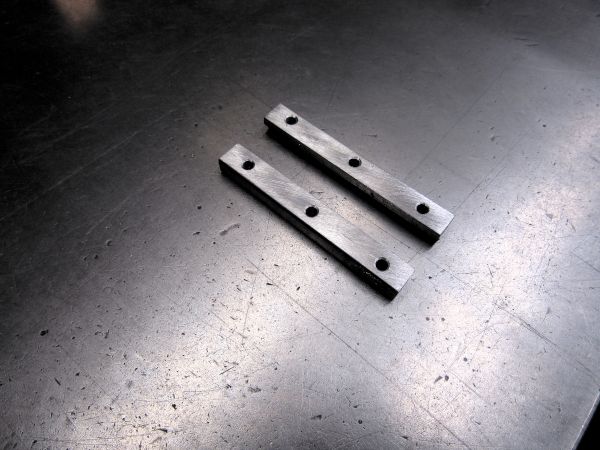
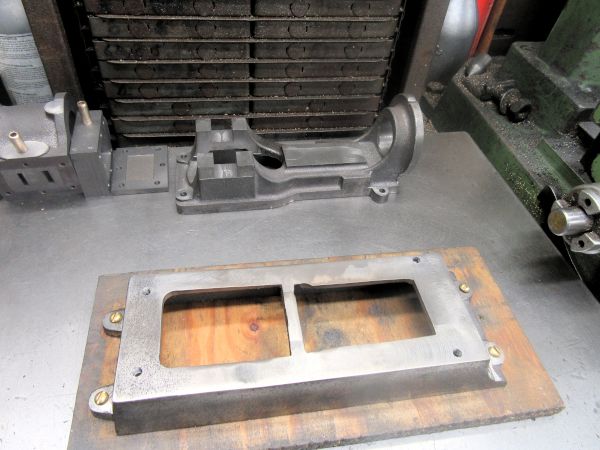
A very happy morning because the VM is no longer poorly. I spent an Hour on the lid of the steam chest, first making it square and the correct thickness, 3/16". Then adjusting the size to fit the chest and finally putting witness marks on to make sure the correct orientation is kept to. The new switch performed perfectly. Thanks to Colin and his expertise, I could never have fathomed out how to wire it!
Re: Shed Matters 3
Posted: 05 Nov 2023, 07:06
by Stanley
Re: Shed Matters 3
Posted: 06 Nov 2023, 07:19
by Stanley
Re: Shed Matters 3
Posted: 06 Nov 2023, 16:21
by Super_7b
Hi Stanley,
Yesterday I revisited Ellenroad, accompanied by a friend who had never been before. I was reminded how much we owe you (especially) and Newton for making sure this magnificent machine was preserved.
I recall you writiing somewhere that there was a generator in the basement (500 kW comes to mind). Do you know why it was never roped up? Running this into some lights, electric fires or other dummy load, even well under its full capacity, would allow the engine to work a bit harder, as I reckon is is hardly doing anything when running light. One of the volunteers read the gauges for me and the inputs to the LP cylinders were around 15 inches of vacuum!
Or is the single boiler too much of a limit to run anything more than the light engine?
Interestingly, since I last visited, the stokers have gone and they have reverted to simple hand firing straight through the doors. I seem to remember the underfeed stokers were fitted during restoration and had come from a local hospital. Maybe they are now clapped out...
Finally, do you know what the original running configuration was? I know it was a 5 boiler setup, so I suppose they ran 4 at a time with a spare for cleaning out and maintenance. What was the working pressure? A volunteer reckoned 180 psi.
Best Regards
Mick
Re: Shed Matters 3
Posted: 07 Nov 2023, 07:05
by Stanley
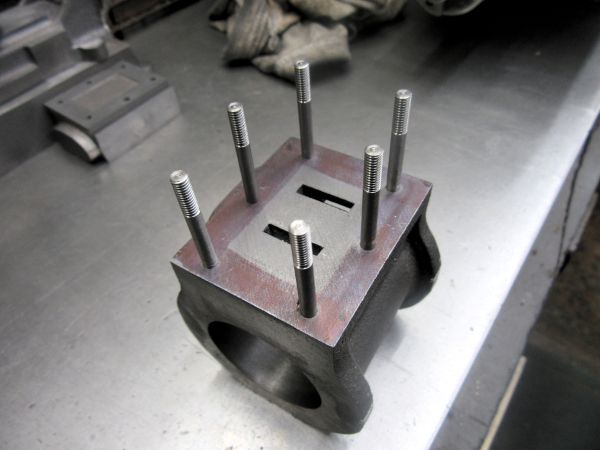
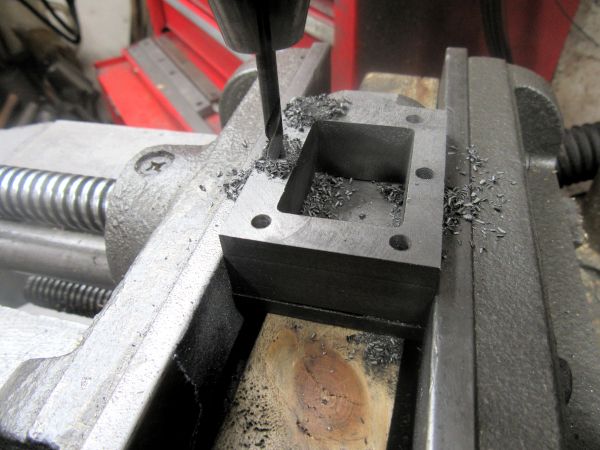
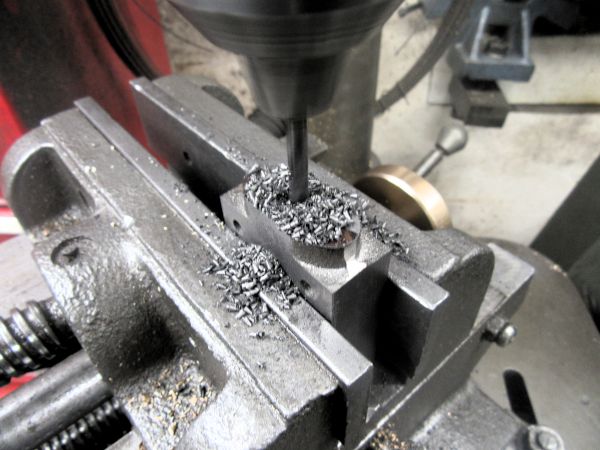
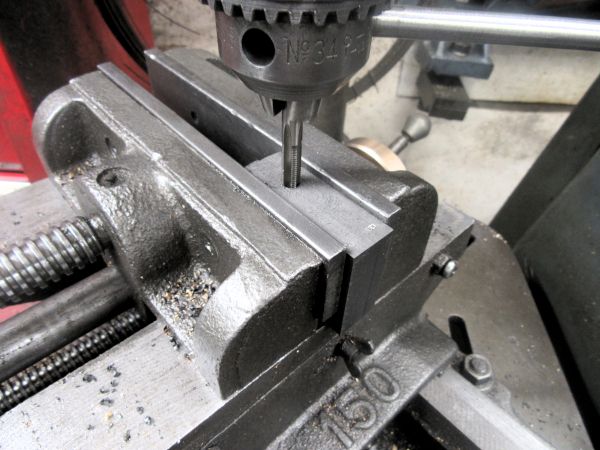
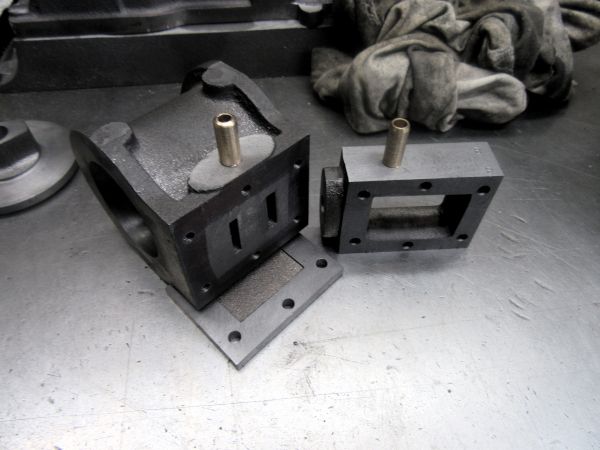
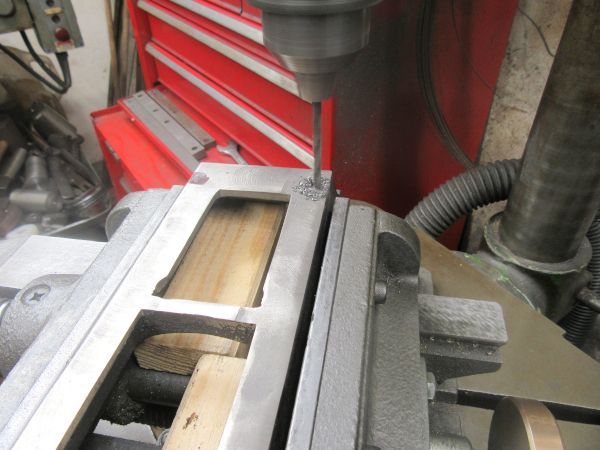
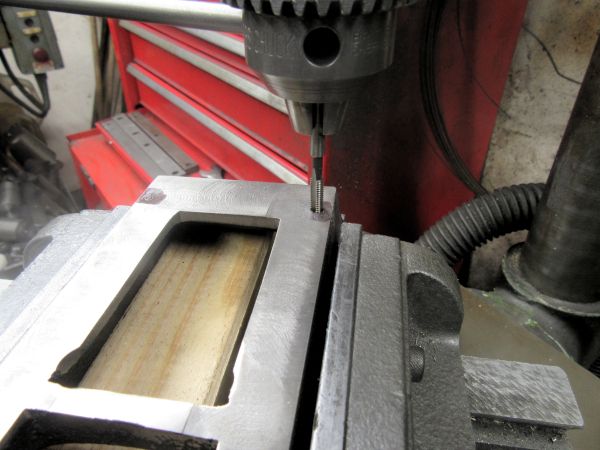
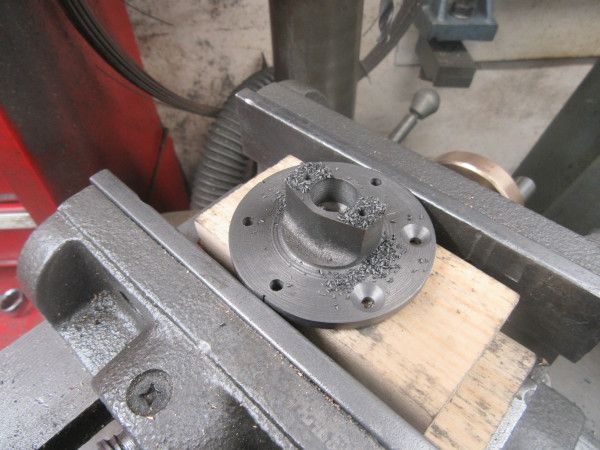
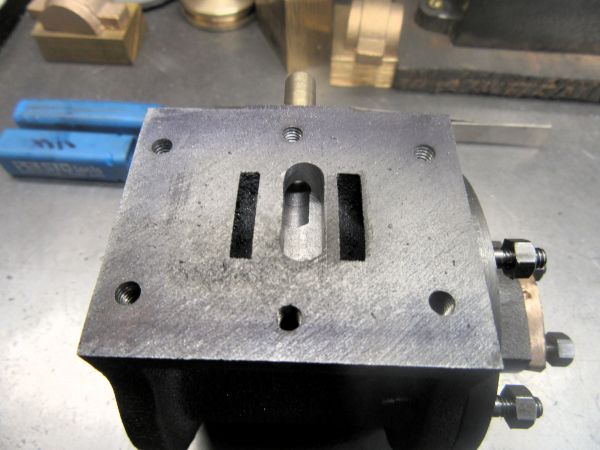
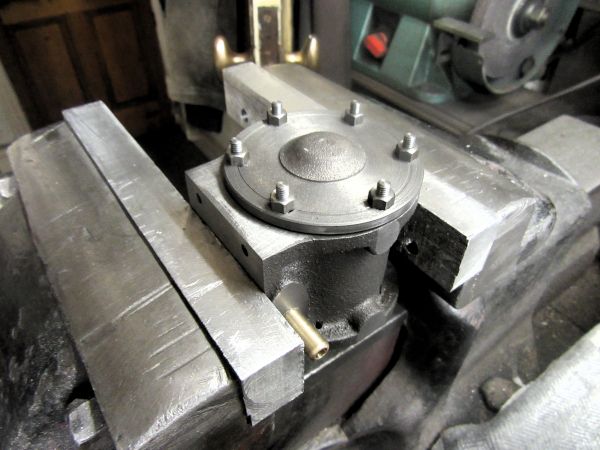
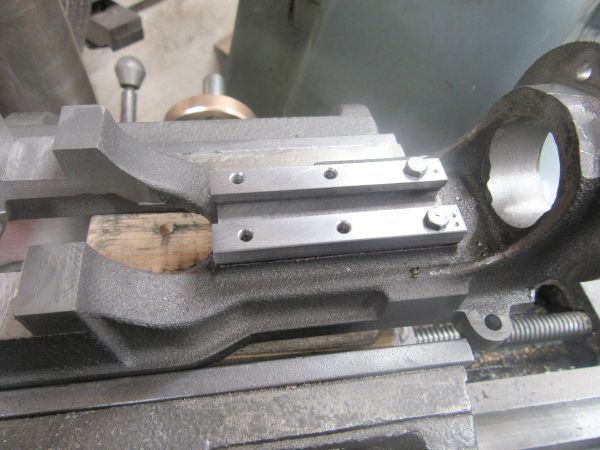
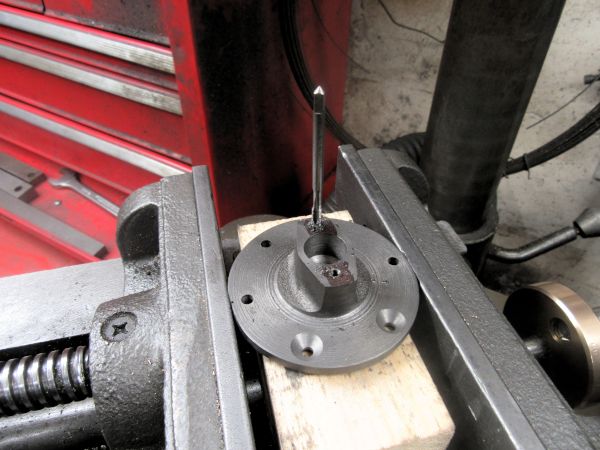
I continued drilling and tapping for the studs that hold the steam chest and lid on the cylinder. As you can see I was successful and after enlarging the clearance holes by 1/64" the chest and lid fit the studs with no forcing. Then I spent the rest of my hour in the shed looking for an 11/64" drill but haven't found one...... I think I can live with the old one and not go into a decline!
Re: Shed Matters 3
Posted: 08 Nov 2023, 07:02
by Stanley
Re: Shed Matters 3
Posted: 09 Nov 2023, 07:15
by Stanley
Re: Shed Matters 3
Posted: 10 Nov 2023, 07:19
by Stanley
Re: Shed Matters 3
Posted: 11 Nov 2023, 07:20
by Stanley
Re: Shed Matters 3
Posted: 12 Nov 2023, 07:07
by Stanley
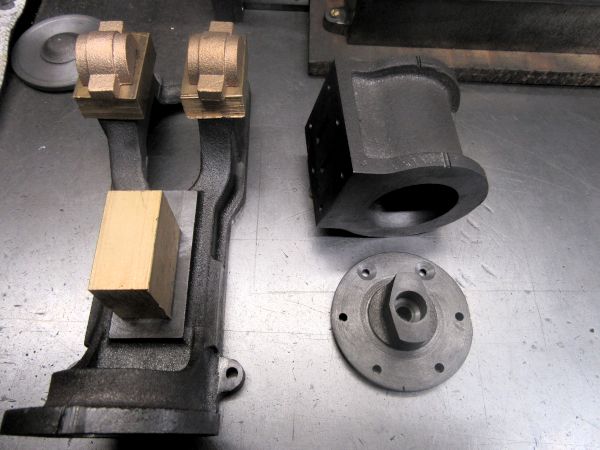
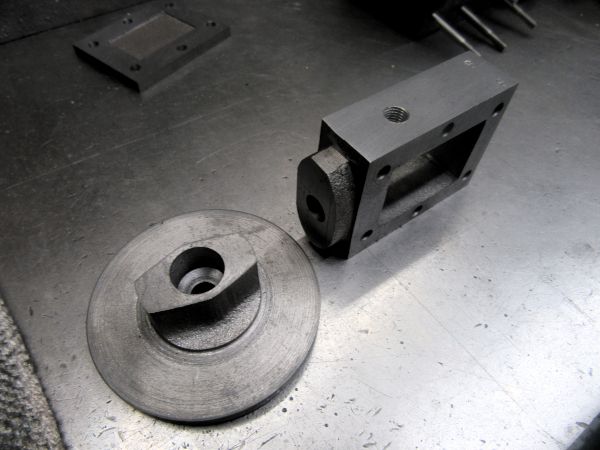
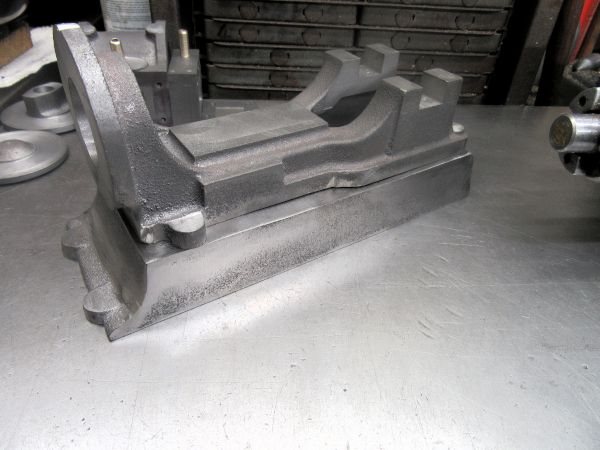
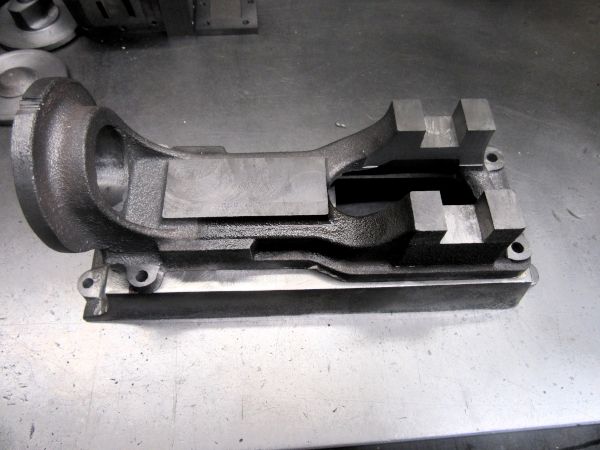
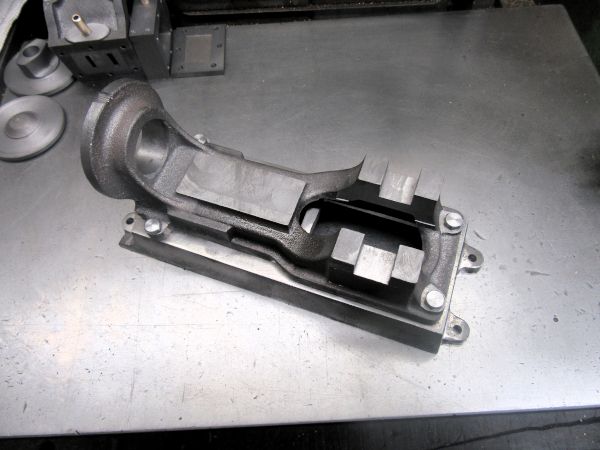
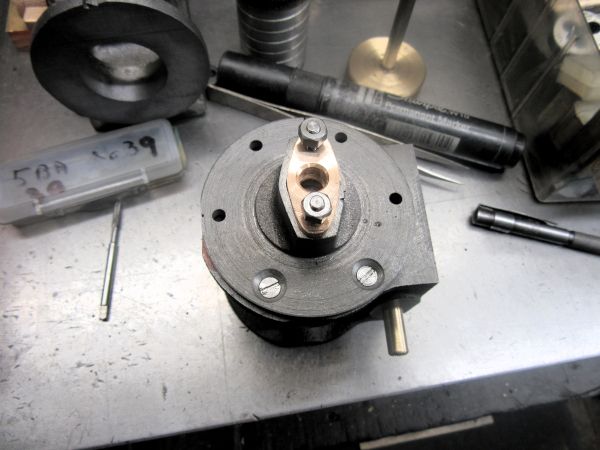
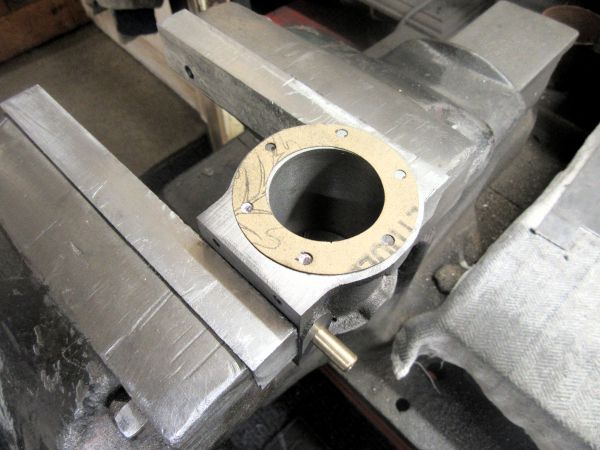
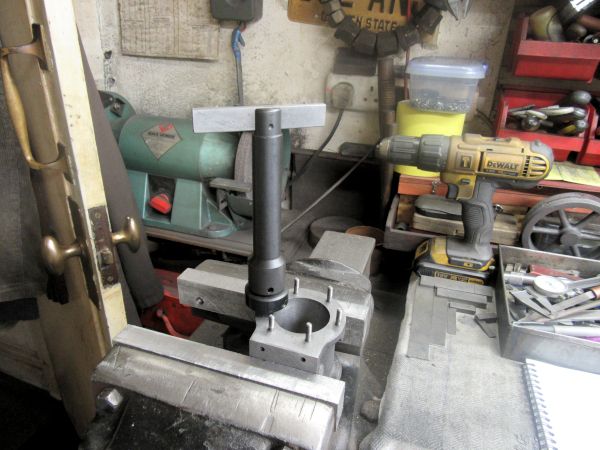
I started the day by fixing the base onto a temporary plinth, it makes it much better for fitting. Then I wasn't sure where to go, at first I favoured the crankshaft bearings and the crosshead but then decided instead to address the holes in the front lid. I spent a lot of time checking and re=-checking which two holes were the smaller and countersunk 5BA ones.... and got it 90 degrees out! That's what old age does for you..... Not the end of the world, it just means that the piston rod gland will not be oriented horizontally but vertically. I can work with that.I'm a bit pissed off with getting that wrong but I can live with it, it's still progress!
Re: Shed Matters 3
Posted: 13 Nov 2023, 07:29
by Stanley
Re: Shed Matters 3
Posted: 14 Nov 2023, 07:05
by Stanley

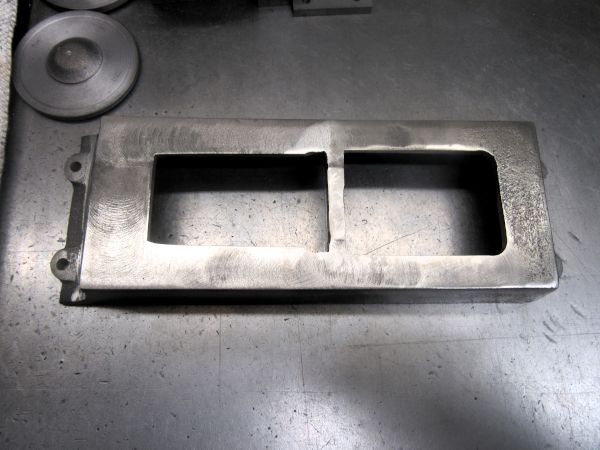
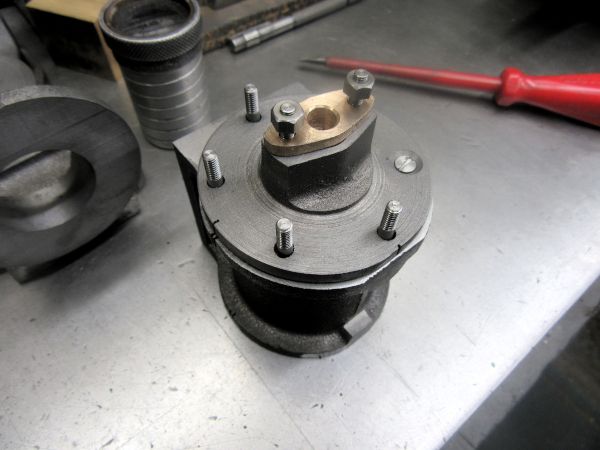
This morning I finished tapping the holes for the 5BA studs in the front lid and then fitted the studs and refined the fit of the gland. Once that was done I checked the piston rod and found a piece of scrap bronze to make the piston out of. Remember that if by chance a CI cylinder is left wet a bronze piston with a soft packing will not seize like a CI piston and CI rings..... I am ready to make the piston and rod tomorrow.....
Re: Shed Matters 3
Posted: 15 Nov 2023, 07:01
by Stanley

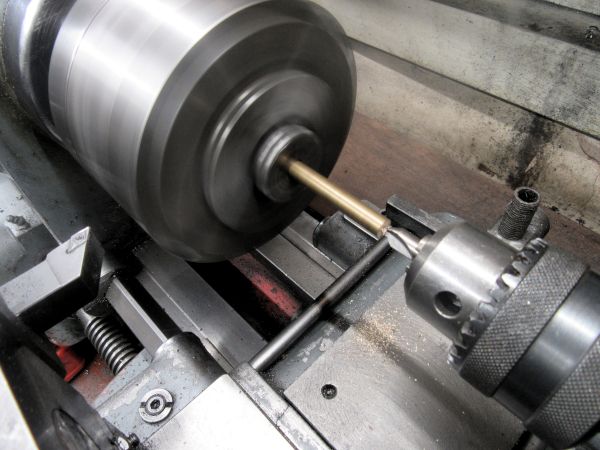
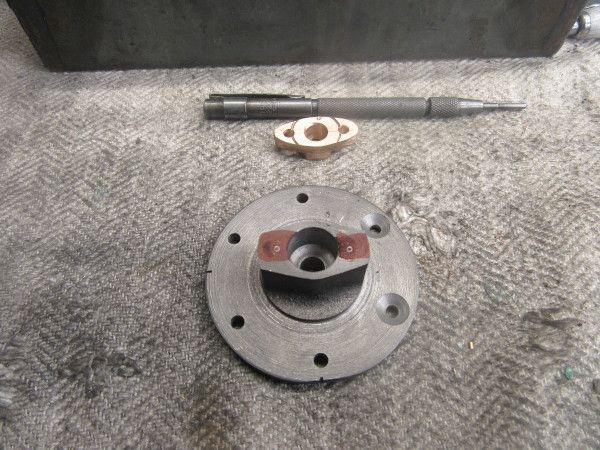
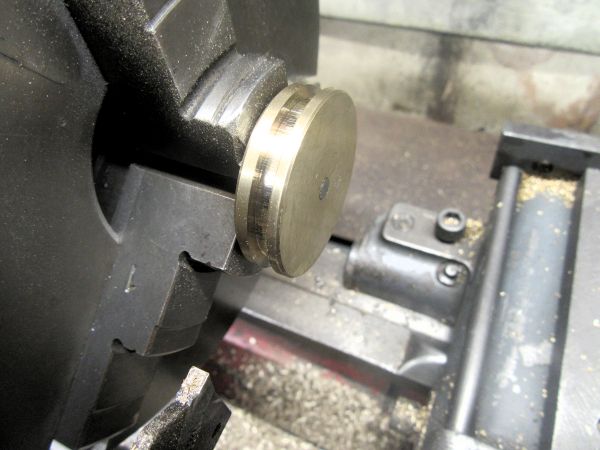
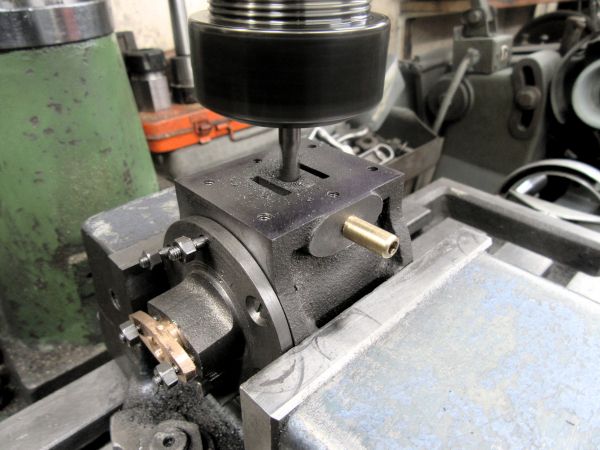
Only one image needed this morning. I took the piece of scrap bronze and made it into a piston that fits the cylinder bore. I have drilled and tapped it ready for the rod and chamfered both ends. I shall cut the groove for the soft packing when the rod is made and fitted tomorrow because then it will be easier to hold it concentric in the chuck. Slowly away with plenty of checks. I have made no mistakes. That makes it a good morning!
Re: Shed Matters 3
Posted: 16 Nov 2023, 07:04
by Stanley
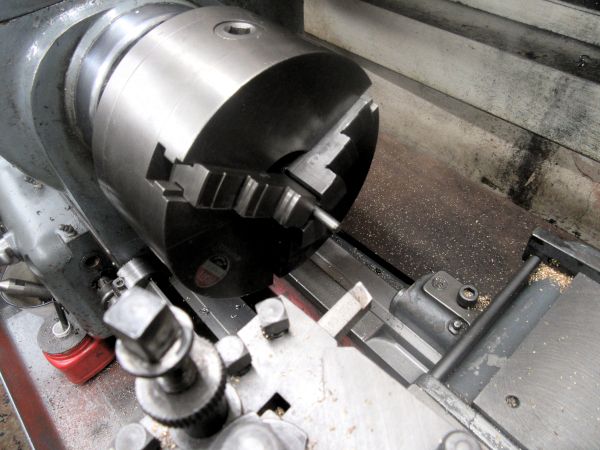
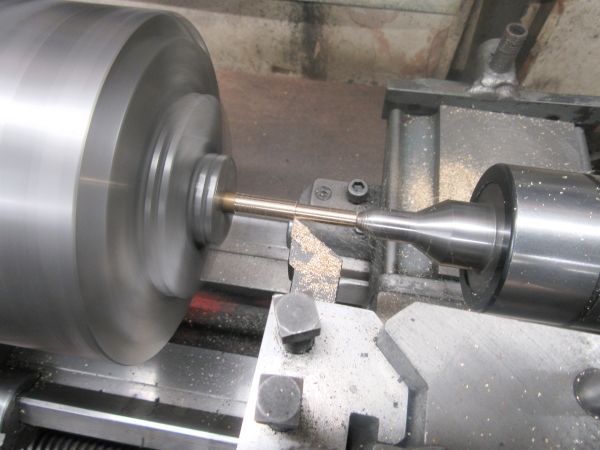
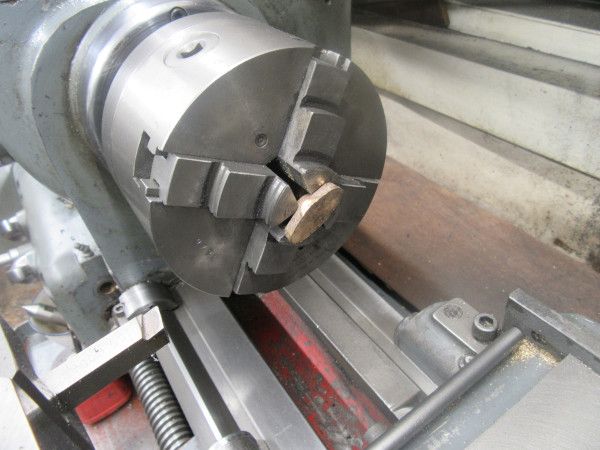
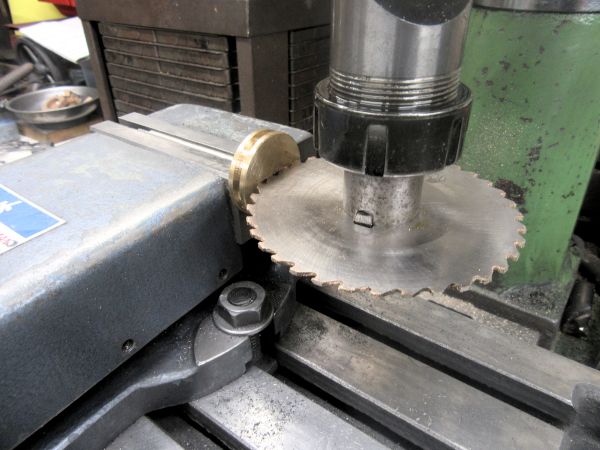
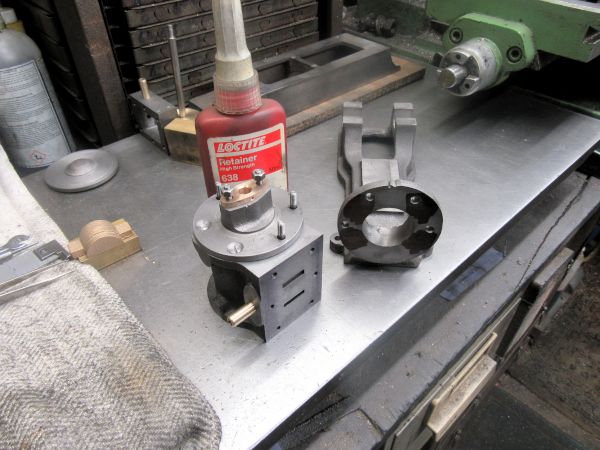
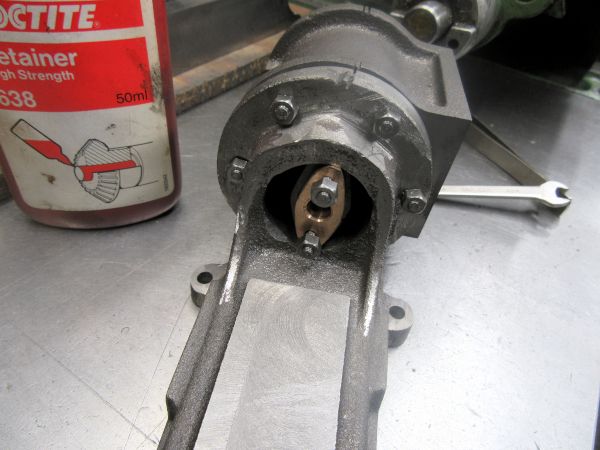
Only one image needed. I cut the 1/4" SS piston rod to length and threaded one end 2BA for 3'8" and then screwed the piston tightly on to the rod using Loctite as I have had problems before with the piston loosening while being fitted. Then I cut the rod to finished length and fitted the large original 3 jaw SC chuck as I needed enough room in the bore for the piston when the rod was mounted reversed to turn it down and thread it for fitting in the crosshead. It all takes time! That's it for a nice error free hour.
Re: Shed Matters 3
Posted: 17 Nov 2023, 07:33
by Stanley
Re: Shed Matters 3
Posted: 18 Nov 2023, 07:11
by Stanley
Re: Shed Matters 3
Posted: 19 Nov 2023, 07:25
by Stanley
Re: Shed Matters 3
Posted: 20 Nov 2023, 07:20
by Stanley
Re: Shed Matters 3
Posted: 21 Nov 2023, 07:08
by Stanley

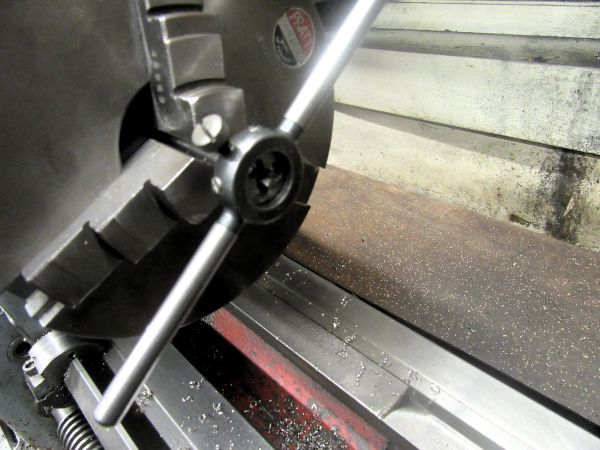
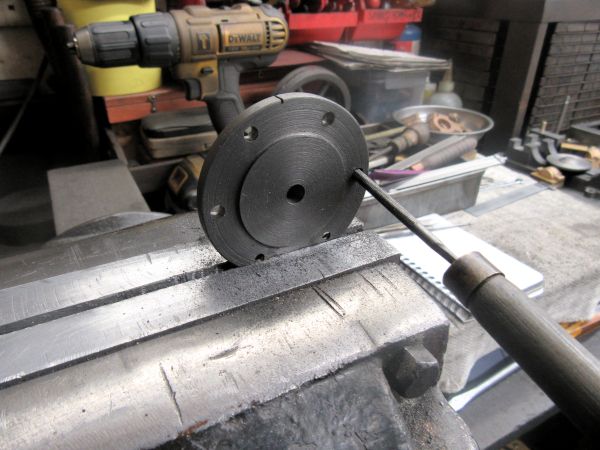
I was late in the shed this morning, other matters got in the way.... but once in there I cracked on with tapping the stud holes in the back of the cylinder. Then I found the 4BA X 5/8" studs and fitted them. Next I made the small adjustments necessary to the hole pattern in the lid and got that to a fit. I put the witness marks on the lid to aid fitting and then found my 4BA die as the first thing I have to do tomorrow (as usual!) is to extend the threads on the studs, at the moment the nuts run out of thread before they tighten the lid down. That's OK and was expected. It can wait until tomorrow.....
Re: Shed Matters 3
Posted: 22 Nov 2023, 07:25
by Stanley
Re: Shed Matters 3
Posted: 23 Nov 2023, 07:18
by Stanley
Re: Shed Matters 3
Posted: 24 Nov 2023, 07:20
by Stanley