Shed Matters 3

User avatar
Stanley
Global Moderator
Global Moderator
Posts: 90526
Joined: 23 Jan 2012, 12:01
Location: Barnoldswick. Nearer to Heaven than Gloria.

Re: Shed Matters 3

Post by Stanley »

Image

Image

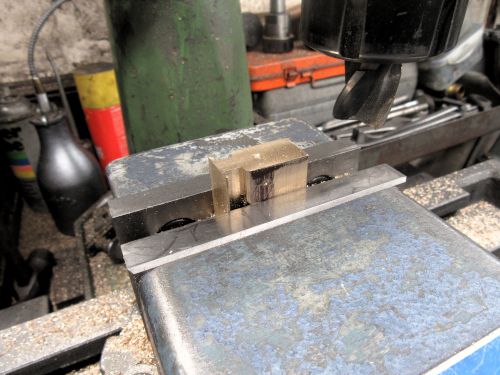
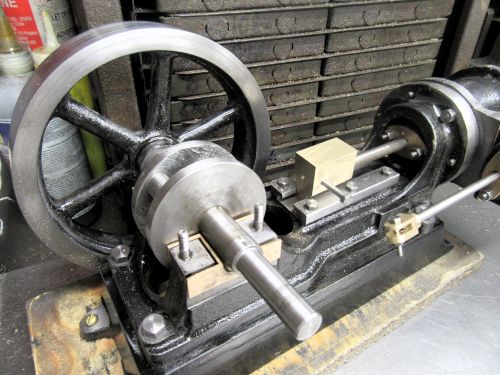
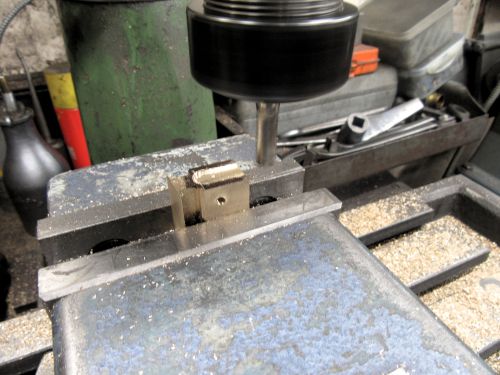
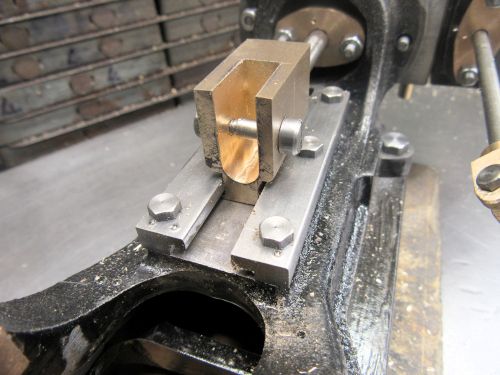
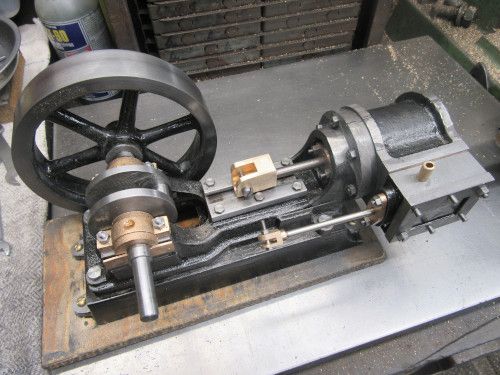
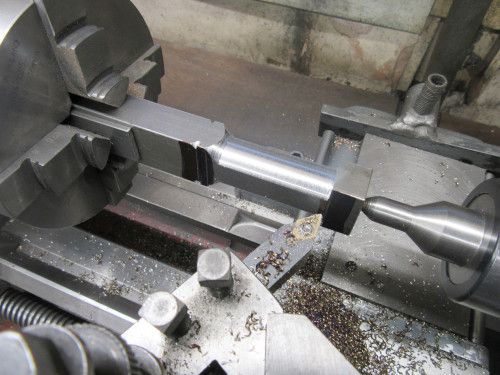
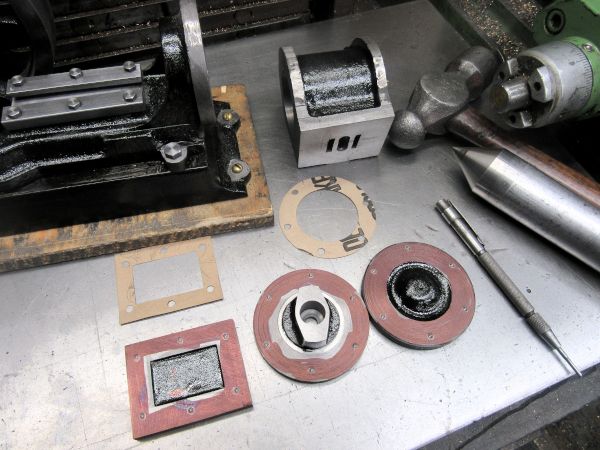
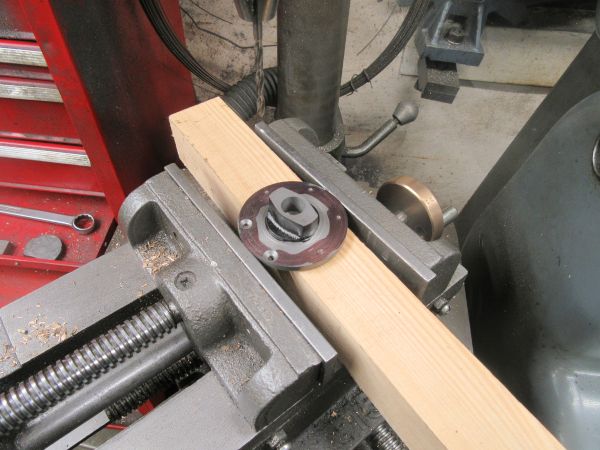
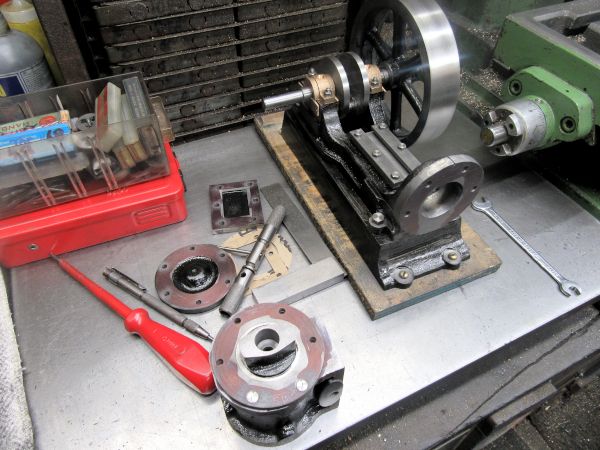
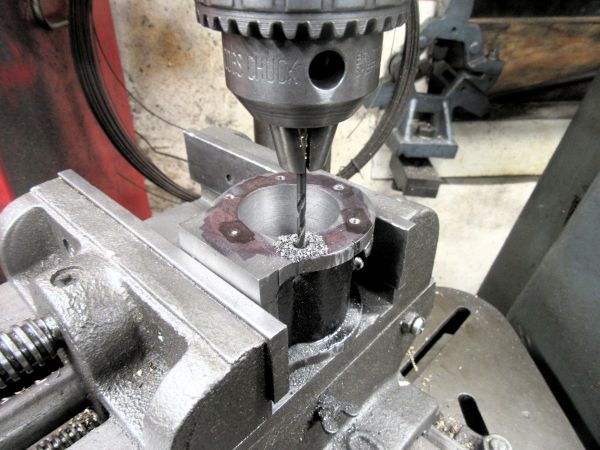
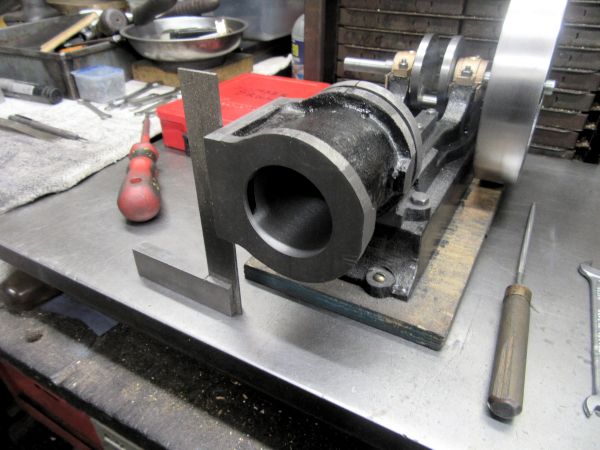
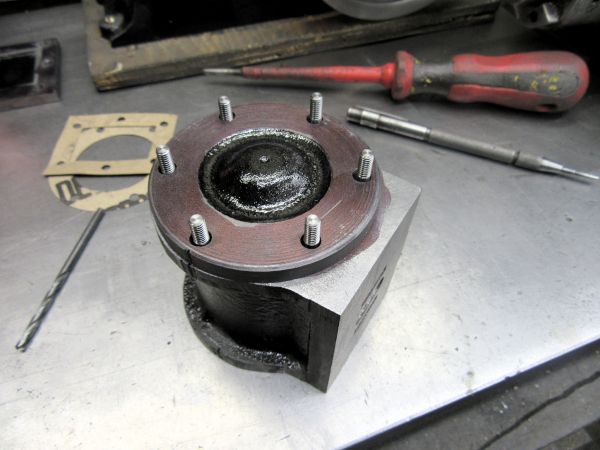
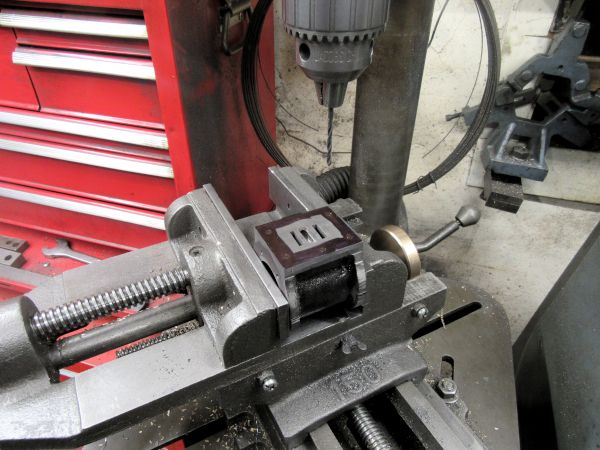
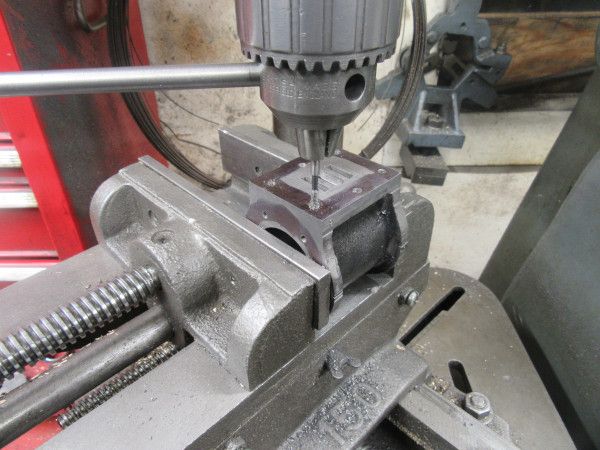
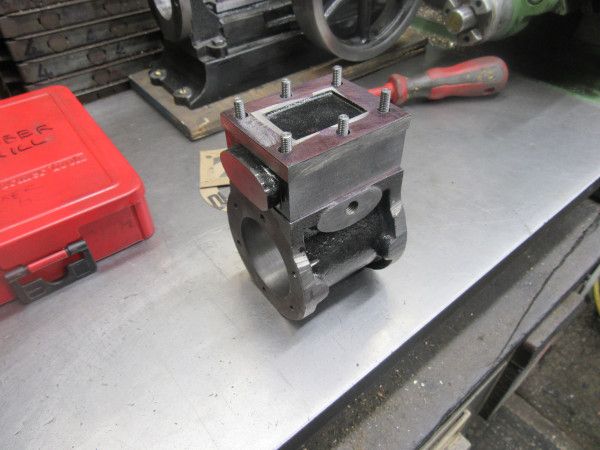
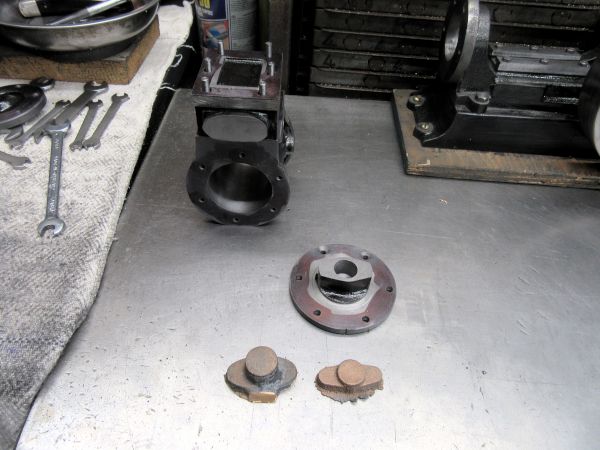
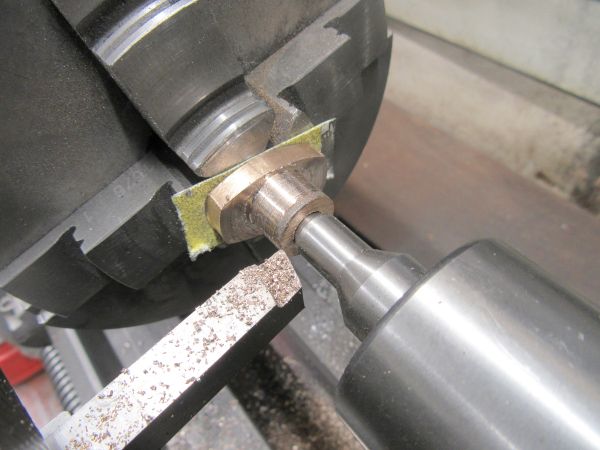
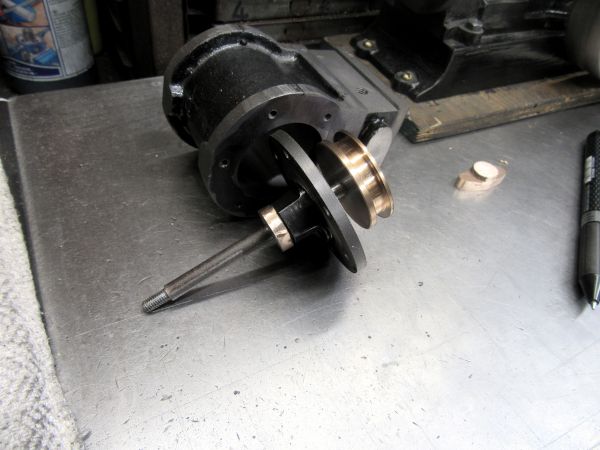
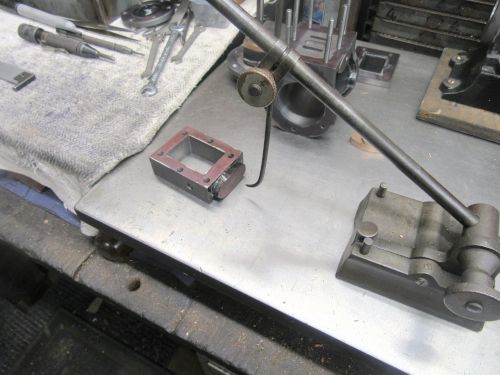
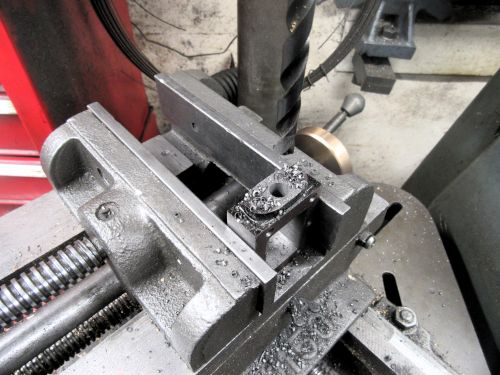
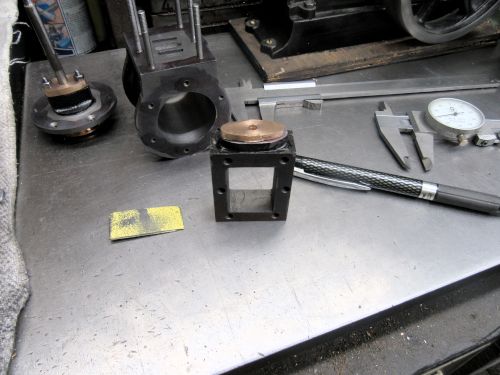
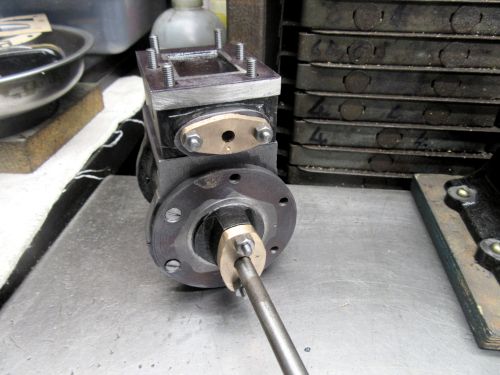
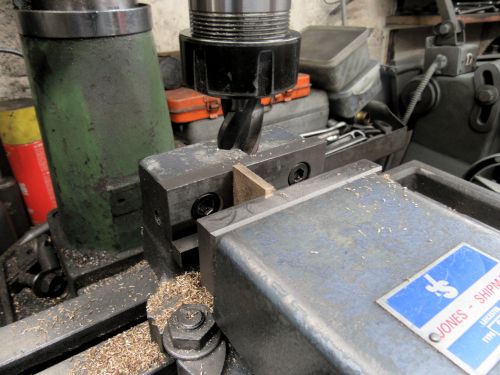
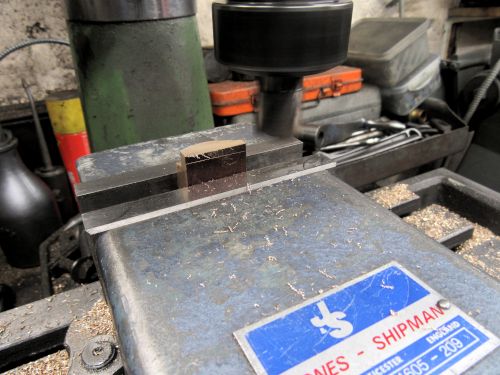
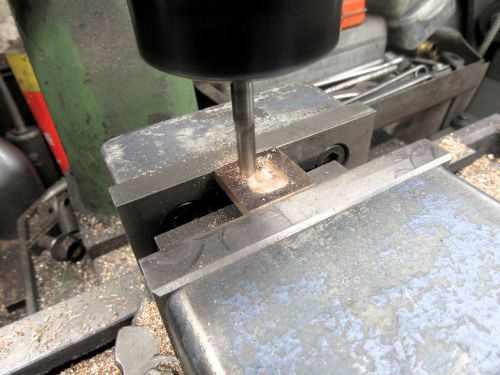
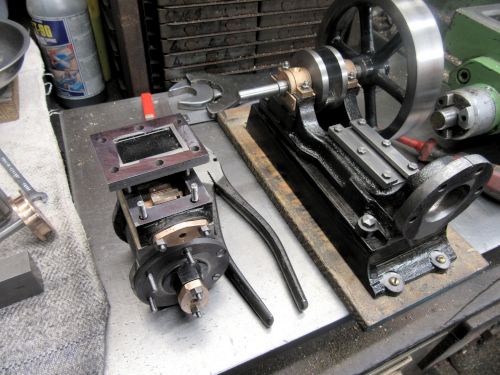
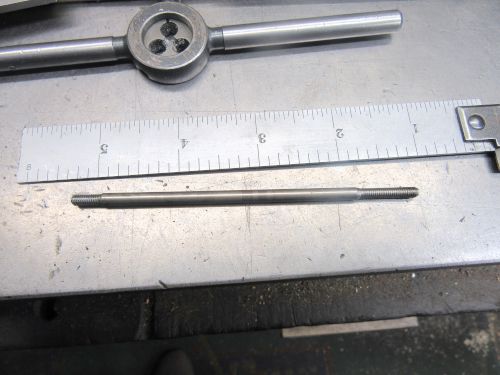
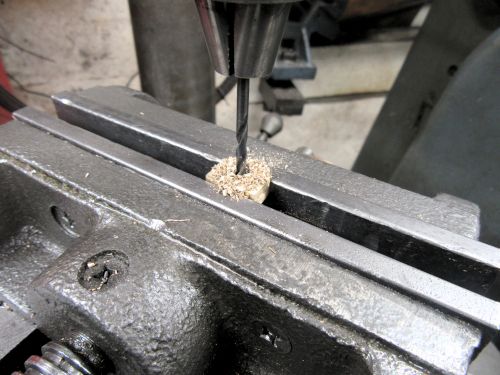
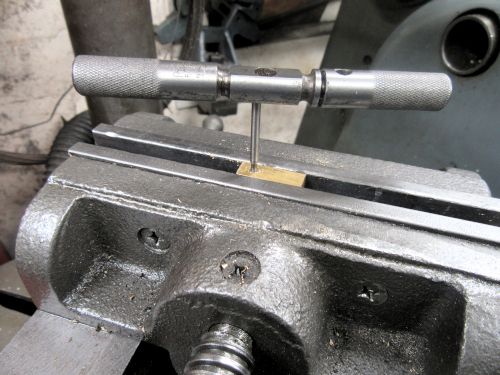
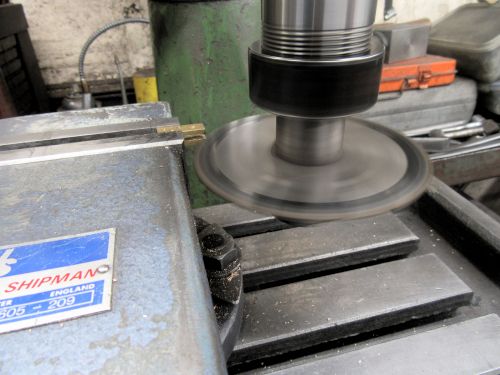
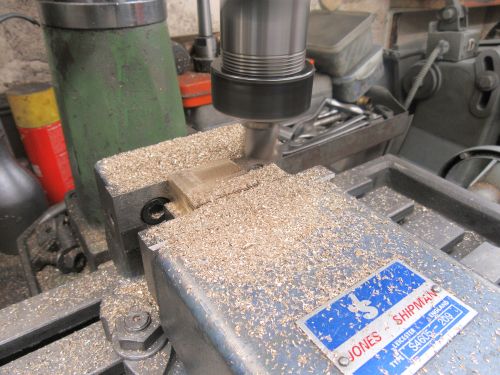
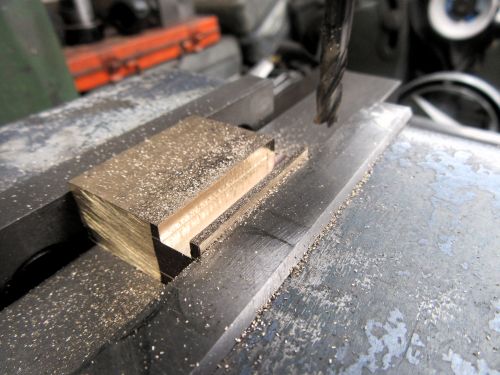
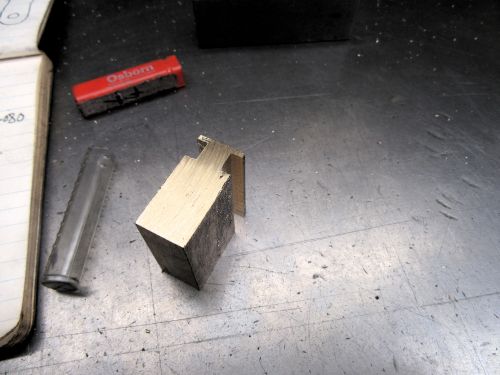
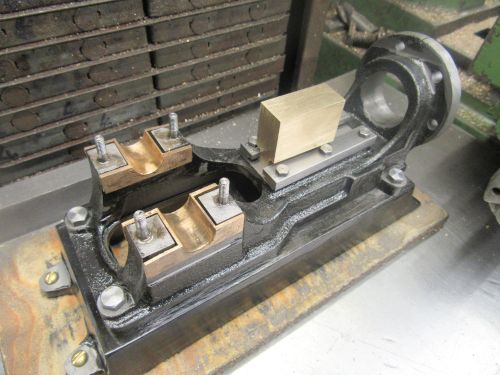
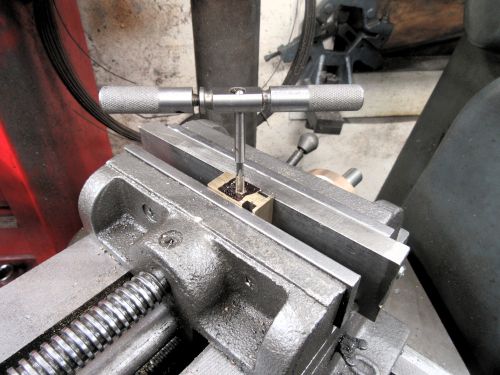
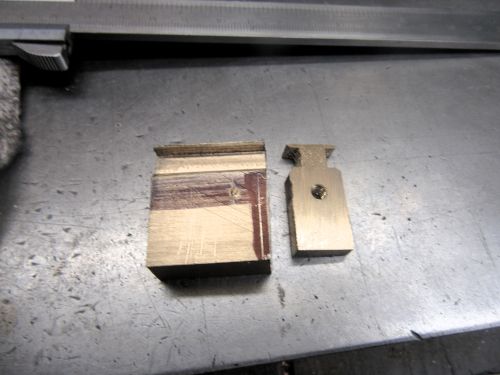
Today started with careful work, using the paper gaskets to mark the locations of the holes that need to be drilled in the castings. I made a mistake at this point in the last engine in the orientation of the two countersunk holes in the front lid and made quite sure I didn't repeat that this morning. I finished up with the back lid in the vise under the drill ready for drilling but that's the first job for tomorrow. There was a sidetrack when I dropped the chuck key and had to search for it and while I was at it I emptied the shop vacuum, it had a good load of cast iron dust in it. I'm satisfied with the morni9ng, now for breakfast!
Stanley Challenger Graham
Stanley's View
scg1936 at talktalk.net

"Beware of certitude" (Jimmy Reid)
The floggings will continue until morale improves!
User avatar
Stanley
Global Moderator
Global Moderator
Posts: 90526
Joined: 23 Jan 2012, 12:01
Location: Barnoldswick. Nearer to Heaven than Gloria.

Re: Shed Matters 3

Post by Stanley »

Image

Only one image, I was too busy marking and drilling holes. I ended the morning By drilling and tapping for the two 5BA CS screws that are needed in the front end of the cylinder. Now I have to make sure I have got the cylinder oriented correctly but that's for tomorrow. I shall have me breakfast. No mistakes so far!
Stanley Challenger Graham
Stanley's View
scg1936 at talktalk.net

"Beware of certitude" (Jimmy Reid)
The floggings will continue until morale improves!
User avatar
Stanley
Global Moderator
Global Moderator
Posts: 90526
Joined: 23 Jan 2012, 12:01
Location: Barnoldswick. Nearer to Heaven than Gloria.

Re: Shed Matters 3

Post by Stanley »

Image

Image

Still fitting the front lid.... I drilled and tapped for the 4BA studs and fitted them so that the front lid fitted and the lid registered correctly on the bore of the cylinder. Then I adjusted the holes in the target end of the bed until the cylinder fitted and was correctly oriented with the valve face perpendicular to the bed. It was very close and I soon got a good fit I was very pleased. Tomorrow I shall fit the back lid..... But now, it's breakfast!
Stanley Challenger Graham
Stanley's View
scg1936 at talktalk.net

"Beware of certitude" (Jimmy Reid)
The floggings will continue until morale improves!
User avatar
Stanley
Global Moderator
Global Moderator
Posts: 90526
Joined: 23 Jan 2012, 12:01
Location: Barnoldswick. Nearer to Heaven than Gloria.

Re: Shed Matters 3

Post by Stanley »

Image

Image

More holes drilled and tapped into the cylinder casting. I drilled and tapped for the studs for the back lid and as you can see they were a good fit. Then I got set up for drilling and tapping for the long studs that will hold the steam chest and lid onto the cylinder. That's ready now for tomorrow morning's start. Now for breakfast!
Stanley Challenger Graham
Stanley's View
scg1936 at talktalk.net

"Beware of certitude" (Jimmy Reid)
The floggings will continue until morale improves!
User avatar
Stanley
Global Moderator
Global Moderator
Posts: 90526
Joined: 23 Jan 2012, 12:01
Location: Barnoldswick. Nearer to Heaven than Gloria.

Re: Shed Matters 3

Post by Stanley »

Image

Image

The target this morning was the fitting of the steam chest on its studs and the fit of the valve chest lid. I drilled and tapped under the pillar drill, drilled the clearance holes in the walls of the chest and put it all together. It was a perfect fit and didn't need any easing. Very pleased and rather than crash on I called it a day and declared it breakfast time!
Stanley Challenger Graham
Stanley's View
scg1936 at talktalk.net

"Beware of certitude" (Jimmy Reid)
The floggings will continue until morale improves!
User avatar
Stanley
Global Moderator
Global Moderator
Posts: 90526
Joined: 23 Jan 2012, 12:01
Location: Barnoldswick. Nearer to Heaven than Gloria.

Re: Shed Matters 3

Post by Stanley »

Sorry Lads! No shed today, I am being entertained by the news......
Stanley Challenger Graham
Stanley's View
scg1936 at talktalk.net

"Beware of certitude" (Jimmy Reid)
The floggings will continue until morale improves!
User avatar
Stanley
Global Moderator
Global Moderator
Posts: 90526
Joined: 23 Jan 2012, 12:01
Location: Barnoldswick. Nearer to Heaven than Gloria.

Re: Shed Matters 3

Post by Stanley »

Image

Image

Image

Today is glands. I started with the piston rod gland. A rough clean up on the grinding wheel and then work in the lathe. I could hold the gland for the first operation using the boss that will form the gland itself but the other side had to be done very carefully as all that holds the gland is friction provided by a piece of emery paper between it and the chuck. At closing time I had the gland finished apart from drilling for the studs. I will do that as a separate operation on both glands. Now for breakfast!
Stanley Challenger Graham
Stanley's View
scg1936 at talktalk.net

"Beware of certitude" (Jimmy Reid)
The floggings will continue until morale improves!
User avatar
Stanley
Global Moderator
Global Moderator
Posts: 90526
Joined: 23 Jan 2012, 12:01
Location: Barnoldswick. Nearer to Heaven than Gloria.

Re: Shed Matters 3

Post by Stanley »

Image

Only one thing done this morning (Apart from putting my chicken in to roast!) and that was to fit the piston rod gland on its studs. I got it right first time, no need for any easing. That's good. Now for breakfast.
Stanley Challenger Graham
Stanley's View
scg1936 at talktalk.net

"Beware of certitude" (Jimmy Reid)
The floggings will continue until morale improves!
User avatar
Stanley
Global Moderator
Global Moderator
Posts: 90526
Joined: 23 Jan 2012, 12:01
Location: Barnoldswick. Nearer to Heaven than Gloria.

Re: Shed Matters 3

Post by Stanley »

Image

Image

Image

This morning the valve rod gland got the attention By closing time I had it ready for drilling and tapping for the studs that will retain it. that's tomorrow's task. Now my sights are set on breakfast!
Stanley Challenger Graham
Stanley's View
scg1936 at talktalk.net

"Beware of certitude" (Jimmy Reid)
The floggings will continue until morale improves!
User avatar
Stanley
Global Moderator
Global Moderator
Posts: 90526
Joined: 23 Jan 2012, 12:01
Location: Barnoldswick. Nearer to Heaven than Gloria.

Re: Shed Matters 3

Post by Stanley »

Image

Only one image needed this morning after marking, drilling and tapping the valve chest and valve rod gland and ending up after fitting with the cylinder looking fully equipped externally at closing time. Slow and careful but it's working! Now for breakfast.
Stanley Challenger Graham
Stanley's View
scg1936 at talktalk.net

"Beware of certitude" (Jimmy Reid)
The floggings will continue until morale improves!
User avatar
Stanley
Global Moderator
Global Moderator
Posts: 90526
Joined: 23 Jan 2012, 12:01
Location: Barnoldswick. Nearer to Heaven than Gloria.

Re: Shed Matters 3

Post by Stanley »

Image

Image

Image

The first job this morning was to improve the fit of one of the countersunk screws that locates the front lid. Run the tap through it. Then I started work on the steam valve. The first job was to grind the flash of it on the grinding wheel and than make sure it was square. Once that was done I started milling it to dimensions, the first being the distance from the bottom face to the top and cleaning all the other faces up. Tomorrow I shall carry on with the valve and the rod.
Stanley Challenger Graham
Stanley's View
scg1936 at talktalk.net

"Beware of certitude" (Jimmy Reid)
The floggings will continue until morale improves!
User avatar
Stanley
Global Moderator
Global Moderator
Posts: 90526
Joined: 23 Jan 2012, 12:01
Location: Barnoldswick. Nearer to Heaven than Gloria.

Re: Shed Matters 3

Post by Stanley »

Image

Image

We spend most of our time making castings smaller and this morning was more of the same. I cut the valve down to the correct size for the valve chest and then cut the 1/4" slot in the top for the driver bar which will accept the valve rod. More chewing away at the valve tomorrow! Now it's breakfast.
Stanley Challenger Graham
Stanley's View
scg1936 at talktalk.net

"Beware of certitude" (Jimmy Reid)
The floggings will continue until morale improves!
User avatar
Stanley
Global Moderator
Global Moderator
Posts: 90526
Joined: 23 Jan 2012, 12:01
Location: Barnoldswick. Nearer to Heaven than Gloria.

Re: Shed Matters 3

Post by Stanley »

Image

Image

Image

I started this morning by finishing and fitting the driving block to the valve and putting witness marks on it to ensure correct fitting. Next I machined the face of the valve to provide passage for the exhaust steam and finish polished the contact surfaces. Then I stripped the steam chest off and finish polished the cast iron valve face, Next I cleaned the marking ink off where it shows and started building the valve chest up and fitting it on its studs with the paper gasket in place. I fitted the front lid with its studs and checked that they were all tight and had enough length for fitting to the bed. My last move was to remove the 1/4" end mill from the VM ready for tomorrow's fitting. Now it's breakfast time!
Stanley Challenger Graham
Stanley's View
scg1936 at talktalk.net

"Beware of certitude" (Jimmy Reid)
The floggings will continue until morale improves!
User avatar
Stanley
Global Moderator
Global Moderator
Posts: 90526
Joined: 23 Jan 2012, 12:01
Location: Barnoldswick. Nearer to Heaven than Gloria.

Re: Shed Matters 3

Post by Stanley »

Image

Image

Image

More going on this morning than seems at first glance. The 1/4" end mill taken out and put away. Next I temporarily rebuilt the cylinder before moving on with the fitting. Then the slitting saw put in the chuck and the slot cut in the piston face to use when installing it. Next the 1" end mill that usually inhabits the VM was sharpened before being replaced. Next job was to start to make the valve rod. The 5/32" rod needed reducing to a shade over 1/8" and then 5/8" of 4BA thread put on the end of it. I haven't quite finished that but it's breakfast time so that's where I stopped.
Stanley Challenger Graham
Stanley's View
scg1936 at talktalk.net

"Beware of certitude" (Jimmy Reid)
The floggings will continue until morale improves!
User avatar
Stanley
Global Moderator
Global Moderator
Posts: 90526
Joined: 23 Jan 2012, 12:01
Location: Barnoldswick. Nearer to Heaven than Gloria.

Re: Shed Matters 3

Post by Stanley »

Image

Image

Image

First job was to finish making the valve rod, the stainless steel rod had to be cut to the right length and threaded 4BA for 5/8" at one end and 3/8" at the other. Then the valve itself had to be drilled clearance for the rod, using the valve chest to set the position of the bore. Next the driver had to be marked, drilled and tapped 4BA for the rod. Then the rod and valve fitted and checked that it was correct. It's fine so now it's time for breakfast!
Stanley Challenger Graham
Stanley's View
scg1936 at talktalk.net

"Beware of certitude" (Jimmy Reid)
The floggings will continue until morale improves!
User avatar
Stanley
Global Moderator
Global Moderator
Posts: 90526
Joined: 23 Jan 2012, 12:01
Location: Barnoldswick. Nearer to Heaven than Gloria.

Re: Shed Matters 3

Post by Stanley »

Image

Image

Image

Image

A morning of small fiddly things. I blunted my slitting saw on the stainless steel valve rod so this morning I did a quick and dirty re-sharpen using the 4" grinder. Then I measured and marked the valve rod clevis for machining. First job was to drill and tap 7BA for the pin that will carry the drive and then cut the slot for the eccentric rod with the slitting saw. I got it right with no mistakes and fitted a 7BA nut and bolt to check it was OK. All that took an hour so now it's time for breakfast.
Stanley Challenger Graham
Stanley's View
scg1936 at talktalk.net

"Beware of certitude" (Jimmy Reid)
The floggings will continue until morale improves!
User avatar
Stanley
Global Moderator
Global Moderator
Posts: 90526
Joined: 23 Jan 2012, 12:01
Location: Barnoldswick. Nearer to Heaven than Gloria.

Re: Shed Matters 3

Post by Stanley »

Image

Image

More work refining the valve train. I finished work on the clevis that connects the valve rod to the eccentric rod. Then I fitted it to check what I'd done. I finished up with the cylinder and valve train finished. I can move on now with the other elements. Time for breakfast.
Stanley Challenger Graham
Stanley's View
scg1936 at talktalk.net

"Beware of certitude" (Jimmy Reid)
The floggings will continue until morale improves!
User avatar
Stanley
Global Moderator
Global Moderator
Posts: 90526
Joined: 23 Jan 2012, 12:01
Location: Barnoldswick. Nearer to Heaven than Gloria.

Re: Shed Matters 3

Post by Stanley »

Image

Image

Image

Today the focus was on the block of bronze that is the crosshead. First some careful measuring and a fag packet drawing, then mark the block up and after that start making it smaller. I finished up with the first stages completed. I can go forwards tomorrow but that's a good hour and now I deserve my breakfast!
Stanley Challenger Graham
Stanley's View
scg1936 at talktalk.net

"Beware of certitude" (Jimmy Reid)
The floggings will continue until morale improves!
User avatar
Stanley
Global Moderator
Global Moderator
Posts: 90526
Joined: 23 Jan 2012, 12:01
Location: Barnoldswick. Nearer to Heaven than Gloria.

Re: Shed Matters 3

Post by Stanley »

Image

Image

Image

I stripped the shaft and flywheel out of the bed so that I could insert the crosshead. I spent the rest of the morning marking and then drilling and tapping for the piston rod's connection to the crosshead. Lots more fitting than net the eye but by closing time I had it fitted and the crosshead moves nicely in the guides. I confess I had to scrap my first drilling and tapping, I got it wrong but hit the target the second time. Luckily there is plenty of meat in the crosshead so I can stand to lose 3/8" off one end. Now for breakfast!
Stanley Challenger Graham
Stanley's View
scg1936 at talktalk.net

"Beware of certitude" (Jimmy Reid)
The floggings will continue until morale improves!
User avatar
Stanley
Global Moderator
Global Moderator
Posts: 90526
Joined: 23 Jan 2012, 12:01
Location: Barnoldswick. Nearer to Heaven than Gloria.

Re: Shed Matters 3

Post by Stanley »

Image1

Image

Image

More refining of the crosshead. Mainly reducing the size of the blank starting with cutting my mistake off! Then the other faces measured marked and cut both by hand with the hacksaw and finishing cuts on the mill. I also marked the position of the crosshead pin and drilled the head and tapped it 4BA. I can cut one side to clearance as is needed after I have cut the slot in it for the eye of the connecting rod. It fits and runs nicely. I shall cut the slot tomorrow and then make the connecting rod. But now it's time for breakfast!
Stanley Challenger Graham
Stanley's View
scg1936 at talktalk.net

"Beware of certitude" (Jimmy Reid)
The floggings will continue until morale improves!
User avatar
Stanley
Global Moderator
Global Moderator
Posts: 90526
Joined: 23 Jan 2012, 12:01
Location: Barnoldswick. Nearer to Heaven than Gloria.

Re: Shed Matters 3

Post by Stanley »

Image

Image

As usual, some careful measuring and marking, this morning for the slot in the crosshead that accepts the small end of the connecting rod. Then some careful milling , enlarging one side of the drilling for the crosshead pin, then providing a pin and fitting it. I'm happy to report it has all turned out as near perfect as I could wish. I shall make the crosshead look pretty tomorrow but mechanically it couldn't be any better. A nice morning with very good results. Now I deserve my breakfast!
Stanley Challenger Graham
Stanley's View
scg1936 at talktalk.net

"Beware of certitude" (Jimmy Reid)
The floggings will continue until morale improves!
User avatar
Stanley
Global Moderator
Global Moderator
Posts: 90526
Joined: 23 Jan 2012, 12:01
Location: Barnoldswick. Nearer to Heaven than Gloria.

Re: Shed Matters 3

Post by Stanley »

Image

Only one image needed this morning. I have finished the crosshead, refined it's shape and made it pretty. Then I worked my way through refitting the whole of the engine as finished so far making sure that all the fastenings worked and fitted correctly. This isn't the final fitting with gaskets but is the next thing to it. It's wonderful how many snags you can find. I am ready now to move on with the connecting rod and main bearing. I shall start that tomorrow. Now I'm interested in breakfast!
Stanley Challenger Graham
Stanley's View
scg1936 at talktalk.net

"Beware of certitude" (Jimmy Reid)
The floggings will continue until morale improves!
BobH
Regular User
Posts: 133
Joined: 15 Nov 2019, 18:09
Location: Rochdale

Re: Shed Matters 3

Post by BobH »

Coming along nicely Stanley. I haven't done much on the trailer recently, what with hospital appointments but those are over for the time being. I did get diverted onto our multi fuel stove when the front glass cracked. A replacement glass was relatively easy to buy but then 3 of the 4 fixings studs sheared off in spite of a long soak with Penetrol. There was nothing for it but to take the trailer wheel off the mill where I was about to drill the oil holes and set up to drill the studs out. Some careful setting up payed off, I think I got the drill pretty central. I started with a face mill, then a centre drill then 4mm and finally 5mm to retapped M6 as per the originals.
20240305_111130.jpg
20240305_111305.jpg
20240305_111150.jpg
You do not have the required permissions to view the files attached to this post.
User avatar
Stanley
Global Moderator
Global Moderator
Posts: 90526
Joined: 23 Jan 2012, 12:01
Location: Barnoldswick. Nearer to Heaven than Gloria.

Re: Shed Matters 3

Post by Stanley »

Those stove fastenings are made to seize and break Bob. I had the beginnings of that problem with mine but was lucky and managed to get away with it. I don't know about yours but I think it was the corrosion in the clips that held the glass that broke the glass while the stove was stood idle....
Nice to see you back to normal duties Bob. Fingers crossed! :biggrin2:
Stanley Challenger Graham
Stanley's View
scg1936 at talktalk.net

"Beware of certitude" (Jimmy Reid)
The floggings will continue until morale improves!
User avatar
Stanley
Global Moderator
Global Moderator
Posts: 90526
Joined: 23 Jan 2012, 12:01
Location: Barnoldswick. Nearer to Heaven than Gloria.

Re: Shed Matters 3

Post by Stanley »

Image

Only one image needed again. I decided to have a change and do a bit of turning. So I set to to make the connecting rod. This has to be chopped out of the stock they supply, a piece of bar 1" X 3/4". The first job as usual was some careful measuring and making a fag packet drawing. Then mount the steel in the lathe and do some marking up. Then I could start marking with the tool and then actually reducing the Bar to the size of the rod. All that took an hour but I think I have it right. No rush, I can come at it fresh tomorrow. Now for breakfast.
Stanley Challenger Graham
Stanley's View
scg1936 at talktalk.net

"Beware of certitude" (Jimmy Reid)
The floggings will continue until morale improves!
Post Reply

Return to “Crafts”